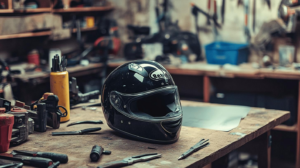
Is your motorcycle helmet just another piece of gear, or is it a canvas waiting for a splash of personality?
Wrapping a helmet not only elevates style but also adds a protective layer, making your ride uniquely yours without compromising safety. This guide will explore the art of wrapping, breaking down each step and tool required for a transformative touch.
Let's dive into helmet preparation, ensuring a smooth wrap and flawless finish, so you can hit the road with confidence and style. Uncover the best techniques to make your helmet stand out.
Preparing Your Motorcycle Helmet for Wrapping
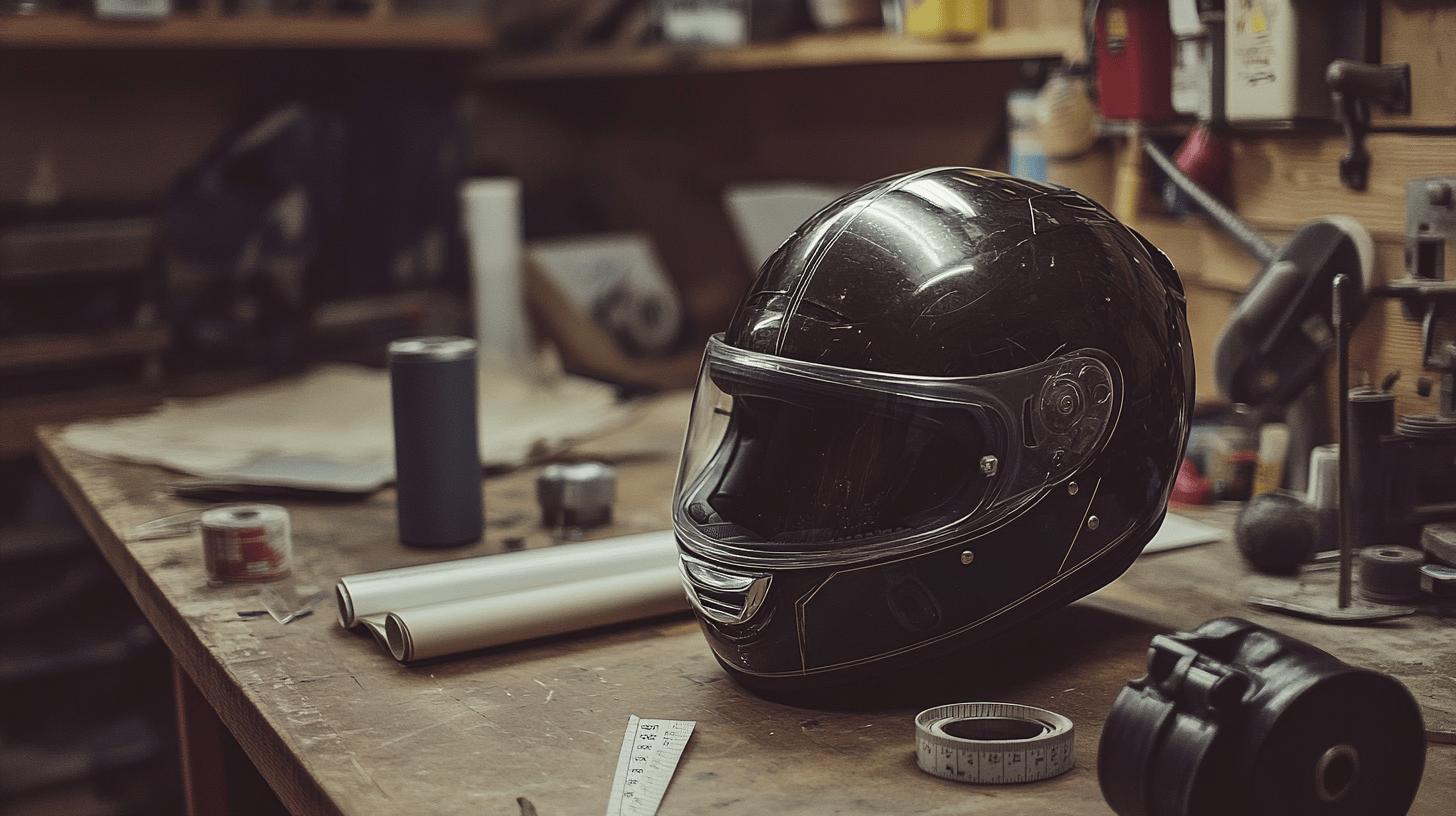
Preparing a motorcycle helmet for wrapping is a pivotal step that can determine the success and longevity of the wrap itself. The process begins with thorough cleaning and precise measurements to ensure a seamless fit. A well-prepared surface promotes better adhesion of the vinyl wrap, minimizing the risk of bubbles or peeling.
- Cleaning the Helmet:
-
Use mild detergent and water to wash the helmet's exterior, removing dirt, oil, and grime.
-
Rinse thoroughly with clean water, ensuring no soap residue remains.
-
Dry the helmet completely with a microfiber cloth to prevent water spots.
-
Wipe down with isopropyl alcohol to remove any remaining contaminants.
-
Measure the helmet meticulously, taking note of curves and protrusions for accurate vinyl cutting.
The application of the vinyl wrap requires attention to detail, especially when smoothing it out. Begin by applying a base layer of vinyl, starting at the center and working towards the edges.
This technique helps in evenly distributing the material and reducing air bubbles. Using a squeegee or a similar tool assists in achieving a smooth finish, crucial for both aesthetics and durability.
Proper preparation not only enhances the helmet's visual appeal but also ensures that the wrap adheres securely. This step is vital in maintaining the integrity of the design and ensuring it withstands the rigors of everyday use.
Essential Tools and Materials for Wrapping a Helmet
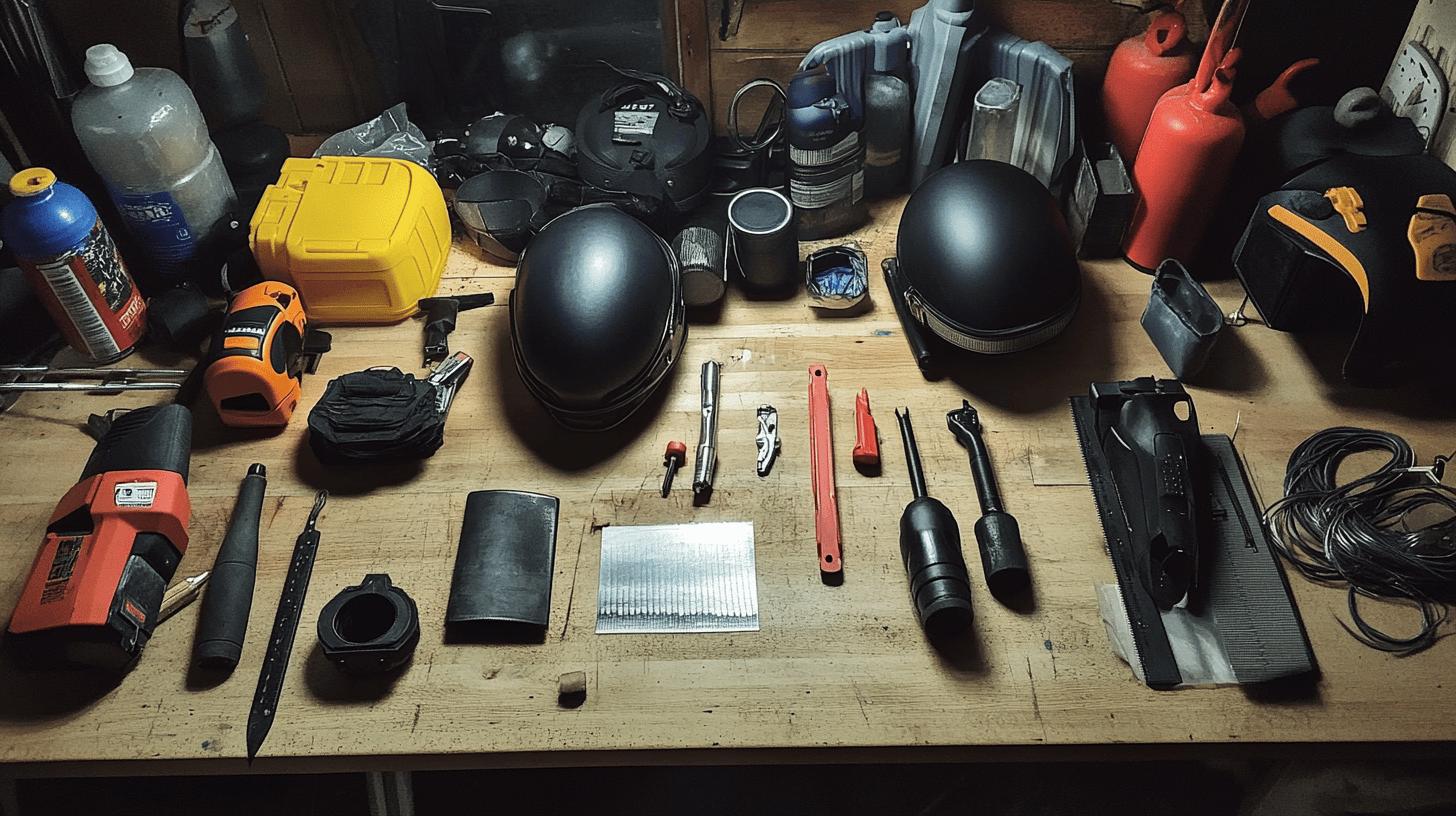
Having the right tools and materials is crucial when wrapping a motorcycle helmet. Proper equipment ensures a smooth application, minimizes errors, and enhances the overall appearance of the wrap. Without the appropriate tools, the process can become unnecessarily complicated, leading to subpar results.
-
Vinyl Wrap: The primary material for changing the helmet's look, available in various colors and finishes.
-
Cutting Tools (Razor Blade or X-Acto Knife): Used for precise trimming of the vinyl around edges and curves.
-
Heat Gun or Hair Dryer: Essential for making the vinyl pliable, aiding in the application around complex curves.
-
Squeegee or Credit Card: Helps in smoothing out air bubbles and ensuring even adhesion across the helmet's surface.
-
Knifeless Tape: Allows for clean cuts without the risk of damaging the helmet's original surface.
-
Measuring Tape: Necessary for taking accurate measurements before cutting the vinyl to fit.
These materials are readily available from automotive supply stores, online retailers, or specialized wrap shops. High-quality tools and vinyl wraps, such as those from reputable brands, might cost more, but they ensure durability and better performance. Investing in good materials from the start can save time and effort while enhancing the helmet's visual appeal.
Step-by-Step Guide to Wrapping a Motorcycle Helmet

Wrapping a motorcycle helmet requires precision and patience. Each step must be executed with care to ensure the wrap not only looks professional but also lasts through regular use. This guide will provide a framework for achieving a seamless and stylish helmet wrap.
-
Gather Materials: Ensure you have all necessary tools and materials, including vinyl wrap, cutting tools, a heat gun or hair dryer, a squeegee, and knifeless tape.
-
Clean the Helmet: Thoroughly clean the helmet with mild detergent and water, followed by isopropyl alcohol to remove any oils or residues.
-
Measure and Cut: Use a measuring tape to determine the amount of vinyl needed, accounting for curves and edges. Cut the vinyl with some extra margin.
-
Apply Base Layer: Start by placing the vinyl at the center of the helmet. Use your hands to lightly press it down, ensuring it stays in place.
-
Heat and Stretch: Use a heat gun or hair dryer to warm the vinyl, making it more flexible. Gently stretch the vinyl over curves and contours of the helmet.
-
Smooth Out Bubbles: Employ a squeegee or credit card to smooth out air bubbles, working from the center to the edges.
-
Trim Excess Vinyl: Use knifeless tape or a sharp blade to trim away excess vinyl, leaving a clean edge around vents and openings.
-
Finish and Seal: Apply heat once more to ensure the vinyl is securely adhered, enhancing its durability and finish.
A common mistake is not properly cleaning the helmet, which can lead to poor adhesion and bubbling. It's crucial to ensure all surfaces are free of contaminants before beginning the wrap process.
Another frequent error is stretching the vinyl too much, causing it to tear or distort the design. Always apply gentle, even pressure and use heat to assist in maneuvering the vinyl over complex areas. By following these steps meticulously, you can achieve a custom helmet design that not only looks great but also stands the test of time.
Choosing the Right Vinyl and Design for Your Helmet
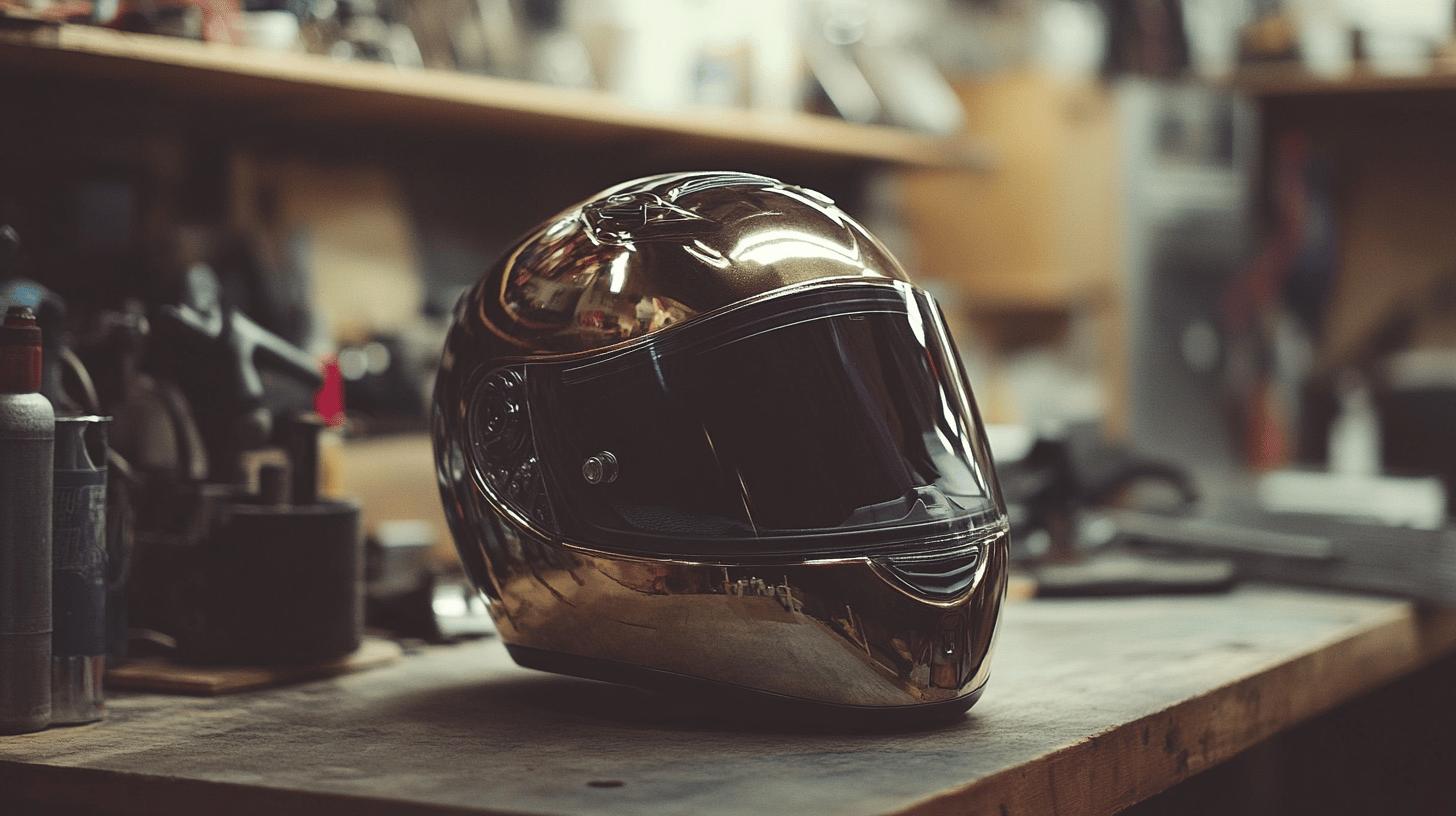
Motorcycle helmet graphics offer a wide range of design options, allowing riders to express their individual style. Vinyl wraps come in various colors and finishes, catering to different aesthetic tastes and preferences.
Whether you're looking for a bold, bright look or a subtle, sleek finish, there's a vinyl wrap to match your vision. Popular options include vibrant shades like Glossy Metallic Vampire Red or understated tones like High Glossy Paint Black. Each finish offers a unique texture and appearance, from glossy and metallic to carbon fiber.
| Color/Finish | Brand | Durability |
|---|---|---|
| Glossy Metallic Vampire Red | 3M | 5-7 years |
| High Glossy Paint Black | ORAJET | 6-8 years |
| Super Carbon Fiber | PrismJET | 5-7 years |
| Chrome Silver | 3M | 5-6 years |
| Matte Neon Green | ORAJET | 6-8 years |
When selecting a design for your helmet wrap, consider factors such as your personal style, the visibility of the design, and the intended use of the helmet. High-quality vinyl is crucial for durability and to prevent fading over time.
Brands like 3M, ORAJET, and PrismJET are well-regarded for their long-lasting materials. Consider how the color and finish will complement your motorcycle or riding gear. For those who ride frequently at night, reflective or bright colors might enhance safety by increasing visibility.
Cost and Durability of Motorcycle Helmet Wraps
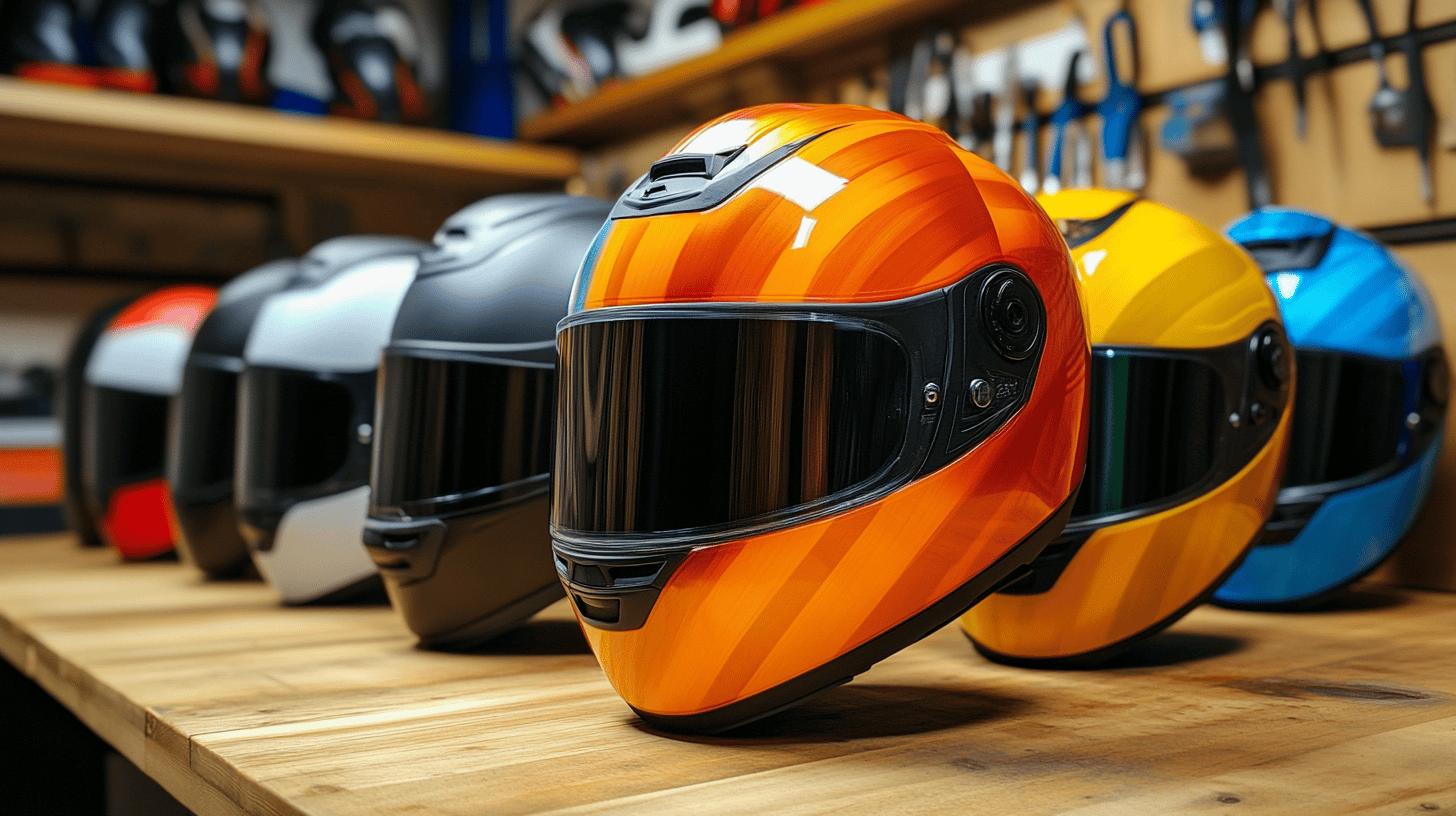
The cost of motorcycle helmet wraps varies significantly based on several factors such as the quality of vinyl, complexity of the design, and whether you opt for professional services or a DIY approach.
Professional wrapping services typically charge around $400 for a high-quality, expertly applied wrap. This price reflects the precision and expertise involved in ensuring a flawless finish. Meanwhile, budget-friendly options can be found between $100 to $150, which may involve simpler designs or lower-grade materials.
-
Professional Services: Approximately $400 for high-quality wraps.
-
DIY Kits: Range from $50 to $100 for materials, excluding tools.
-
Budget-Friendly Services: Starting at $100 to $150, often with limited design options.
- Vinyl Quality: Higher-grade vinyl costs more but offers better longevity and finish.
Durability is a key consideration when choosing a helmet wrap, as high-quality vinyl can last between 5 to 10 years if maintained properly. Regularly cleaning the wrap with mild detergent and avoiding harsh chemicals can preserve its appearance and adhesive properties.
Additionally, storing the helmet away from extreme temperatures and direct sunlight can prolong the lifespan of the wrap, maintaining both its aesthetic and protective qualities.
Enhancing Helmet Safety and Aesthetics with Wraps
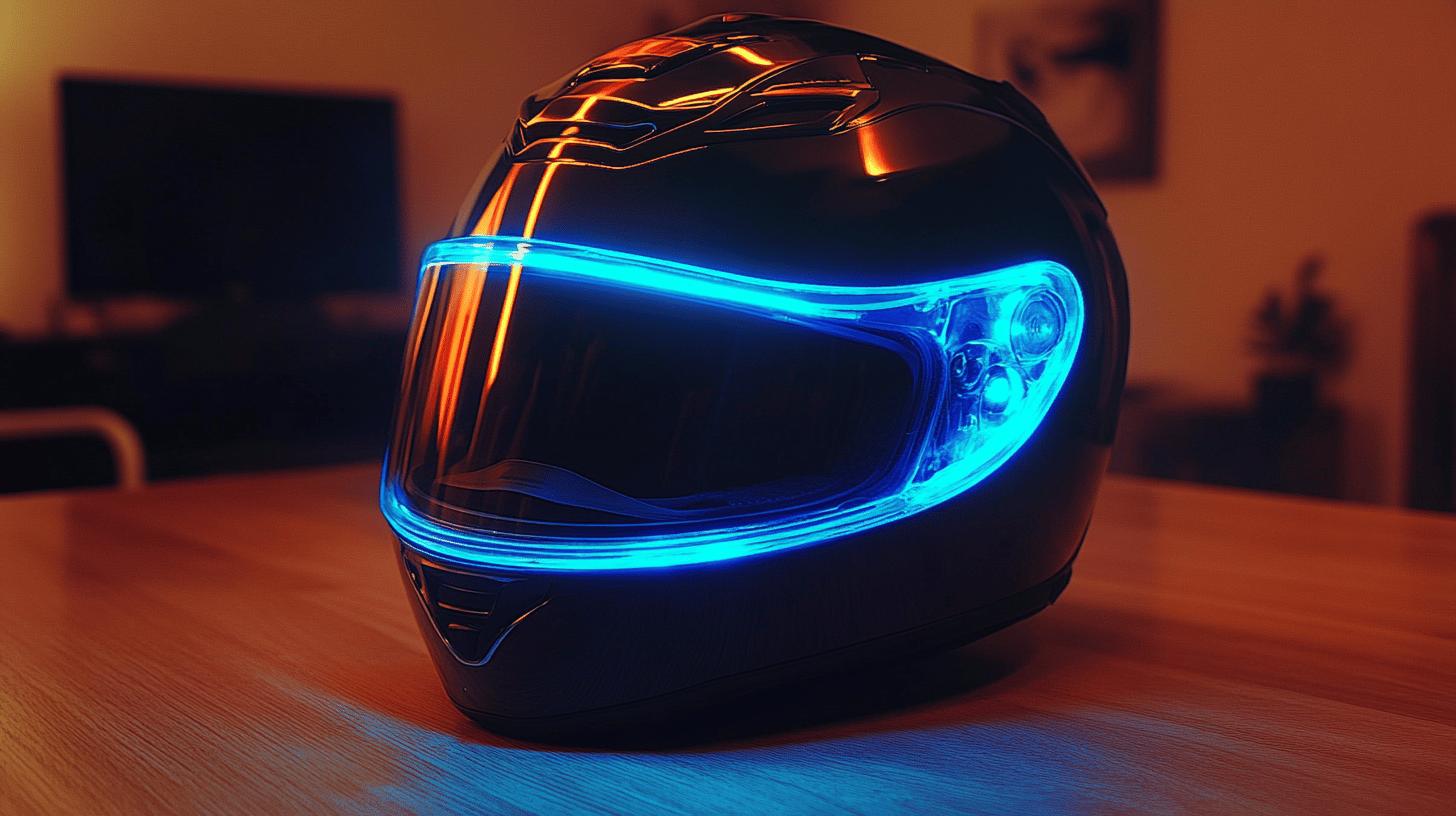
Helmet wraps can enhance safety when applied correctly, as they should not interfere with safety certifications. To maintain safety, it's important to apply wraps thoughtfully, ensuring visibility features, like reflective elements, remain unobstructed.
A wrap should be carefully trimmed around areas that display safety certifications to avoid compromising the helmet's protective integrity. Reflective wraps, in particular, are beneficial for night riding, as they increase a rider's visibility to other road users, thus enhancing overall safety.
-
Increased visibility during night rides
-
Maintains helmet's structural integrity
-
Improves aesthetic appeal without sacrificing safety
Beyond safety, helmet wraps offer a unique opportunity for personalization. Riders can choose from various colors, finishes, and designs to express their style while maintaining the helmet's original structure.
Whether opting for a sleek matte finish or a vibrant metallic shade, wraps can transform a helmet's appearance without permanent alteration. This level of customization allows riders to coordinate their helmets with their motorcycles or riding gear, creating a cohesive and personalized look that stands out on the road.
Final Words
Mastering how to wrap a motorcycle helmet combines essential preparation techniques with the right tools and materials.
From thorough cleaning and precise measuring to choosing quality vinyl and appealing designs, each step contributes to a successful customization process. While wrapping enhances both safety and aesthetics, it remains critical to maintain the helmet's safety features.
Whether pursuing a DIY project or seeking professional services, helmet wraps offer a cost-effective way to personalize and protect one’s gear.
FAQ
Can I vinyl wrap a motorcycle helmet?
Vinyl wrapping a motorcycle helmet is possible, offering customization and style options. Ensure proper preparation of the helmet surface for a successful wrap.
Is wrapping a helmet safe?
When correctly applied, wrapping a helmet does not compromise safety, as long as the wrap doesn't interfere with the helmet's safety certifications.
How much does it cost to wrap your motorcycle?
The cost of wrapping a motorcycle professionally is about $400 for high-quality service. DIY options range from $100 to $150, depending on materials.
Is it easy to vinyl wrap a motorcycle?
Vinyl wrapping a motorcycle involves a step-by-step process with careful attention to detail for proper application. It may require some skill and patience.

Mark Anderson is a trusted expert with over 25 years of riding experience. At 56, his deep knowledge of long-distance touring and participation in major motorcycle rallies makes him a reliable source for gear recommendations on ProtectiveGearz. Mark’s decades of firsthand experience ensure his advice is authoritative and valuable to riders seeking expert guidance.
