Ever wonder what's beneath the robust shell of your motorcycle helmet? Breaking down your helmet for cleaning or repairs might seem daunting, but understanding the internal components is crucial for maintenance and care.
Grasping the intricacies of how to take apart a motorcycle helmet safely is not only practical but ensures longevity and optimal protection for this vital gear.
As you journey through this guide, you’ll discover how different helmet types influence the disassembly process and uncover the methods to tackle it with precision and safety. Ready to dive in? Let's get started.
Identifying Your Helmet Type
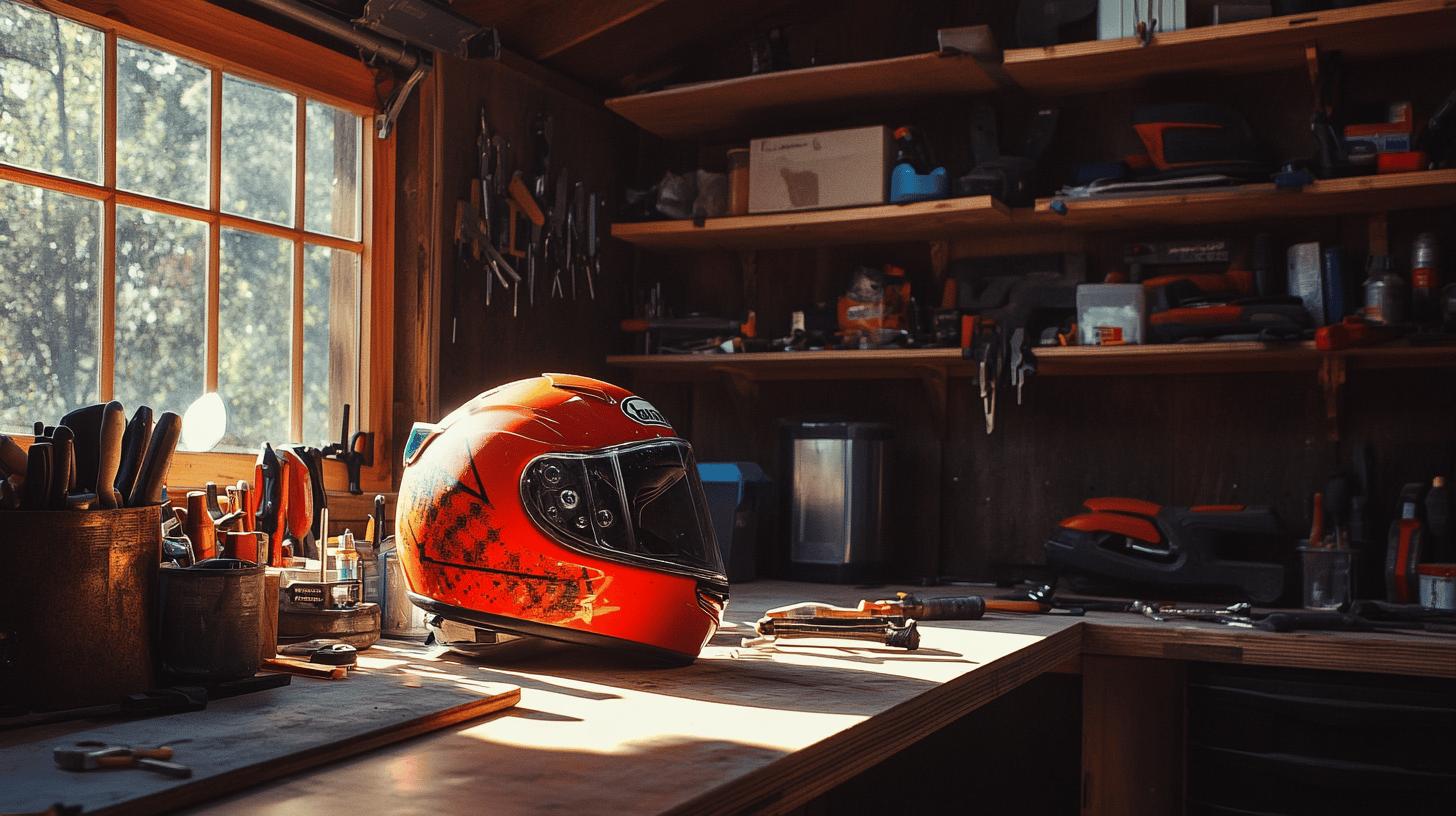
When figuring out how to take apart a motorcycle helmet, identifying the type of helmet you have is the first critical step. Different helmet designs come with unique components and fastening methods that dictate the specific disassembly steps. Understanding your helmet's design ensures you use the correct approach, preventing damage and maintaining safety standards.
-
Full-Face Helmets: These typically include a visor, chin bar, and internal padding.
-
Modular Helmets: Feature a flip-up chin bar, visor, and removable liners.
-
Open-Face Helmets: Generally consist of a visor and basic internal padding.
-
Off-Road Helmets: Often equipped with a peak visor, chin bar, and robust padding.
-
Half Helmets: Feature minimal padding and a basic strap system.
Each helmet type's components can significantly influence the disassembly process. For instance, full-face helmets often require careful removal of the visor and chin bar before accessing the interior padding.
Modular helmets demand attention to the mechanism controlling the flip-up feature, ensuring no parts are forced or broken. Open-face and half helmets, being simpler in design, generally have fewer parts to manage, making their disassembly straightforward.
Meanwhile, off-road helmets might have additional protective features, such as a peak visor, that need careful handling. Taking the time to recognize these distinctions not only aids in a smoother disassembly but also helps in maintaining the helmet's integrity for future use.
Tools and Safety Precautions for Helmet Disassembly
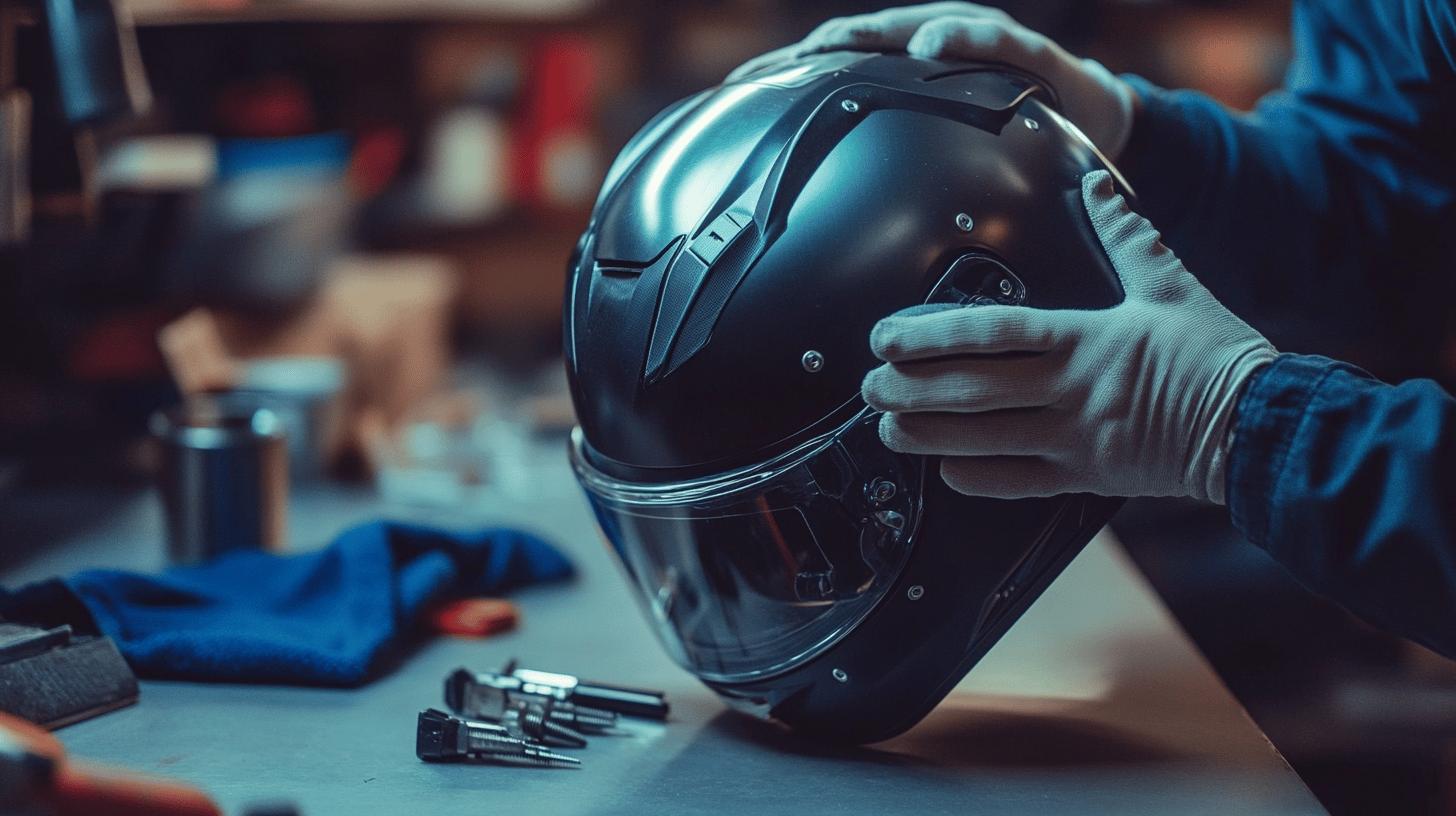
Disassembling a motorcycle helmet involves more than just knowing the steps; having the right tools and observing safety precautions are paramount. Using the correct tools minimizes the risk of damaging delicate components, while following safety measures ensures the helmet remains structurally sound for future use.
A screwdriver set is often needed to remove screws without stripping them, and a soft cloth helps prevent scratches on the helmet's surface. Additionally, practicing good safety gear handling means working in a clean environment and keeping track of small parts to avoid misplacement or loss.
-
Screwdriver set
-
Soft cloth
-
Small wrench
-
Clean workspace
-
Container for storing small parts
These tools and precautions not only facilitate a smooth disassembly process but also preserve the helmet's integrity, ensuring it continues to provide the protection it's designed for.
Step-by-Step Guide to Disassembling Your Helmet
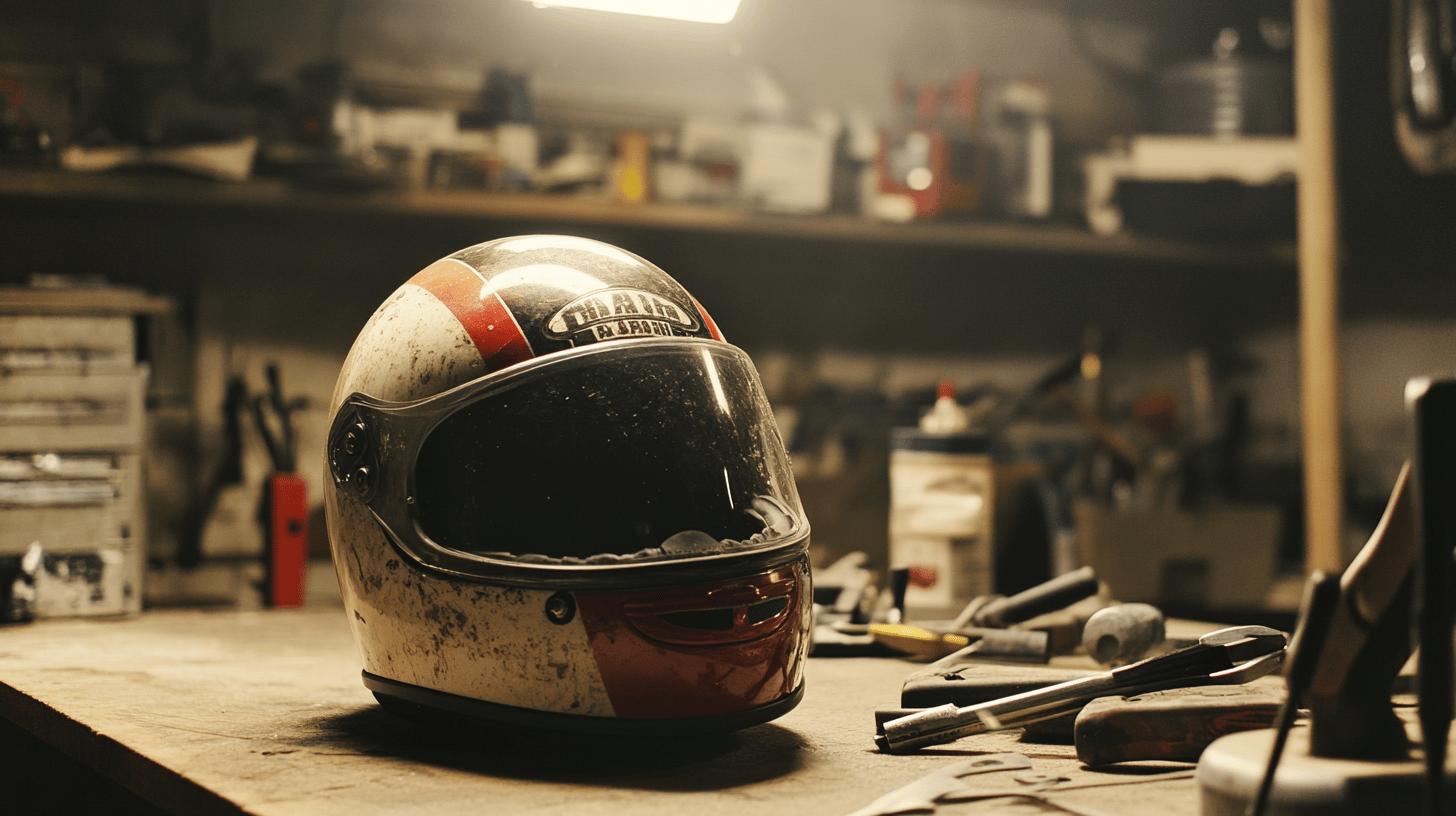
- Remove the Visor
Begin by gently detaching the visor. Most visors are secured with screws or clips located on either side of the helmet. Use a screwdriver to remove these screws, or if clips are present, carefully unclip them without applying excessive force. Keeping track of these small components is crucial, so consider placing them in a small container for safekeeping.
- Detach the Chin Bar (If Applicable)
For helmets with a chin bar, such as full-face or modular types, the next step is to remove this component. Look for screws or quick-release mechanisms at the base of the chin bar. Loosen or disengage these carefully, ensuring not to strip any screws in the process.
- Remove Internal Padding or Liners
Internal padding is typically secured with snaps or Velcro. Start by gently unsnapping or peeling away these liners from the helmet's interior. Take note of how these pads are positioned, as this will assist in reassembling the helmet correctly later on. The liner removal marks a significant step in accessing the helmet's inner shell and components.
- Detach the Cheek Pads
Cheek pads usually have a similar attachment method to the liners, often secured with snaps or Velcro. Begin by carefully unfastening them, ensuring to note their orientation and position for reassembly.
- Remove Any Electronic Components
If your helmet includes Bluetooth or other electronic features, disconnect these next. Typically, electronic components are secured with small screws or clips and connected with wires. Exercise caution to avoid damaging these sensitive parts, and place them in a safe spot once removed.
- Disassemble the Chin Strap
The chin strap is often attached via screws or clips within the helmet. Locate these fastenings and remove them with the appropriate tool. Pay special attention to the order of parts, as the chin strap's reassembly will require precise positioning.
- Final Check and Part Organization
After all components are disassembled, conduct a final check to ensure nothing is overlooked. Organize all parts, screws, and clips systematically. This organization is vital for a seamless reassembly, ensuring each part returns to its correct location.
Following these steps meticulously will help in maintaining the helmet's condition while allowing for effective cleaning or part replacement.
Cleaning and Maintenance Tips
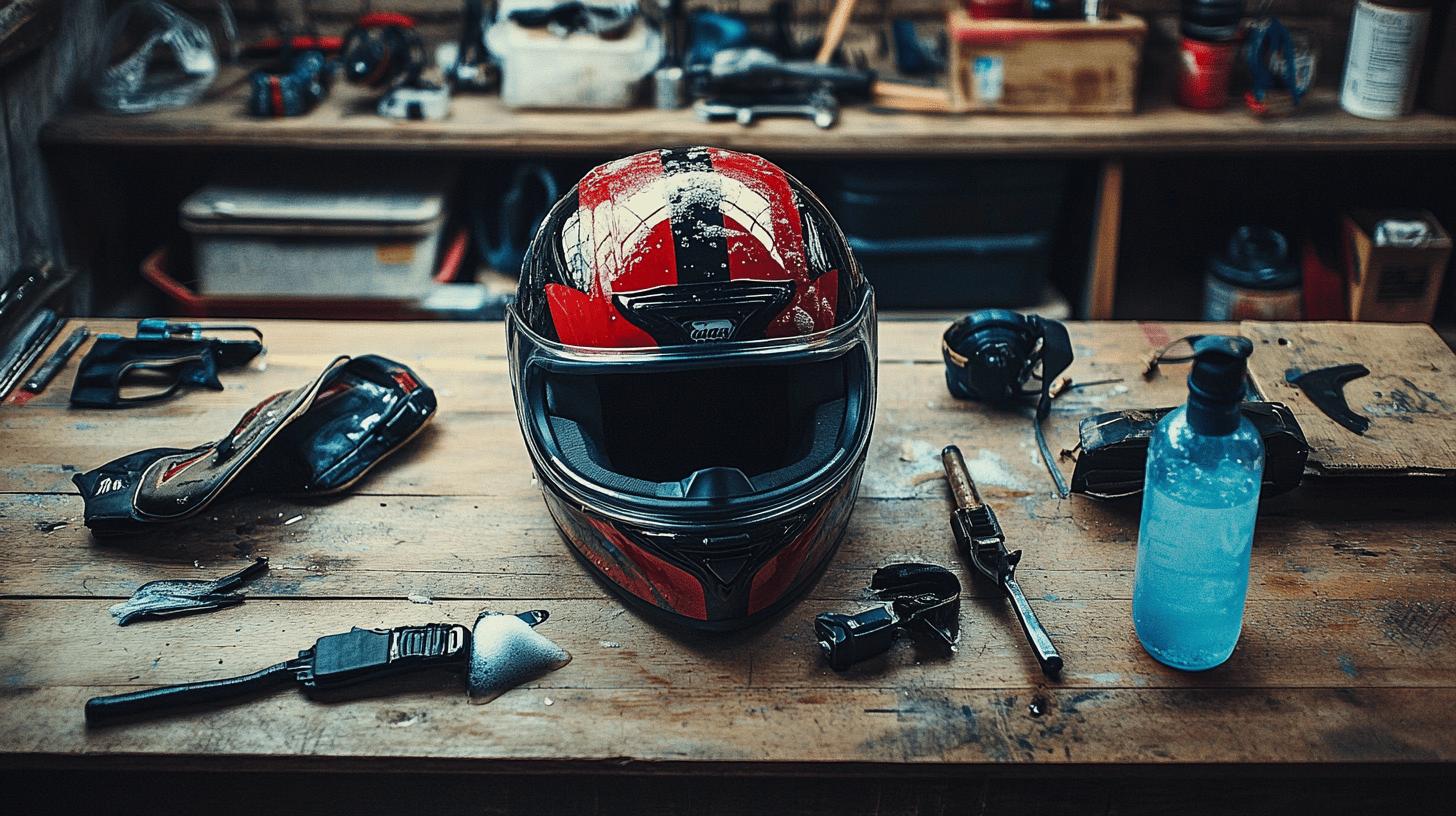
Once a motorcycle helmet is disassembled, proper cleaning and maintenance become crucial for extending its lifespan and ensuring safety. For the helmet shell, mild soap and lukewarm water are recommended, as harsh chemicals can degrade the material.
Non-abrasive cleaners should be used on the visor to avoid scratching, preserving visibility during rides. The interior lining and padding can be cleaned with a gentle fabric cleaner or mild shampoo, ensuring that these materials remain soft and odor-free.
| Helmet Part | Cleaning Solution |
|---|---|
| Shell | Mild soap and lukewarm water |
| Visor | Non-abrasive cleaner |
| Interior Padding | Mild shampoo or fabric cleaner |
Drying methods are as important as cleaning, as improper drying can lead to unpleasant odors or material degradation. After washing, gently pat the helmet and its parts with a soft towel to remove excess moisture. Allow them to air dry in a cool, shaded area to prevent UV damage.
Avoid direct heat sources like hairdryers, which can warp plastic components. Establish a regular maintenance schedule, cleaning the helmet every few months or after particularly dirty rides, to ensure it remains in top condition.
Reassembly and Troubleshooting Common Issues

To reassemble a motorcycle helmet properly, reverse the disassembly steps. Begin by reattaching the chin strap, ensuring it is securely fastened with its screws or clips. Next, reconnect any electronic components, carefully aligning them with their original positions to avoid damaging wires or connectors.
Replace the cheek pads, snapping or attaching them with Velcro in their correct orientation. Reinsert the internal padding or liners, ensuring they are snug and properly aligned within the helmet's interior. Finally, reattach the visor, making sure all screws or clips are tightened securely. Following these reassembly instructions helps maintain the helmet's integrity and functionality.
-
Misaligned Pads or Liners: Adjust the positioning until they fit snugly without gaps.
-
Loose Chin Strap: Double-check fastenings, ensuring screws or clips are tightened.
-
Electronic Component Issues: Verify all connections are secure and wires are undamaged.
- Visor Not Closing Properly: Ensure proper alignment and tighten any loose screws.
After reassembly, assessing the helmet's integrity and fit is crucial. Inspect all components for correct alignment and secure fastening. Try on the helmet to ensure it fits comfortably without any pressure points or looseness. Confirm that the visor opens and closes smoothly, and all electronic features function as intended.
This post-reassembly check ensures the helmet provides the safety and comfort necessary for riding. Regularly performing these checks and adjustments helps maintain the helmet's performance and extends its lifespan.
Storing and Extending the Life of Your Helmet
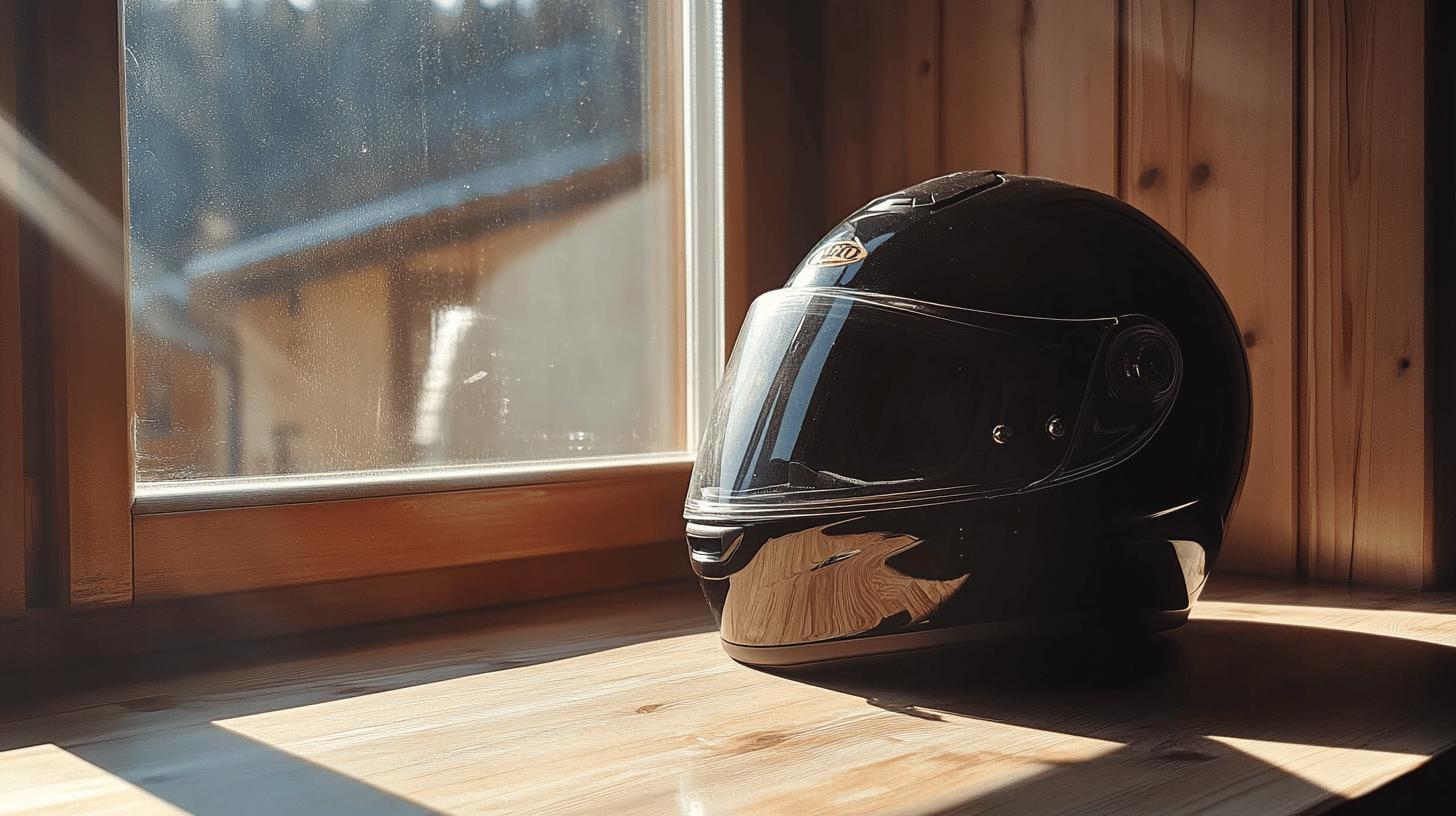
Proper storage conditions are crucial for extending the life of your motorcycle helmet. Exposure to harsh elements like direct sunlight or extreme temperatures can degrade the materials, affecting both safety and comfort.
Storing helmets in a cool, dry place helps maintain the structural integrity of the shell and lining, ensuring that the helmet remains effective in protecting the rider. Moisture can lead to mold or mildew, which compromises the internal padding, so keeping the helmet dry is essential for long-term usability.
-
Store in a cool, dry place
-
Avoid direct sunlight
-
Use a helmet bag or cover for protection
Regular maintenance and care further contribute to a helmet's longevity. Periodically inspect the helmet for any signs of wear or damage, particularly after long rides or adverse weather. Clean the exterior and interior components using recommended methods to prevent buildup of dirt and grime.
Ensure all parts, such as the visor and padding, are properly aligned and functioning. By adhering to these practices, riders can significantly extend the life of their helmets, ensuring they continue to provide optimal protection on every ride.
Final Words
Understanding each element of helmet disassembly is key to a successful process. Identifying the helmet type informs the specific steps needed, ensuring smooth disassembly and reassembly. Using appropriate tools and precautions maintains helmet integrity while cleaning and maintenance restore its condition.
Following the step-by-step guide on how to take apart a motorcycle helmet equips riders with essential skills. Proper storage offers longevity, ensuring helmets remain safe and reliable for future rides. Maintain care practices to enhance every riding experience confidently.
FAQ
How to open a motorcycle helmet?
A motorcycle helmet can be opened by releasing the chin strap and using the release mechanism located near the chin or side of the helmet. Methods vary by helmet type.
How do you remove helmet parts?
Helmet parts can be removed by first detaching the visor, followed by the internal padding or liners. Taking note of all screws and components helps during reassembly.
How to clean a helmet from inside?
Cleaning a helmet inside requires removing the liner and padding, then washing with mild soap and water. Thoroughly dry before reassembly to prevent odors and mold.
How to take padding out of a motorcycle helmet?
To take out a motorcycle helmet's padding, locate and gently detach the snaps or Velcro that secure the padding, ensuring no damaging force is applied.

Brad Mitchell is a seasoned motorcycle enthusiast with over 16 years of riding experience. He’s spent countless hours on the open road, particularly favoring scenic routes aboard his trusted Harley-Davidson. Brad’s laid-back approach to life and riding gives him a unique perspective on motorcycle gear and safety, which he shares through his in-depth reviews and expert advice on ProtectiveGearz.


