Is it worth the risk to repair a chipped motorcycle helmet, or is it safer to just replace it? Motorcycle helmets are not just a fashion accessory; they serve as a vital protective shield for riders, safeguarding against serious head injuries.
When your helmet suffers a chip, the dilemma is whether a repair can maintain its integrity or if it's time to invest in a new one.
This article dives into the crucial steps for safely assessing and repairing damage, ensuring your gear meets safety standards and continues to provide the protection you rely on.
Evaluating Helmet Damage for Repair

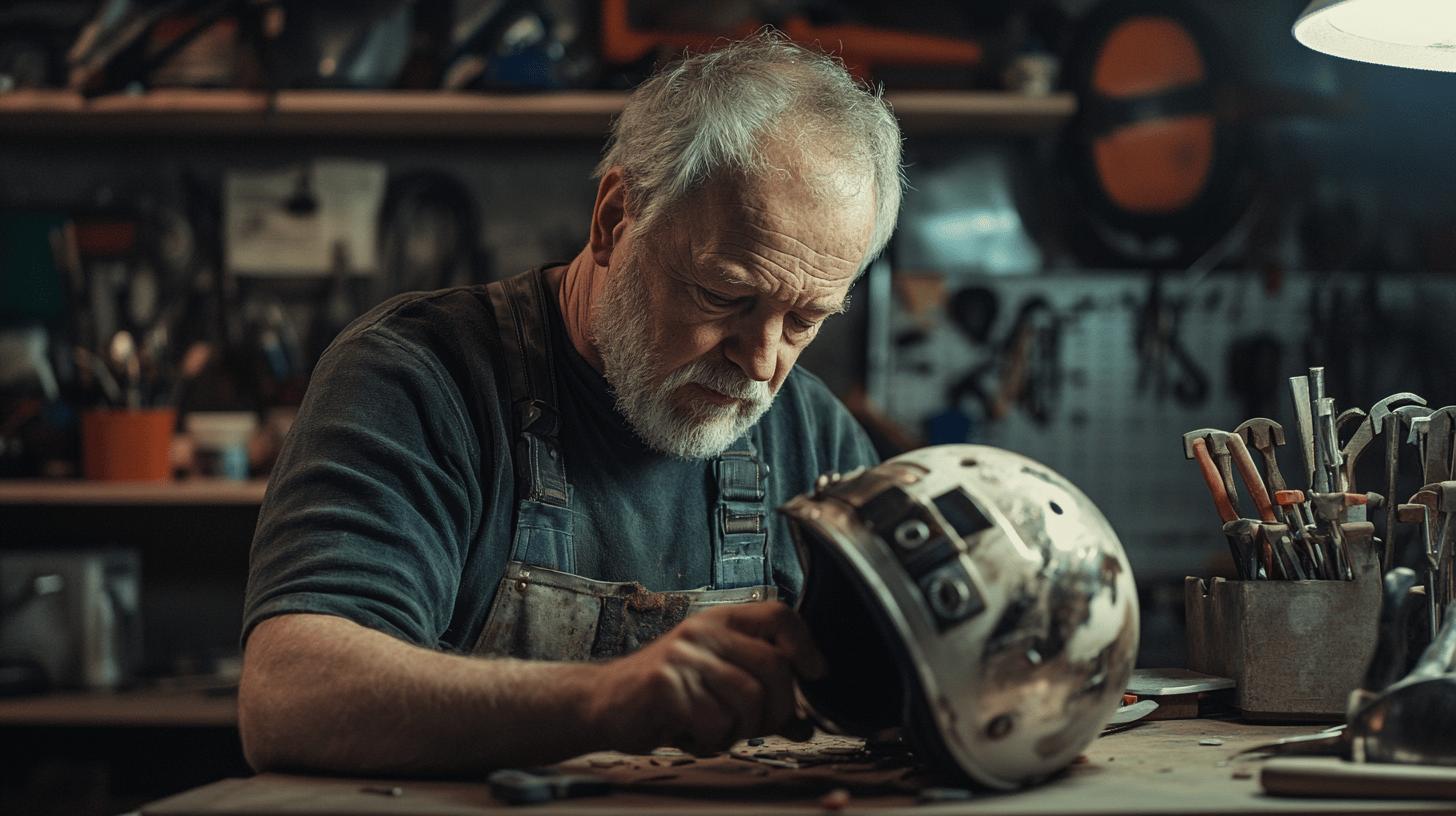
Assessing helmet damage is a critical step in maintaining rider safety. A proper evaluation helps determine whether a helmet can be repaired or if replacement is necessary. Ignoring damage can compromise the helmet's protective capabilities, putting the rider at risk.
Therefore, understanding the severity of the damage is essential for making informed decisions about helmet repairs.
-
Visual Inspection: Look for visible cracks, deep scratches, or chips that may indicate significant damage.
-
Check for Soft Spots: Gently press on the helmet's surface to detect any soft areas, which may suggest compromised integrity.
-
Assess Interior Liner: Examine the liner for any compression or damage that could affect impact absorption.
-
Evaluate Retention System: Test the straps and buckles for functionality and security.
-
Consider Helmet Age: Older helmets may have deteriorated materials that are less effective at protection.
Repair is possible when the damage is superficial, such as minor scratches or small chips, that do not affect the helmet's structural integrity. In these cases, cosmetic repairs can be performed using appropriate materials like epoxy resin or touch-up paint.
Ensuring that repairs meet safety standards is crucial to maintain the helmet’s protective function. Regular inspections post-repair can further ascertain that the helmet remains safe for use.
Replacement is necessary if the helmet's structural integrity is compromised, such as in cases of cracks or significant impact damage.
Helmets involved in accidents should be automatically considered for replacement, as unseen damage could impair their ability to protect during future incidents. Adhering to helmet safety standards and replacing when necessary ensures maximum protection and rider safety.
Essential Tools and Materials for Helmet Repair

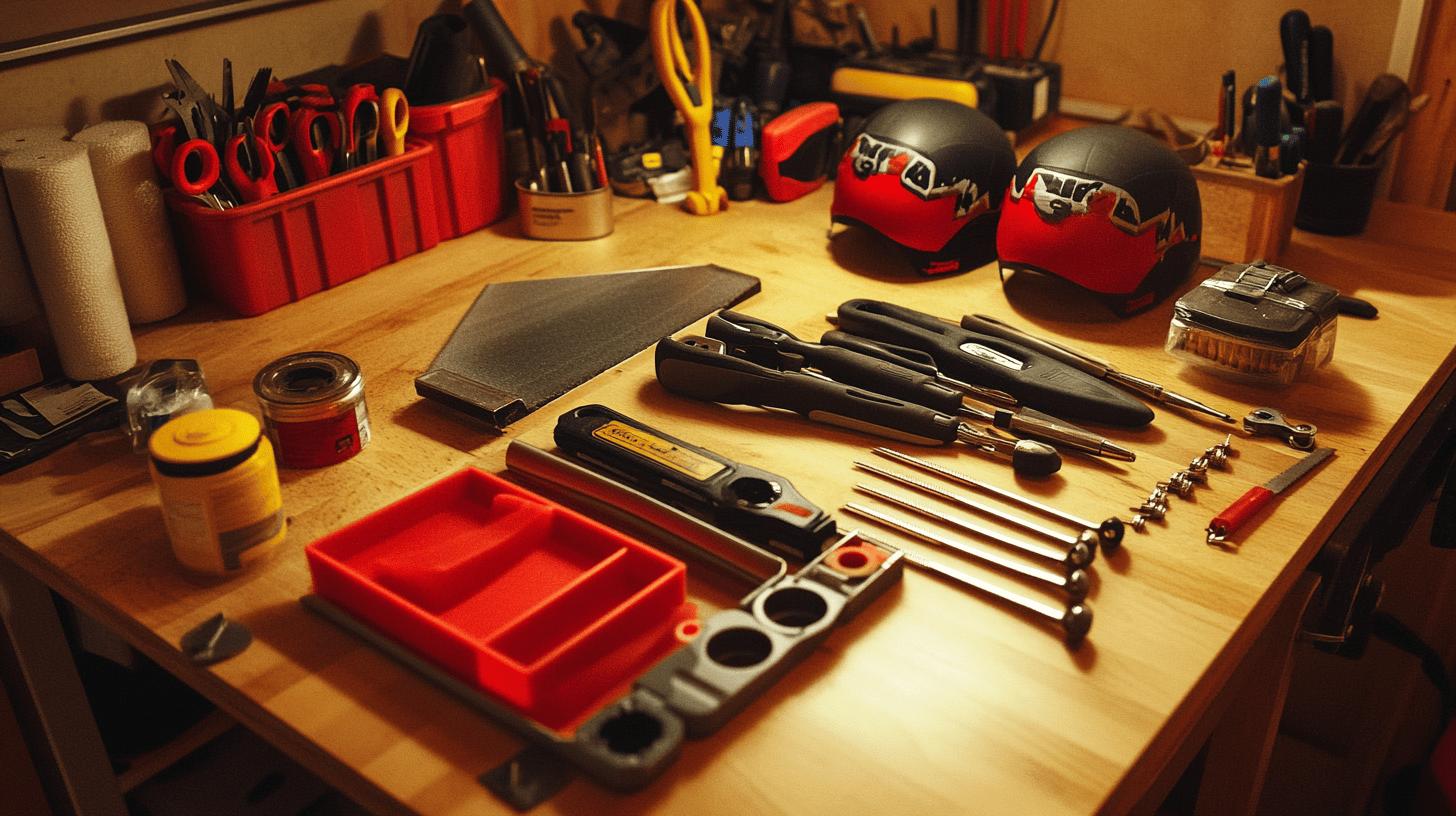
Using the correct tools is fundamental to ensuring a successful helmet repair. Without the appropriate equipment and materials, the repair process can be ineffective, potentially compromising the helmet's integrity. A well-equipped toolbox not only facilitates the repair but also helps maintain the safety features of the helmet.
-
Fine Grit Sandpaper: Necessary for smoothing out the chipped area before applying any adhesives.
-
Epoxy Resin: Acts as a strong adhesive to fill and bond the chipped area.
-
Putty Knife: Used for applying epoxy resin smoothly over the surface.
-
Touch-Up Paint: Matches the helmet's color to restore its appearance post-repair.
-
Screwdriver Set: Useful for disassembling helmet parts if needed during the repair.
-
Allen Wrenches: Handy for any adjustments or part replacements that may be required.
These materials are essential for a thorough and effective repair process. Fine grit sandpaper prepares the helmet surface, ensuring the epoxy adheres properly. The epoxy resin is crucial for rebuilding and strengthening the chipped area.
A putty knife helps apply the epoxy evenly, preventing any bulges or uneven surfaces. Touch-up paint is the final touch, restoring the helmet's aesthetic appeal.
Tools like screwdrivers and allen wrenches aid in any necessary disassembly or adjustments, ensuring the helmet remains securely assembled. Each component plays a critical role in maintaining the helmet’s protective capabilities.
Step-by-Step Guide to Repairing a Chipped Helmet

Repairing a chipped motorcycle helmet involves several meticulous steps to restore its protective capabilities and appearance. This process requires precision and attention to detail to ensure the helmet remains safe for future rides.
-
Clean the Chipped Area: Use a mild detergent mixed with water to gently clean the chipped area. This removes any debris, dirt, or grease that could interfere with the repair process.
-
Dry Thoroughly: After cleaning, ensure the area is completely dry. Use a soft cloth to pat dry, preventing water from affecting the repair materials.
-
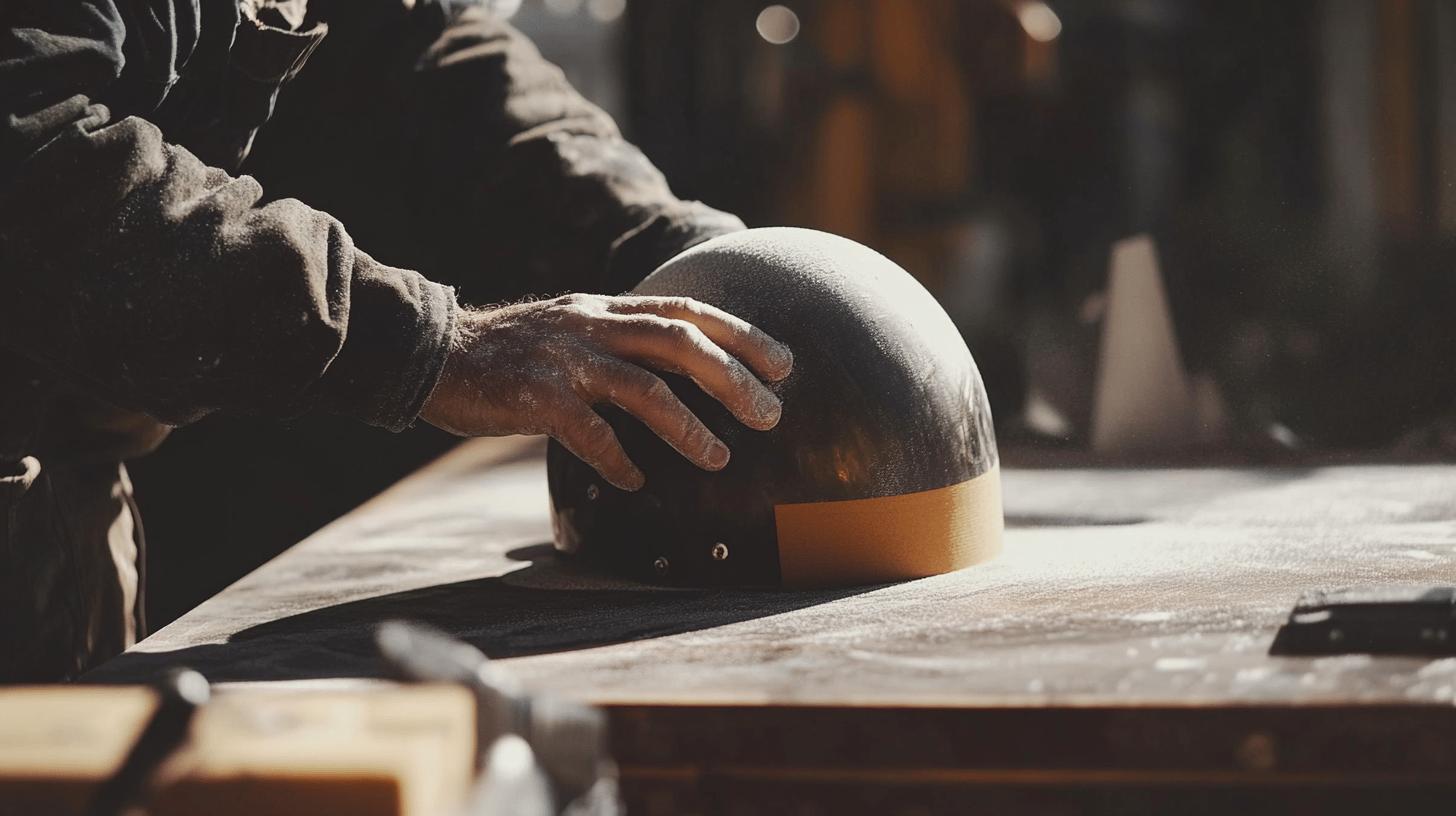
Sand the Area: Lightly sand the chipped section with fine-grit sandpaper. This step smooths the surface, allowing better adhesion for the epoxy resin.
-
Mix Epoxy Resin: Follow the manufacturer's instructions to mix the epoxy resin properly. The correct mixture is crucial for a strong bond.
-
Apply Epoxy: Use a putty knife to apply the mixed epoxy to the chipped area. Smooth it out evenly to avoid any bumps or uneven patches.
-
Allow to Cure: Leave the helmet undisturbed for several hours, or as directed by the epoxy guidelines, to let the resin cure completely.
-
Sand Again: Once cured, sand the area again using fine-grit sandpaper to achieve a seamless finish that blends with the rest of the helmet.
-
Touch-Up Paint: Finally, apply touch-up paint to match the helmet's original color. Ensure the paint is suitable for the helmet material to prevent damage.
Following each step carefully ensures the repair is effective and that the helmet retains its protective features. Proper cleaning and sanding are essential for optimal epoxy adhesion, while curing time is vital for durability. Touch-up paint provides the finishing touch, restoring the helmet's aesthetic appeal.
Safety Considerations and Helmet Integrity Post-Repair

After repairing a chipped motorcycle helmet, what is the most crucial step to ensure safety? Ensuring the helmet maintains its protective capabilities. Post-repair, it’s vital to check that the helmet is still capable of providing adequate protection in the event of an accident.
This involves more than just making sure the helmet looks good; the structural integrity must be intact. A repaired helmet must be scrutinized to confirm that its ability to absorb impact and protect the rider has not been compromised.
Regular inspections are necessary, as even minor repairs can affect the helmet's performance. If any doubt arises about the helmet’s safety features post-repair, replacing it might be the safer option.
-
Inspect for New Cracks: Post-repair, examine the helmet thoroughly for any new or missed cracks that may compromise safety.
-
Check Liner Condition: Ensure the interior liner is intact without signs of compression or damage.
-
Test Fasteners: Verify that all straps and buckles are functioning correctly and securely.
- Look for Adhesion Issues: Make sure the repair materials have adhered properly without peeling or bubbling.
When should a professional evaluation be considered? If there is any uncertainty about the repair's effectiveness or the helmet's integrity. Professional evaluations are beneficial when damage is extensive or when repairs are complex.
Specialists can conduct detailed assessments and provide peace of mind by confirming the helmet meets safety standards. If the helmet has endured significant impact, professional advice is crucial to determine whether the helmet should be replaced entirely.
When to Opt for Professional Helmet Repair Services

When should a rider consider professional helmet repair? If the damage is significant or there is uncertainty about the helmet's structural integrity. Major damage, such as deep cracks or compromised impact areas, requires the expertise of professionals specializing in helmet safety to ensure that repairs adhere to safety standards.
A professional evaluation is crucial, especially if the helmet has been involved in a significant impact, as unseen damage could compromise its ability to protect in future incidents.
What are the benefits of opting for professional helmet repair services? They include ensuring compliance with safety standards and potentially prolonging the helmet's life, albeit at a higher cost than DIY repairs.
Professionals have access to specialized tools and materials, providing repairs that maintain the helmet's integrity without compromising safety. Considering the costs, professional repairs may seem expensive, but they offer peace of mind by ensuring the helmet remains reliable and effective in protecting the rider.
Final Words
Assessing and repairing a chipped motorcycle helmet involves crucial steps to maintain safety. Evaluating damage helps determine whether a helmet should be repaired or replaced, ensuring adherence to safety standards.
Equipped with the right tools and materials, you can tackle minor repairs confidently. Following methodical repair steps is essential to restore helmet integrity.
By balancing DIY efforts with professional insights, riders can confidently learn how to repair a chipped motorcycle helmet, securing their safety on the road.
FAQ
Can a motorcycle helmet be repaired?
A motorcycle helmet can be repaired if the damage doesn't affect its structural integrity. Superficial scratches or chips can be fixed, but any compromise to the helmet's safety features necessitates replacement instead.
What is the 5 year rule for helmets?
The 5-year rule for helmets suggests replacing them every five years, as materials degrade over time, potentially reducing protective capabilities, regardless of external condition or visible damage.
What to do with a damaged motorcycle helmet?
For a damaged motorcycle helmet, assess the extent of damage. If the helmet's structural integrity is compromised, replacement is vital. If it's a surface issue, careful repair with suitable materials is possible.
How to fix a scratched motorcycle helmet?
To fix a scratched motorcycle helmet, clean the area thoroughly, sand with fine-grit paper for smoothness, apply touch-up paint matching the helmet, and allow it to dry completely for a seamless finish.

Brad Mitchell is a seasoned motorcycle enthusiast with over 16 years of riding experience. He’s spent countless hours on the open road, particularly favoring scenic routes aboard his trusted Harley-Davidson. Brad’s laid-back approach to life and riding gives him a unique perspective on motorcycle gear and safety, which he shares through his in-depth reviews and expert advice on ProtectiveGearz.


