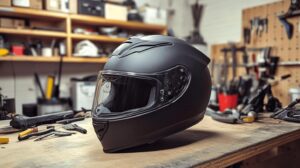
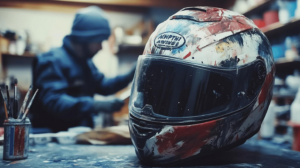
Ever looked at your motorcycle helmet and wondered how to safely remove that stubborn paint without compromising its integrity? Removing paint from a helmet isn't as simple as it seems.
Different materials like fiberglass, plastic, and carbon fiber each react distinctively to solvents and removal techniques. Understanding these materials is crucial to preserving your helmet's safety and structure.
This article delves into professional, non-abrasive techniques and safety measures to maintain your helmet's durability while achieving the desired aesthetic. Learn to expertly manage paint removal, ensuring a safe ride every time.
Understanding Helmet Materials and Paint Removal
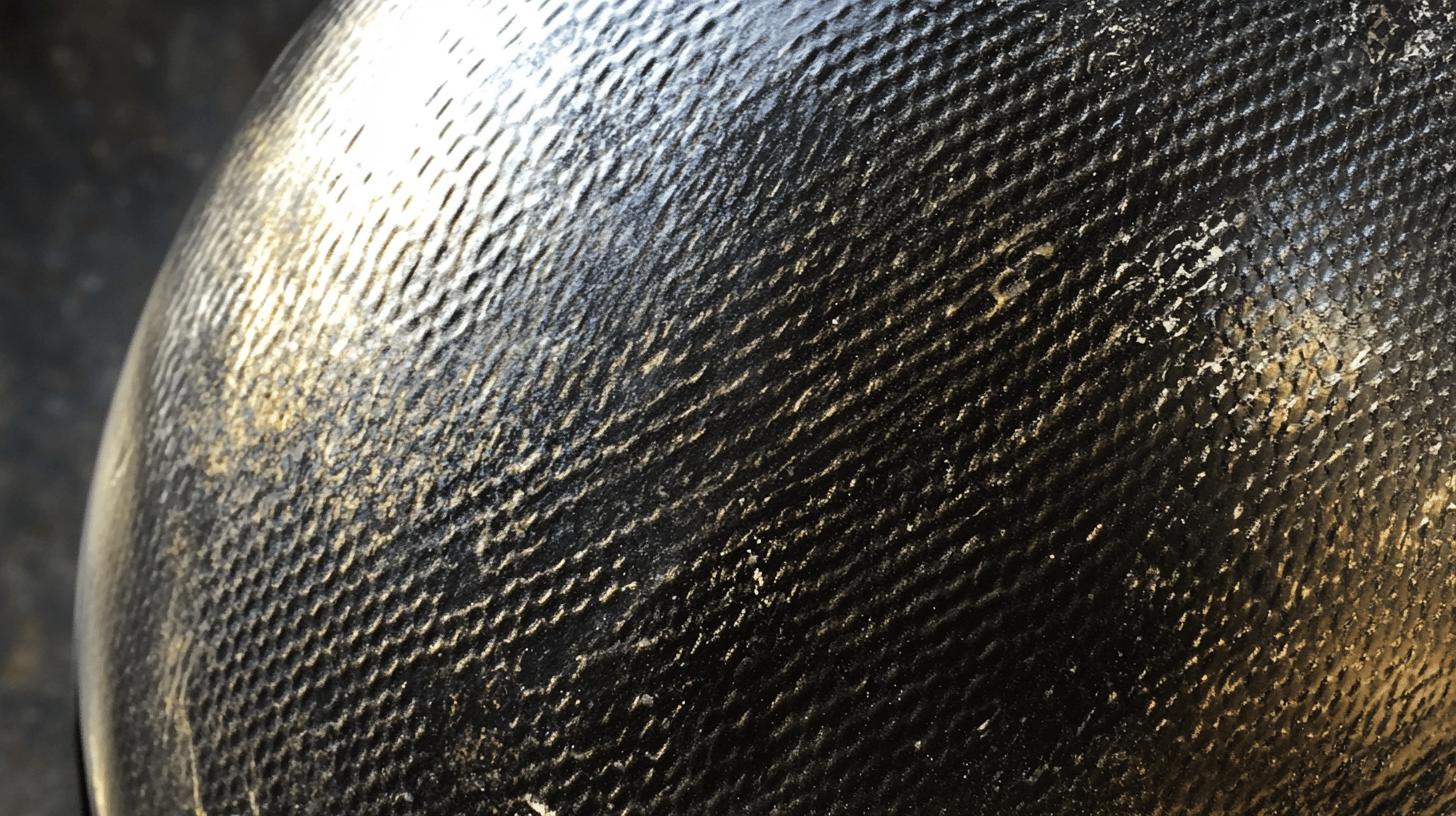
Different motorcycle helmet materials, such as fiberglass, plastic, and carbon fiber, exhibit unique characteristics that influence their reaction to paint removal methods.
Fiberglass helmets are known for their durability and resistance to impact but can be susceptible to solvents that may degrade the resin bond. Plastic helmets, often made from polycarbonate, are lightweight and offer good impact resistance, yet they can be vulnerable to solvents that cause surface dulling or cracking.
Carbon fiber helmets, prized for their strength-to-weight ratio, require careful handling during paint removal as harsh chemicals can compromise their structural integrity. Recognizing the specific material of a helmet is crucial in maintaining motorcycle helmet care, ensuring the helmet's integrity is preserved.
| Helmet Material | Characteristics | Sensitivity to Solvents |
|---|---|---|
| Fiberglass | Durable, impact-resistant | High, may degrade resin |
| Plastic | Lightweight, good impact resistance | Moderate, potential surface damage |
| Carbon Fiber | Strong, lightweight | High, risk of structural compromise |
Using inappropriate paint removal methods can pose significant risks to helmet integrity. Applying solvents that are too harsh can lead to structural damage or weaken the helmet's protective capabilities.
For example, acetone can soften and potentially damage materials like fiberglass if not used cautiously. It's essential to identify the helmet material before proceeding with any paint removal process to prevent compromising safety features.
Testing the solvent on a small area and consulting manufacturer guidelines can help avoid these risks, ensuring the helmet remains safe and effective for use.
Safe Methods for Removing Paint from Motorcycle Helmets

Ensuring motorcycle helmet safety during paint removal is paramount, as improper methods can compromise the helmet's protective capabilities. Employing non-abrasive methods and safe solvents preserves the helmet's integrity and appearance.
Harsh chemicals can weaken materials, making it critical to choose products that won't damage the helmet. Testing solvents on inconspicuous areas helps verify compatibility without risking visible damage. Always prioritize using solvents and methods that are gentle on the helmet material to maintain its structural integrity.
-
Identify Helmet Material: Before starting, confirm the helmet's material to select an appropriate solvent. This prevents damage to the helmet's structure.
-
Test Solvent Compatibility: Apply a small amount of solvent to an inconspicuous area. Wait to see if there is any adverse reaction before proceeding.
-
Apply Solvent Safely: Using a soft cloth or sponge, gently apply the solvent to the painted surface. Avoid using abrasive pads that might scratch the helmet.
-
Remove Paint Carefully: Allow the solvent to work for a few minutes, then gently scrub the surface to lift the paint. Repeat the process if necessary, ensuring not to apply excessive force.
-
Clean and Rinse Thoroughly: After paint removal, wash the helmet with mild soap and water to remove any solvent residue. This ensures a clean surface for repainting or restoration if desired.
Proper ventilation and personal protective equipment are crucial when removing paint from motorcycle helmets. Working in a well-ventilated area prevents inhalation of potentially harmful fumes.
Using protective gloves shields the skin from harsh chemicals, while goggles protect the eyes. Adequate safety measures not only protect the user but also preserve the helmet's condition, ensuring it remains a reliable piece of safety equipment.
Tools and Products for Effective Paint Removal
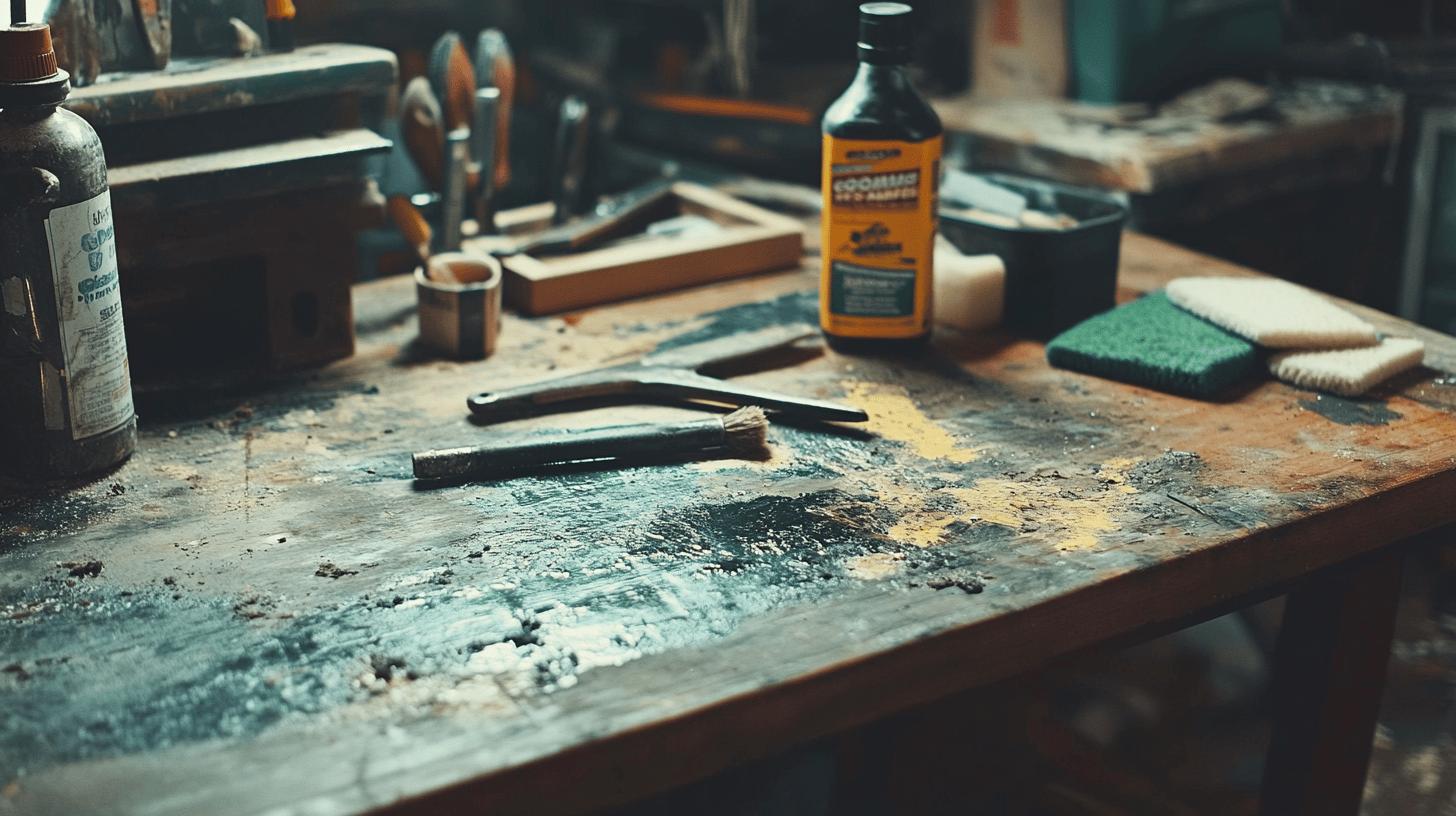
Effective paint removal from motorcycle helmets requires the right combination of tools and products, ensuring the process preserves helmet integrity. Scrubbing pads are a staple, with non-abrasive varieties being ideal to prevent surface scratches.
These pads help in gently removing paint without compromising the helmet's material. Soft cloths are also beneficial for applying solvents evenly, allowing the paint to lift without damaging the helmet. When selecting tools, prioritize those that are gentle on the helmet's surface to maintain its safety features and appearance.
-
Goof Off Graffiti Remover: Known for its strong paint removal capabilities, it's effective on various surfaces without causing damage.
-
3M Safest Stripper: A non-toxic option that is safe for use on most helmet materials, ensuring no structural compromise.
-
Oven Cleaner: While unconventional, some users report success with this product, especially for stubborn paint layers.
-
Acetone: Effective but requires caution, as it can soften certain helmet materials if not used sparingly.
-
Brake Fluid: Suitable for certain materials like ABS, but necessitates thorough cleaning post-use to prevent residue.
Choosing the right products for paint removal hinges on understanding the helmet's material. For fiberglass helmets, avoid harsh chemicals like acetone that might degrade the resin. Plastic helmets benefit from non-toxic options like the 3M Safest Stripper, which minimizes surface damage.
Carbon fiber helmets necessitate extra care; products like Goof Off, known for its gentle yet effective formula, are preferable. Always perform a spot test on an inconspicuous area to ensure the product is compatible with the helmet material, safeguarding against potential damage.
Potential Risks and Safety Precautions in Paint Removal

Improper paint removal methods can lead to significant risks, including scratches and compromised helmet safety. Using harsh chemicals without understanding their effects on different helmet materials can damage the surface, reducing the helmet's protective capabilities.
Scratches not only mar the appearance but can also weaken the structural integrity of the helmet, making it less effective in protecting the rider during an impact. Ensuring that paint removal processes do not affect the helmet's safety features is crucial in maintaining its reliability.
Adhering to helmet safety standards is essential when removing paint. Testing solvents on a small, inconspicuous area of the helmet can prevent widespread damage. This step helps verify that the chemical will not react adversely with the helmet materials.
By consulting product guidelines and manufacturer recommendations, riders can ensure that the chosen methods align with safety standards, preventing damage and maintaining the helmet's protective properties.
Using protective gear, such as gloves and goggles, is vital during paint removal to safeguard against chemical exposure. Gloves protect the skin from harsh solvents, while goggles shield the eyes from splashes.
Working in a well-ventilated area further minimizes the risk of inhaling harmful fumes, ensuring the safety of the person performing the paint removal. Taking these precautions helps maintain both personal safety and the helmet's condition, ensuring it remains a trusted piece of protective gear.
Repainting and Restoring Helmet Appearance
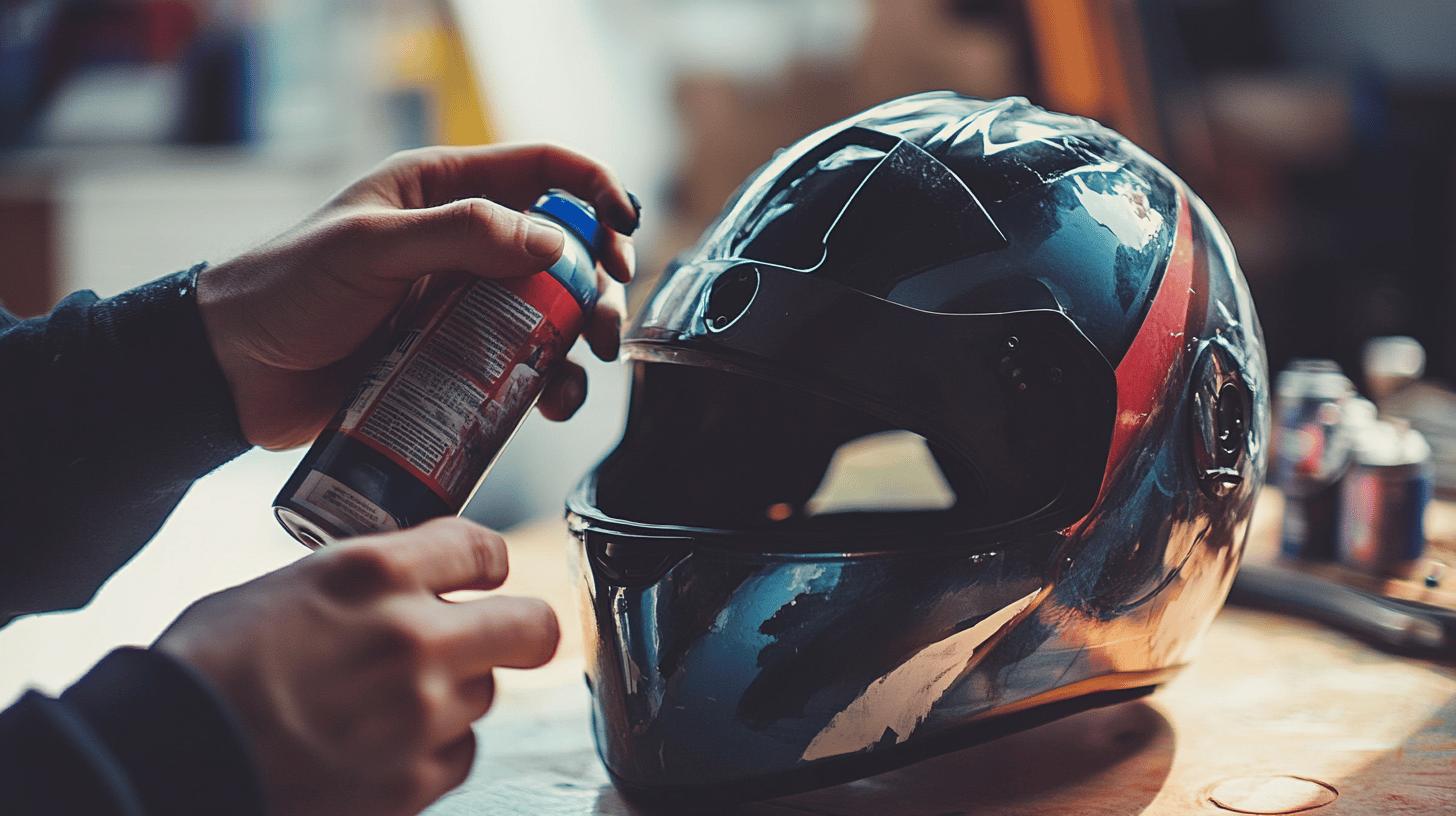
Surface preparation is crucial before repainting a motorcycle helmet to ensure that the new paint adheres properly and provides a smooth, durable finish. After removing the old paint, the helmet surface should be thoroughly cleaned and sanded to create a texture that allows the primer and paint to bond effectively.
Any residue from solvents or previous coatings should be completely removed, as these can interfere with the new paint layer. Proper sanding also helps to eliminate any minor scratches or imperfections, laying the groundwork for a flawless finish. This meticulous preparation is vital for achieving the desired aesthetics and maintaining the helmet's protective properties.
Primer and Paint Selection
Choosing the right primer and paint is essential for a successful helmet repainting project. Primers specifically designed for plastic or fiberglass surfaces will provide a solid foundation for the paint, enhancing its adhesion and longevity.
The paint should be compatible with the primer and suitable for the helmet material, ensuring a cohesive and lasting finish. Using paints with UV protection can further preserve the helmet's appearance, preventing fading and degradation over time. Selecting high-quality paint products will contribute to both the helmet's aesthetic improvement and its durability.
-
Select High-Quality Products: Opt for primers and paints from reputable brands that are designed for use on helmets or similar materials.
-
Use Thin Layers: Apply multiple thin layers of primer and paint, allowing each to dry completely before adding the next, to prevent drips and uneven coverage.
-
Ensure Proper Ventilation: Work in a well-ventilated area to avoid inhaling fumes and to promote even drying of the paint.
- Finish with a Clear Coat: Apply a clear protective coat to seal the paint, enhance gloss, and add an extra layer of durability against environmental elements.
Maintaining the new paint job and helmet appearance involves regular cleaning and avoidance of harsh chemicals that could damage the finish. Gently washing the helmet with mild soap and water will help preserve its aesthetics without compromising the integrity of the paint.
Additionally, storing the helmet away from direct sunlight and excessive heat prevents fading and warping. By following these care tips, the helmet's new look can be sustained for an extended period, ensuring it remains both visually appealing and functionally protective.
Final Words
Removing paint from a motorcycle helmet requires careful consideration of the helmet's material to avoid compromising safety. Utilizing non-abrasive techniques and testing solvents can preserve both the helmet's appearance and integrity.
Essential tools and products, such as scrubbing pads and safe solvents, facilitate effective paint removal. Following proper safety precautions and understanding the repainting process ensures successful restoration.
With these steps, one can confidently remove paint from a motorcycle helmet, enhancing its appearance while maintaining safety.
FAQ
How to remove paint from a motorcycle helmet at home?
Using non-abrasive methods and safe solvents is crucial to removing paint from a motorcycle helmet at home. Start by gently sanding the area to break the paint surface, use a safe solvent, and wipe clean.
How can you remove paint from a helmet safely?
The key to safe paint removal from a helmet involves using non-abrasive cleaning methods and testing solvents on inconspicuous areas to avoid damaging the helmet's structure.
What is the best way to remove spray paint from a helmet?
Testing a solvent on a small, hidden area ensures compatibility. Use a soft cloth to apply the solvent to the painted area gently, followed by a thorough rinse and drying to prevent residue.
How to remove paint from a steel helmet?
Removing paint from steel helmets involves using a suitable solvent or paint remover that won’t corrode the material. After applying the solvent, scrub the area with a soft brush to lift the paint.
Will spray paint damage a motorcycle helmet?
Spray paint can potentially damage a motorcycle helmet if it reacts with the material or affects the surface integrity. It's advisable to verify compatibility before applying any paint.
Can acrylic paint be removed from helmets?
Acrylic paint can be removed from helmets by using a mild solvent or cleaner specifically compatible with the helmet's material, followed by gentle scrubbing with a soft pad.
What are safe methods for removing paint from leather helmets?
For leather helmets, use a leather-safe paint remover and gently clean the area with a soft cloth, taking care not to damage the leather's surface or finish.

Brad Mitchell is a seasoned motorcycle enthusiast with over 16 years of riding experience. He’s spent countless hours on the open road, particularly favoring scenic routes aboard his trusted Harley-Davidson. Brad’s laid-back approach to life and riding gives him a unique perspective on motorcycle gear and safety, which he shares through his in-depth reviews and expert advice on ProtectiveGearz.
