Does the idea of removing helmet vents seem like an unnecessary hassle? These small openings are more than just design extras; they play a crucial role in your comfort and safety.
A properly vented helmet keeps your head cool and reduces fatigue during those marathon rides. Whether you want to upgrade your vents or simply replace a damaged one, understanding the removal and replacement process is key.
This guide will walk you through the simple steps to removing motorcycle helmet vents, ensuring you can maintain and optimize your helmet's airflow and design.
Understanding Motorcycle Helmet Vents
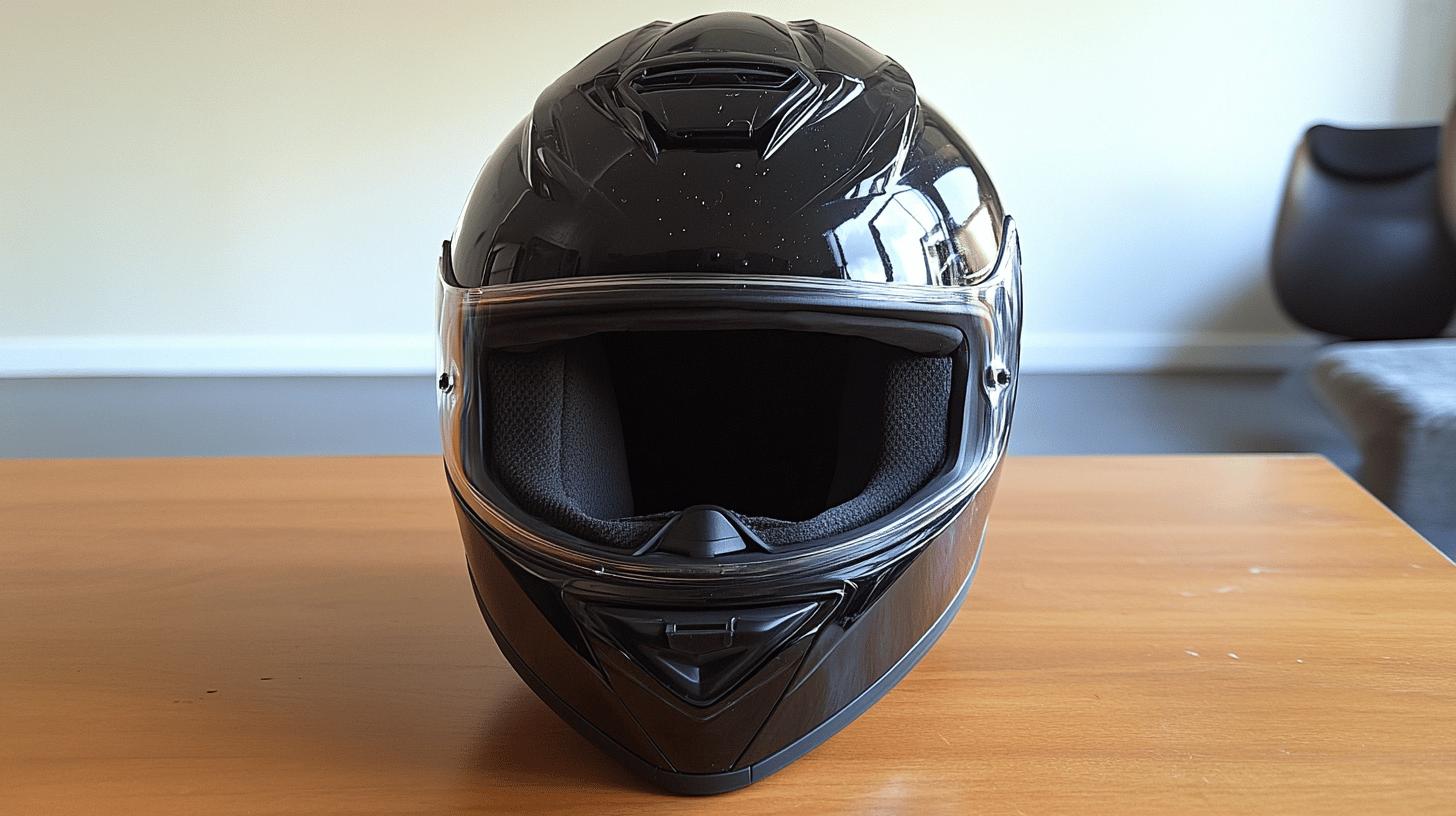
Motorcycle helmet vents play a vital role in ensuring rider comfort and safety by facilitating airflow. They are engineered to allow air to circulate within the helmet, maintaining a cool and comfortable environment for the rider's head.
This is particularly important during long rides or in hot weather, as proper ventilation can prevent overheating and reduce fatigue, enhancing the overall riding experience.
-
Temperature Regulation: Maintains a consistent and comfortable internal temperature.
-
Moisture Control: Reduces sweat accumulation by improving air circulation.
-
Enhanced Comfort: Minimizes discomfort and distractions caused by excessive heat.
-
Fog Prevention: Helps in reducing visor fogging, ensuring clear visibility.
-
Fatigue Reduction: Supports prolonged focus and alertness by keeping the rider cool.
The design and placement of helmet vents significantly influence their effectiveness. Vents are strategically positioned to optimize airflow dynamics, ensuring that air enters and exits efficiently. Front vents typically introduce fresh air, while rear vents allow for the escape of hot air, creating a continuous flow.
The design varies across helmet models, with some incorporating advanced systems like adjustable vents or aerodynamic shapes to further enhance performance. Properly placed and designed vents are crucial for maximizing comfort and ensuring a pleasant riding experience.
Tools Needed for Removing Helmet Vents

Using the correct tools is crucial when undertaking a DIY helmet vent replacement. It ensures that the vent removal process is smooth and damage-free. Different vent attachment methods, such as screws, clips, or adhesive, require specific tools. For instance, a small screwdriver or a similar prying tool can help gently detach vents secured by screws or clips.
Meanwhile, adhesive-attached vents may need gentle heat from a hairdryer to soften the adhesive, allowing for easy removal. The right tools not only facilitate a seamless removal but also help maintain the helmet's structural integrity.
-
Small screwdriver
-
Prying tool
-
Hairdryer for applying heat
Step-by-Step Guide to Removing Helmet Vents
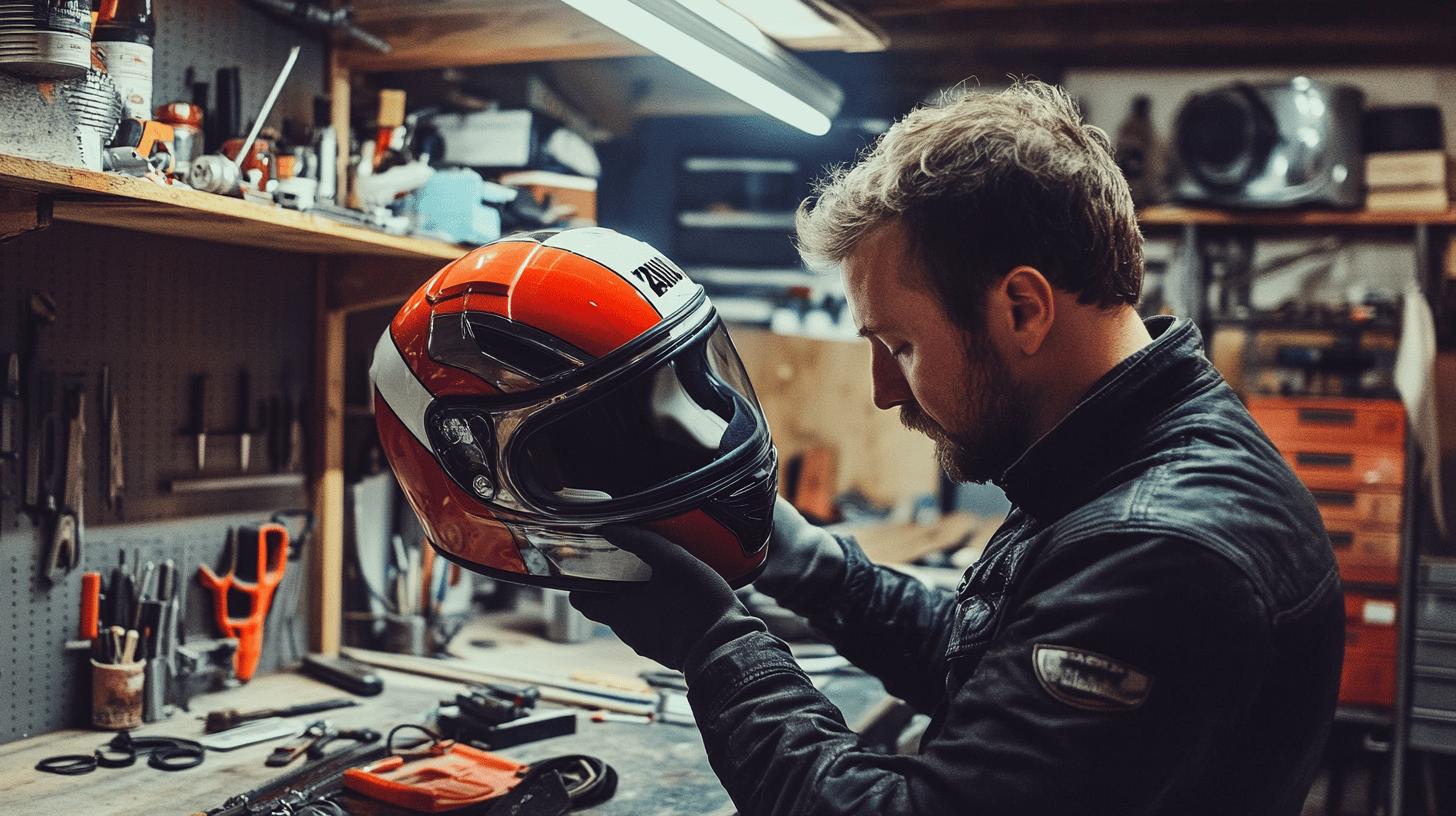
- Remove the Helmet Liner
If the helmet liner obstructs access to the vent attachments, carefully remove it. This often involves gently pulling or unsnapping it from the helmet interior. Removing the liner ensures you can reach the vents without damaging the fabric or cushioning.
- Inspect for Screws or Clips
Check the vent area for screws or clips that secure the vent in place. These can typically be found near the edges of the vent. Use a small screwdriver or prying tool to remove these fasteners. Ensure to keep them in a safe place for reinstallation.
- Apply Heat to Loosen Adhesive
For vents attached with adhesive, use a hairdryer to apply gentle heat. This softens the adhesive, making it easier to detach the vent without causing damage. Hold the hairdryer a few inches away, moving it evenly over the vent area.
- Gently Pry the Vent Off
Once the adhesive is sufficiently softened, gently pry the vent off using a prying tool. Start from the edges and work your way around to avoid bending or cracking the vent. Take care not to apply too much force to prevent damaging the helmet surface.
- Clean the Vent Area
After the vent is removed, clean the area thoroughly to remove any adhesive residue or debris. Use isopropyl alcohol and a clean cloth to ensure the surface is ready for reinstallation or replacement of the vent. This step is crucial for maintaining a smooth surface and proper adhesion.
- Inspect for Damage
Before proceeding with any further steps, inspect both the helmet and the vent for any signs of damage or wear. This ensures that the helmet remains structurally sound and safe to use. If you notice any damage, consider consulting a professional or replacing the component.
- Reattach or Replace the Vent
If you are reattaching the same vent, ensure that it aligns properly with the ventilation system. For replacements, check that the new vent matches the design and fit of the original. Secure it using the original screws, clips, or new adhesive, and reattach the helmet liner to complete the process.
Troubleshooting Common Issues in Vent Removal
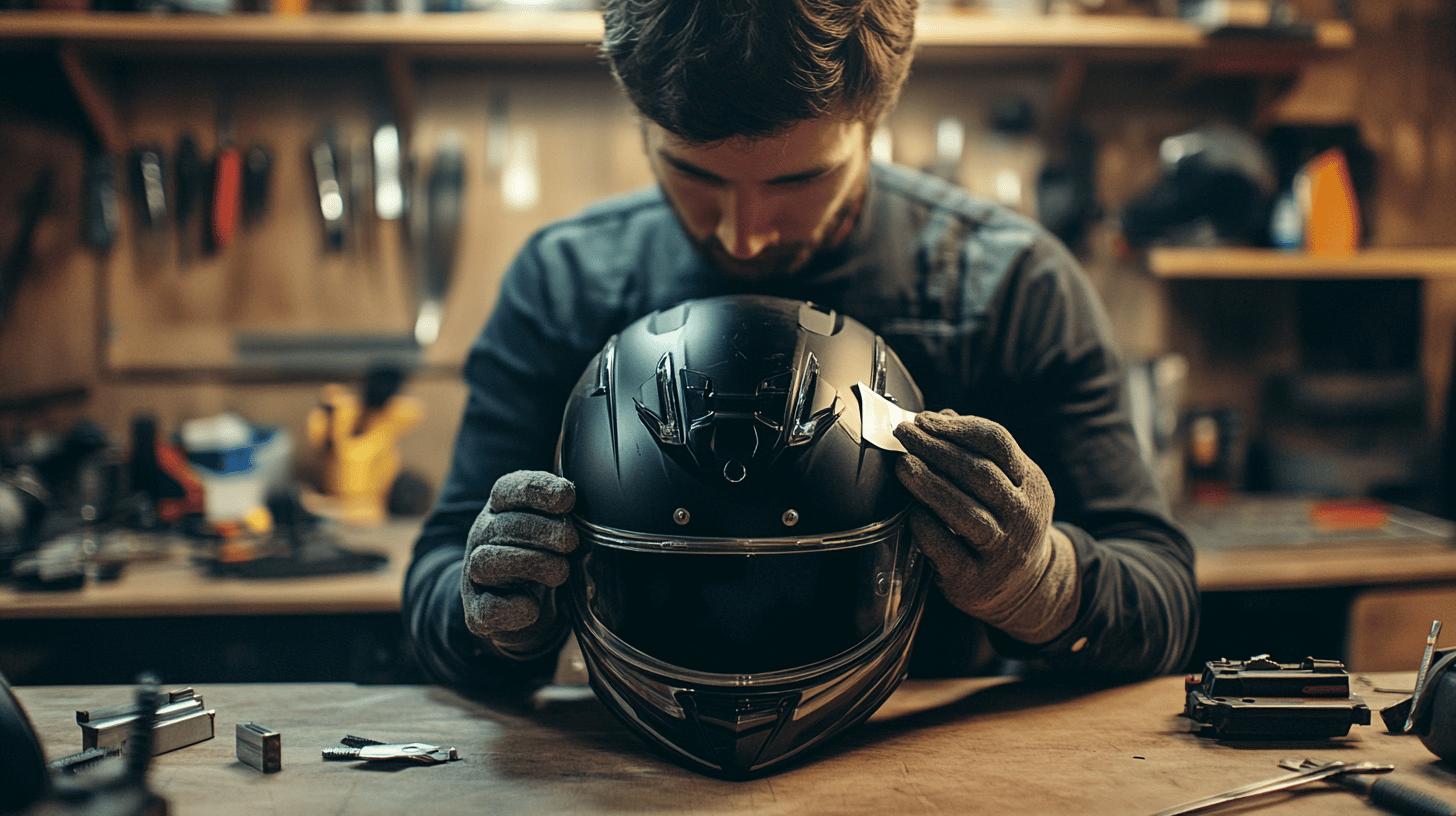
When removing motorcycle helmet vents, several challenges can arise. One common issue is stubborn adhesive that refuses to yield even after applying heat. To address this, ensure the hairdryer heat is evenly distributed and patience is exercised to gradually soften the adhesive.
Misalignment during reinstallation is another frequent problem. Using masking tape to mark alignment points before removal can aid in correctly positioning the vent upon reinstallation.
Additionally, some helmets feature vents secured by hidden clips or screws, which can be difficult to locate without damaging the helmet. Carefully inspect the entire vent area, and use a flashlight if necessary, to identify all attachment points.
-
Use Masking Tape: Apply masking tape around the vent to mark its position for easier realignment.
-
Heat Application: Ensure even heating to effectively loosen adhesive without damaging the vent.
-
Check for Hidden Fasteners: Use a flashlight to locate any concealed screws or clips.
The helmet’s manual often contains crucial information for troubleshooting vent removal issues. Manuals provide model-specific insights that can reveal hidden fasteners or suggest the best method to detach vents.
If manual troubleshooting fails to resolve the problem, seeking professional assistance is advisable to avoid compromising the helmet's integrity. Professionals have the experience and tools to handle delicate tasks without risking damage. This approach ensures that the helmet remains safe and functional, preserving its protective qualities.
Replacing and Customizing Helmet Vents
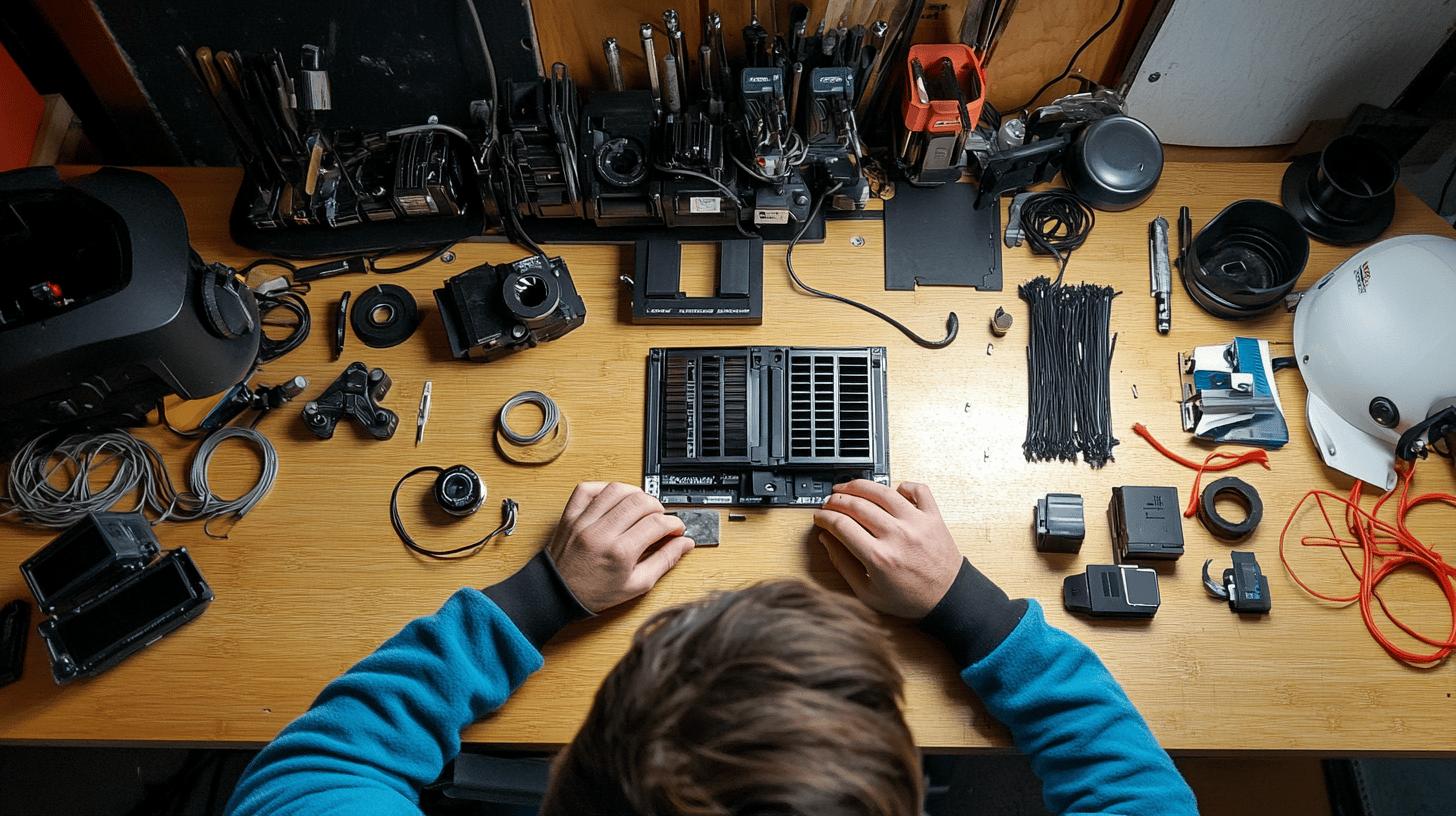
Replacing motorcycle helmet vents involves several key steps to ensure proper fit and function. Begin by selecting official replacement parts that match your helmet model. This guarantees compatibility with the existing ventilation system. After removing the old vent, inspect the area for any damage or residue before proceeding.
Align the new vent carefully with the helmet's design, securing it using the original attachment method, whether screws, clips, or adhesive. Reattach the helmet liner once the vent is in place and test the ventilation to confirm its effectiveness.
| Vent Material | Benefits |
|---|---|
| Plastic | Lightweight, affordable |
| Aluminum | Durable, corrosion-resistant |
| Carbon Fiber | High strength-to-weight ratio, stylish |
| Rubber | Flexible, good seal for airtight fit |
When customizing helmet vents, consider both aesthetic and functional elements. The vent material affects durability and airflow; for instance, carbon fiber offers a sleek look and optimal strength, whereas rubber provides a tight seal. Alignment with the helmet's ventilation system is crucial to maintain airflow efficiency.
Customization might involve altering vent shapes or colors, but always prioritize maintaining the helmet's structural integrity and safety features. If unsure about modifications, consult a professional to ensure no compromise on safety.
Maintaining and Cleaning Helmet Vents

Regular maintenance of motorcycle helmet vents is crucial for ensuring optimal performance and extending the life of the helmet. By routinely inspecting and cleaning the vents, riders can prevent the buildup of dust, dirt, and other debris that may obstruct airflow.
This not only enhances comfort by maintaining effective ventilation but also reduces the risk of damage to the vent mechanisms. Keeping the vents in good condition supports consistent airflow, which is essential for a comfortable riding experience, particularly on long journeys or in varying weather conditions.
Effective cleaning techniques involve using the right products and methods to avoid damaging the vents or the helmet itself. Start by detaching the vents as necessary, following the manufacturer’s instructions to prevent any mishaps. Use isopropyl alcohol on a soft cloth to gently clean the vent area.
This helps remove any residue or adhesive left behind. Make sure to clean both the inside and outside of the vents to ensure no obstructions hinder airflow. Avoid using abrasive materials or harsh chemicals that could scratch or weaken the vent materials.
Proper maintenance of helmet vents not only maintains their functionality but also enhances the overall safety and durability of the helmet. Clean vents allow for efficient airflow, reducing the risk of overheating and contributing to a more comfortable ride.
Consistent maintenance helps preserve the helmet's structural integrity, ensuring that it remains reliable and effective in protecting the rider. By incorporating regular vent maintenance into the helmet care routine, riders can enjoy both safety and comfort on every ride.
Final Words
Removing and maintaining motorcycle helmet vents enhances rider comfort by optimizing airflow. With the right tools, such as small screwdrivers or heat for adhesives, safe vent removal becomes manageable. Detailed step-by-step instructions guide users through the process successfully.
Troubleshooting tips provide solutions for common issues, while replacing or customizing vents offers personalization options. Routine cleaning and maintenance of helmet vents ensure longevity. Understanding how to remove motorcycle helmet vents helps riders achieve a better, safer riding experience.
FAQ
How to clean helmet air vents?
Helmet air vents can be cleaned by gently brushing away debris. Using compressed air helps remove dust. Isopropyl alcohol on a cloth can clean stubborn grime. Regular cleaning enhances airflow and comfort.
Why do motorcycle helmets have vents?
Motorcycle helmets have vents to enhance airflow, keeping the rider cool and comfortable. Proper ventilation prevents overheating during rides, especially in warm weather or on extended trips.
How do you remove motorcycle helmet padding?
To remove helmet padding, gently disengage any snaps or Velcro holding the liners in place. Carefully pull them away from the helmet interior. Regular washing maintains hygiene and extends padding life.
Do you remove a motorcycle rider's helmet if the airway is obstructed?
In case of an airway obstruction, remove a rider's helmet only if trained in first aid. Improper removal can cause injury. Always prioritize clear communication with medical professionals when in doubt.

Ryan Thompson is a 35-year-old sport bike enthusiast known for his adventurous spirit. With years of weekend rides and exploring new roads, Ryan brings fresh insights and firsthand experience to ProtectiveGearz. His energetic approach and passion for the latest gear make him a trusted source for riders seeking up-to-date advice.


