How safe is your motorcycle helmet if the liner is worn out? A helmet liner's degradation over time is more common than one might think, risking the effectiveness of this crucial piece of safety equipment.
There's no doubt that knowing how to reline a motorcycle helmet properly can save both money and add safety, especially when professional services might be costly.
With this article, you'll learn critical insights into recognizing wear and tear, the right tools for the task, and a step-by-step guide to safely relining your helmet. Let's get started.
Understanding the Need for Helmet Relining

Helmet relining may become necessary due to several factors, primarily the degradation of the liner over time. Regular use, exposure to sweat, and environmental conditions can cause the liner to wear down, compromising its protective capabilities.
While the liner itself can be addressed through relining, the primary impact-absorbing layer of the helmet cannot be replaced, highlighting the importance of monitoring wear and tear.
-
The liner feels loose or does not hold the helmet securely.
-
Noticeable degradation or thinning of the liner material.
-
Persistent odor despite regular cleaning.
-
Visible damage such as tears or holes in the liner fabric.
-
Increased helmet movement during rides, indicating a poor fit.
The lifespan of a helmet liner is generally limited to about five years, aligning with industry recommendations for helmet replacement. This period can be shorter if the helmet has been involved in a crash, as the impact-absorbing properties might be compromised.
Older helmets, especially those beyond this recommended timeframe, pose safety risks as the materials can deteriorate significantly. Despite the potential for relining, replacing the entire helmet is often advised to ensure optimal protection and safety standards are maintained.
Tools and Materials for Helmet Relining

Relining a motorcycle helmet requires precise tools and materials to ensure the job is done correctly and safely. The primary materials needed for relining include high-quality foam and fabric, which provide the necessary comfort and support inside the helmet.
Foam should be of a high-density variety, often used in upholstery, to offer adequate cushioning. The fabric should be breathable and durable, like nylon or microfiber, to withstand regular use and resist moisture buildup.
Adhesives are crucial for securing the new liner in place; spray adhesives are commonly used for their even application and strong bond. Cutting tools, such as scissors or a craft knife, are essential for trimming the materials to fit the helmet’s interior contours precisely.
| Tool/Material | Description |
|---|---|
| High-Density Foam | Provides cushioning and support; must be durable |
| Breathable Fabric | Nylon or microfiber for comfort and moisture resistance |
| Spray Adhesive | Used to securely attach the liner to the helmet shell |
| Cutting Tools | Scissors or craft knife for precise material shaping |
Relining kits are available for those who prefer a more straightforward approach, combining all necessary components in one package. These kits can simplify the process by providing pre-cut materials and the correct type of adhesive, reducing guesswork.
While relining can be a DIY task, professional services are also an option, especially for more complex helmet designs or when precision is paramount. The cost of professional relining might rival purchasing a new helmet, but it offers peace of mind in terms of fit and finish.
Step-by-Step Helmet Relining Process

Relining a motorcycle helmet is an intricate task that demands attention to detail and adherence to safety protocols. The process involves removing the old liner, thoroughly cleaning the helmet, and then installing new materials with precision to maintain the helmet's protective capabilities.
- Removing the Old Liner
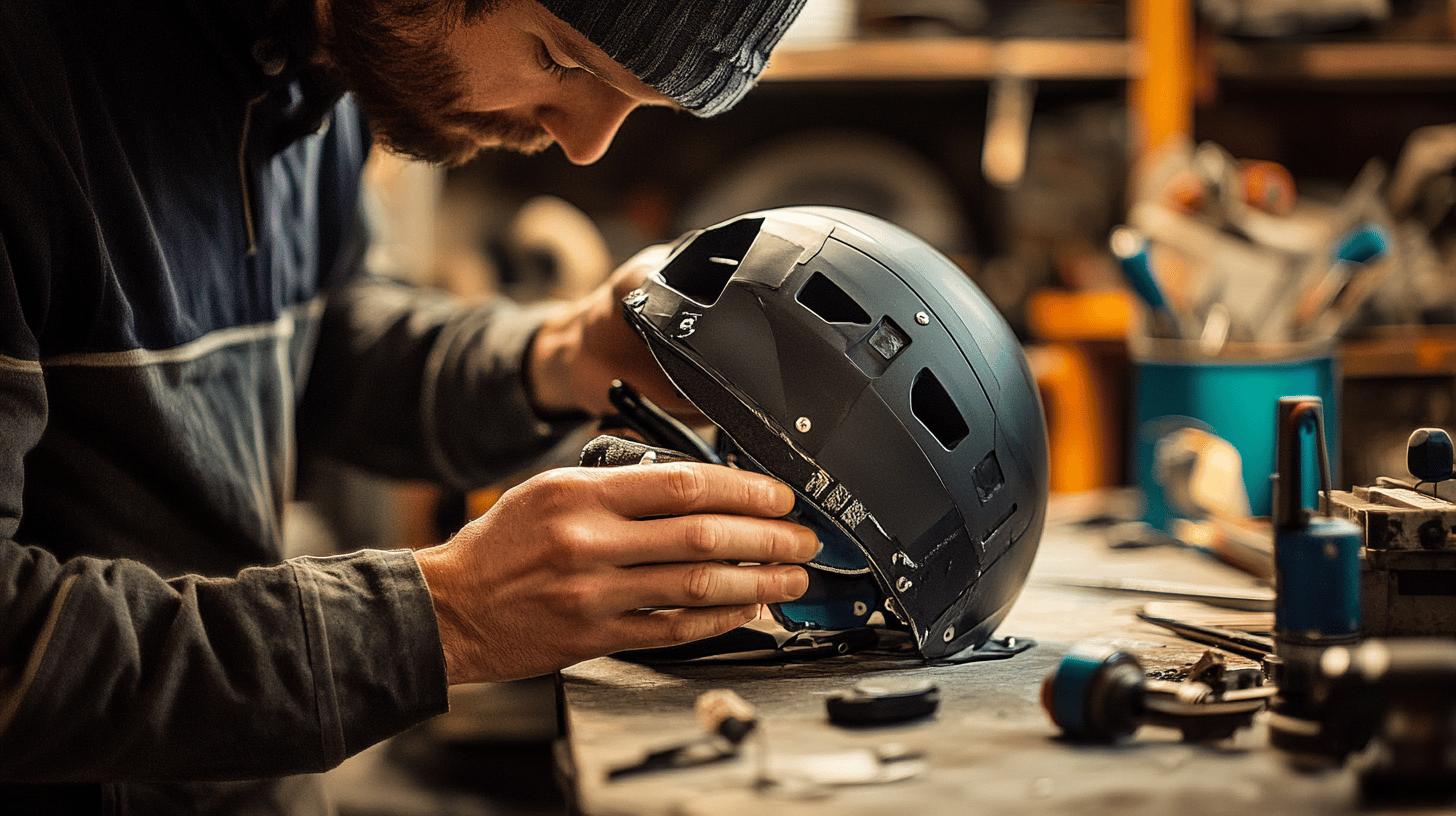
To begin relining, carefully detach the existing liner. Most liners are secured with adhesives or snaps. Gently lift the edges to avoid damaging the helmet shell. If adhesive is used, apply gentle pressure to separate the liner without tearing the interior surface. This step is crucial to ensure a smooth base for the new lining materials.
- Preparing and Cleaning the Helmet Shell
Once the old liner is removed, inspect the helmet shell for any debris or residue. Use a soft cloth dampened with mild soapy water to clean the interior thoroughly. Avoid soaking the shell, as excessive moisture can compromise its structure. After cleaning, allow the helmet to air dry completely, ensuring no moisture remains that could affect adhesive bonding.
- Installing New Liner Materials
Begin by cutting high-density foam to fit the contours of the helmet interior. Apply spray adhesive evenly across the foam surface as well as the helmet shell. Carefully position the foam within the shell, pressing firmly to secure it. Next, cut the breathable fabric to overlay the foam, following the same adhesive application and positioning method. Ensure all edges and corners are snugly fitted to prevent movement.
- Final Adjustments and Safety Checks
After installation, make final adjustments to ensure the liner is secured and comfortable. Check for any loose areas or misalignments that could affect the helmet's fit. Conduct a safety check by wearing the helmet to confirm that it fits snugly and does not shift during movement. This step is vital to maintain the helmet's protective function.
Properly securing the new lining is essential for both comfort and safety. A well-fitted liner not only enhances the helmet's protective capabilities but also ensures rider comfort on the road. Double-checking all aspects of the installation process ensures that the helmet maintains its integrity and offers reliable protection.
Safety and Maintenance Considerations

Ensuring that relining does not compromise helmet safety is paramount. A poorly relined helmet can become a liability, failing to provide the necessary protection in case of an accident. It is crucial to use high-quality materials and follow precise installation methods. Avoid over-tightening or misaligning the new liner, as it can alter the helmet’s intended performance.
Regularly inspect the helmet post-relining to confirm that all components remain securely in place. Additionally, never reline a helmet that has visible cracks or damage to the shell, as its structural integrity may already be compromised.
-
Clean the helmet regularly with mild soap and water to prevent dirt accumulation.
-
Store the helmet in a cool, dry place to avoid material degradation from heat and moisture.
-
Check the liner and shell periodically for signs of wear or damage.
-
Replace any worn components immediately to maintain optimal protection.
-
Avoid exposure to harsh chemicals that could weaken helmet materials.
Maintaining helmet hygiene is not only about appearance but also about safety and comfort. Regular cleaning prevents odors and extends the life of the liner by reducing material breakdown. Performing routine checks ensures that the helmet continues to provide adequate protection. Paying attention to these aspects can greatly enhance the longevity and performance of a relined helmet, keeping riders safe on their journeys.
When to Consider Professional Helmet Relining Services

Choosing to engage professional helmet relining services can be essential in certain scenarios. If a helmet has intricate designs or complex interior structures, professional expertise ensures the liner is installed correctly without compromising safety.
Moreover, helmets that have seen significant use or are older may require an expert assessment to determine if relining is even a viable option. In cases where the helmet shell has visible damage or substantial wear, replacement is often the safest choice, as relining might not restore full protection.
-
DIY Relining:
-
Cost-effective if materials are sourced independently.
-
Allows for personal customization of liner materials.
-
Requires precise skill to avoid compromising helmet safety.
-
Professional Relining:
-
Offers expert installation with optimal fit and finish.
-
Suitable for complex helmet designs.
-
Generally incurs higher costs, nearing the price of a new helmet.
Evaluating the cost and benefits of professional services against helmet replacement is crucial. While professional relining might restore comfort and extend the life of a helmet, the expense can be comparable to purchasing a new one.
For helmets nearing the end of their recommended lifespan, replacing the helmet entirely is often more economical and safer. Professional services are best reserved for special cases where maintaining a specific helmet is important, but safety should never be compromised.
Final Words
Mastering how to reline a motorcycle helmet not only boosts safety but extends equipment lifespan. Recognizing liner wear ensures impact protection remains intact.
The right tools simplify relining, whether opting for DIY kits or professional help. Following a meticulous step-by-step process preserves structural integrity. Regular safety assessments and maintenance keep helmets functional and hygienic.
Choosing between DIY and professional services depends on helmet condition and cost considerations, promising a safer riding experience.
FAQ
Can you get a motorbike helmet relined?
Yes, relining a motorcycle helmet is possible. However, it's crucial to consider whether the helmet still meets safety standards. Consult with professionals if unsure about relining effectiveness.
How to put a helmet liner back in?
To reinsert a helmet liner, carefully align it within the helmet shell, ensuring all clips and fastenings are secure. Follow the helmet's manual for specific instructions on liner placement.
Can you add padding to a helmet?
You can add padding to a helmet to improve fit or comfort. Select compatible materials that don't compromise safety. It's advisable to consult a professional or refer to the manufacturer's guidelines.
Is a 10-year-old motorcycle helmet still good?
A 10-year-old helmet is generally not recommended for use. Materials degrade over time, reducing protective capabilities. Helmets should be replaced every five years or after any impact for optimal safety.

Brad Mitchell is a seasoned motorcycle enthusiast with over 16 years of riding experience. He’s spent countless hours on the open road, particularly favoring scenic routes aboard his trusted Harley-Davidson. Brad’s laid-back approach to life and riding gives him a unique perspective on motorcycle gear and safety, which he shares through his in-depth reviews and expert advice on ProtectiveGearz.


