Ever wonder why a seemingly straightforward task like painting a motorcycle helmet flat black can be daunting? It's not just about aesthetics; it's about understanding the intricate process of ensuring your helmet remains safe and functional.
This comprehensive guide walks you through every step, beginning with preparing your helmet for painting. From cleaning and sanding to selecting the right paint and applying it safely, achieving a sleek, professional finish is easier than you might think.
Let's delve into the crucial preparation stages that set the foundation for a successful paint job.
Preparing Your Motorcycle Helmet for Painting
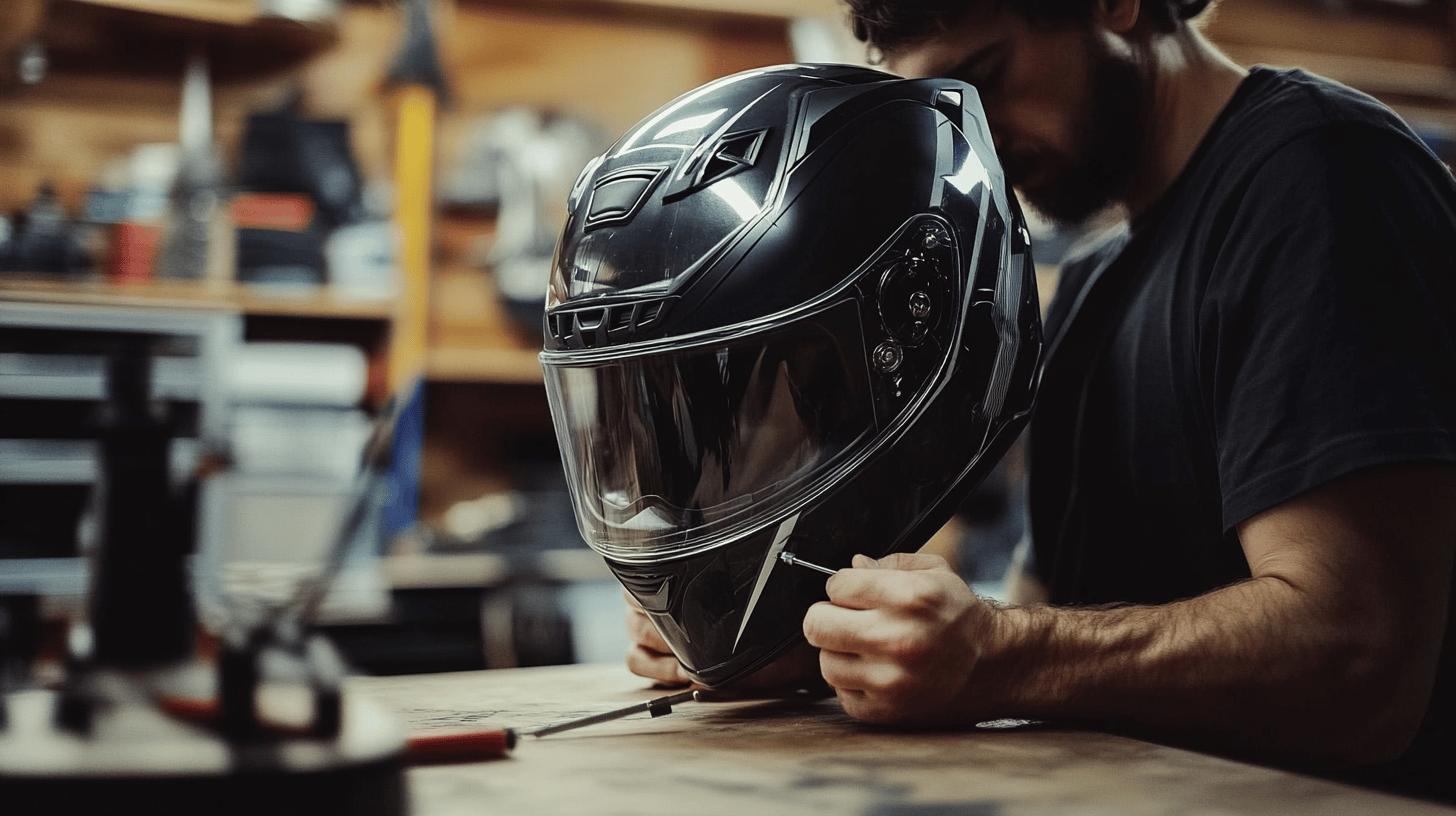
Proper preparation of a motorcycle helmet is crucial for achieving a successful flat black finish. By ensuring the helmet's surface is clean and adequately sanded, the paint will adhere better, resulting in a more durable and aesthetically pleasing outcome.
Preparation involves more than just cleaning; it encompasses disassembling the helmet and removing any existing layers or stickers that could hinder the new paint's application.
-
Remove Accessories: Start by taking off removable components such as the face shield, straps, and vents using a screwdriver. For stickers, apply a heat gun to loosen the adhesive.
-
Initial Cleaning: Wash the helmet thoroughly with water and soap to eliminate surface dirt and grime.
-
Degrease: Use isopropyl alcohol to remove any remaining oils or residues that soap and water might have missed.
-
Sanding: Scuff the helmet's surface with a scouring pad until the clear coat varnish is gone. This will create a rough texture that helps the paint adhere effectively.
-
Final Wipe: Conduct a final wipe-down with a clean, dry cloth to remove any dust particles left from sanding.
Thorough preparation is essential for optimal paint adhesion, which directly impacts the longevity and appearance of the finish. By meticulously cleaning and sanding the helmet, the new layer of paint can bond effectively, reducing the chances of peeling or chipping over time.
This groundwork not only enhances the visual outcome but also ensures that the helmet maintains its protective capabilities after painting.
Choosing the Right Paint and Supplies
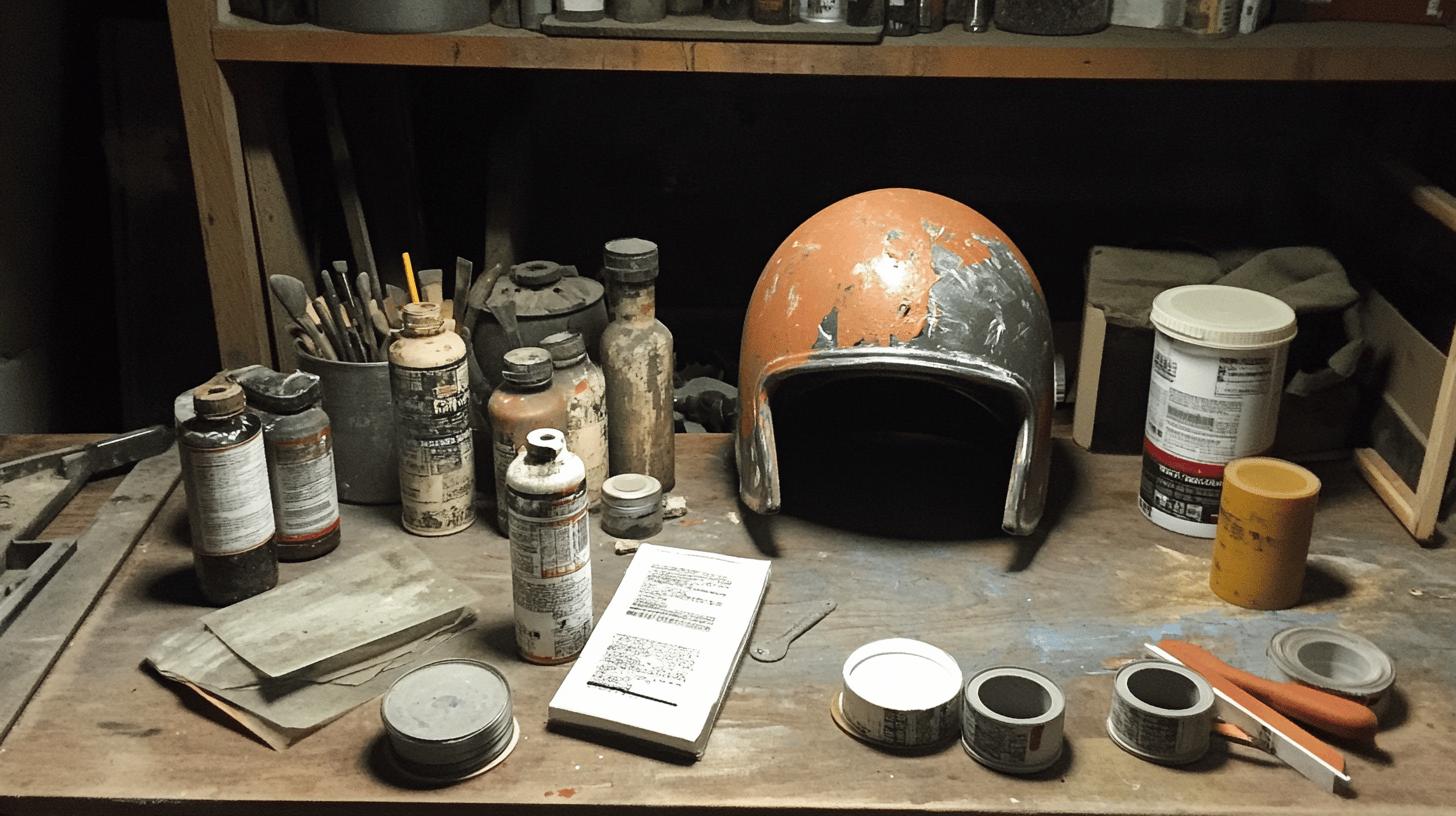
Selecting the right paint and supplies is critical to ensure a durable and high-quality finish when painting a motorcycle helmet flat black. The paint must be compatible with the helmet's material to prevent damage and maintain safety integrity.
Acrylic and urethane paints are often recommended due to their adhesion properties and durability. Acrylic paints offer ease of application and cleanup, while urethane paints provide a tougher, more resilient finish.
Supplies such as primer, flat black paint, clear coat, masking tape, and protective gear are essential. A spray gun or aerosol spray can is needed for application, and it is imperative to thoroughly shake or mix the paint to achieve a uniform coat.
-
Krylon Fusion All-In-One: Known for its excellent adhesion and durability on plastics.
-
Rust-Oleum Painter's Touch Ultra Cover: Offers a smooth finish with excellent chip resistance.
-
Dupli-Color Perfect Match: Provides a high-quality finish that is durable and long-lasting.
- Montana BLACK Spray Paint: Ideal for achieving a deep matte finish with strong coverage.
Gathering quality supplies ensures the painting process is smooth and effective. Using reputable paint brands minimizes the risk of surface damage and enhances the helmet's appearance and longevity.
Proper preparation of materials and adherence to paint application guidelines will result in a flat black finish that not only looks professional but also withstands the rigors of regular use.
Safe and Effective Painting Techniques
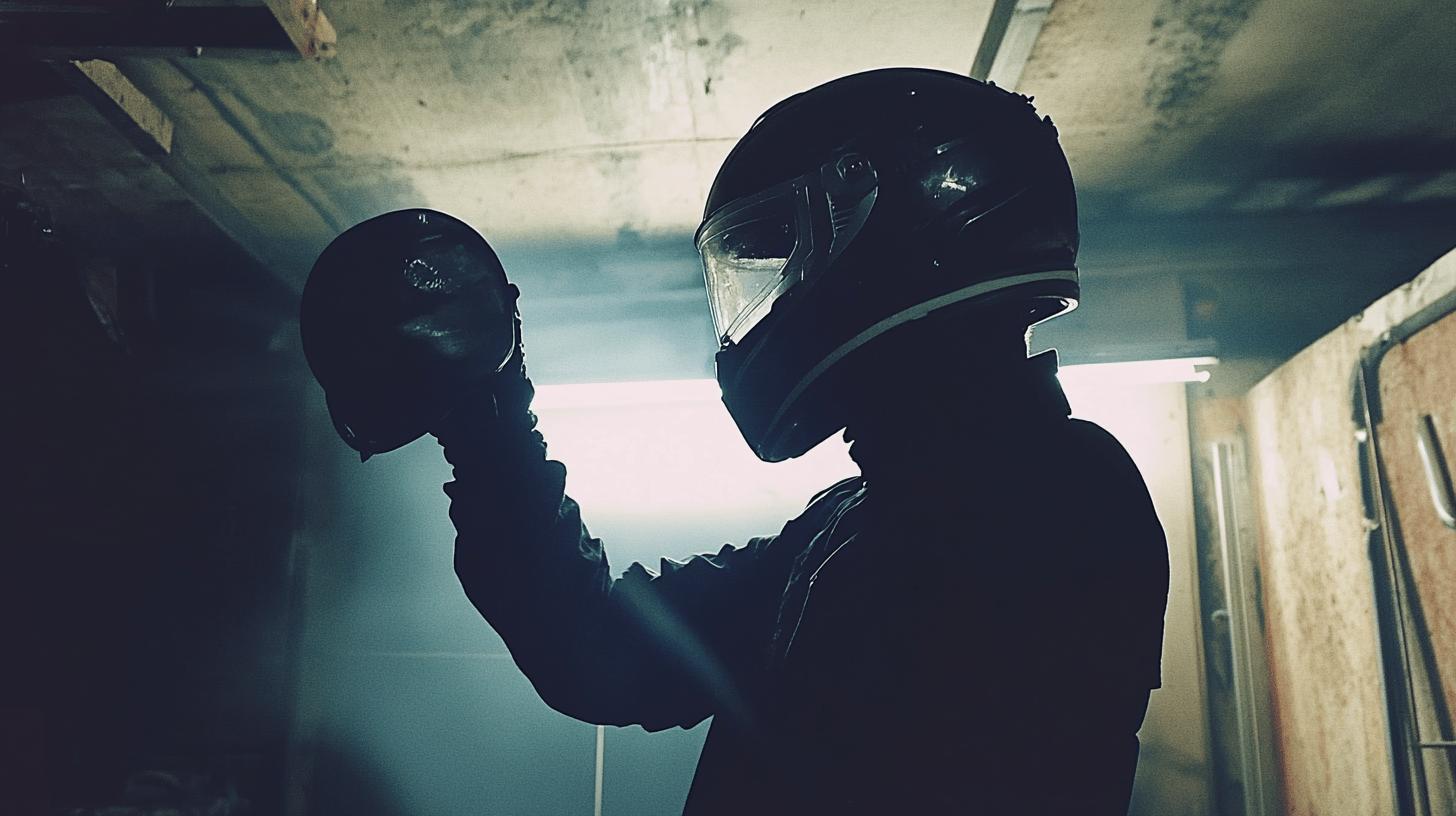
Effective painting techniques are crucial to achieving a professional flat black finish on a motorcycle helmet. Begin by applying even, light coats of flat black spray paint, maintaining a distance of 7-10 inches between the nozzle and the helmet.
This distance helps in preventing drips and ensuring a smooth application. Start from the top of the helmet and proceed downward in a sweeping motion to cover the surface uniformly. Allow each coat to dry thoroughly before applying the next one, which typically means waiting 3-6 hours between applications. This method ensures that the paint adheres well and creates a consistent appearance.
| Technique | Description |
|---|---|
| Even, Light Coats | Apply thin layers of paint to avoid drips and runs. |
| Distance Maintenance | Hold the spray can 7-10 inches away for optimal coverage. |
| Sweeping Motion | Move from top to bottom in one smooth motion for uniform paint distribution. |
Safety is paramount when painting a helmet. Always paint in a well-ventilated area to avoid inhaling harmful fumes. Wearing protective gear such as gloves and a mask is essential to protect skin and lungs from exposure to chemicals present in the paint.
It's also advisable to wear old clothes or a protective apron to prevent paint splatters. Ensure that all safety instructions on the paint and primer cans are strictly followed to maintain a safe working environment.
Ensuring even paint application is vital for a professional finish. Begin by shaking the spray can thoroughly to mix the contents well before starting. Practice your spraying technique on a piece of cardboard to gain control over the spray and pressure.
Overlapping each pass slightly can help in achieving an even coat. Take your time with each layer, focusing on achieving smooth coverage without rushing the process. This approach will result in a helmet finish that is not only aesthetically pleasing but also durable.
Finishing Touches: Clear Coat and Reassembly
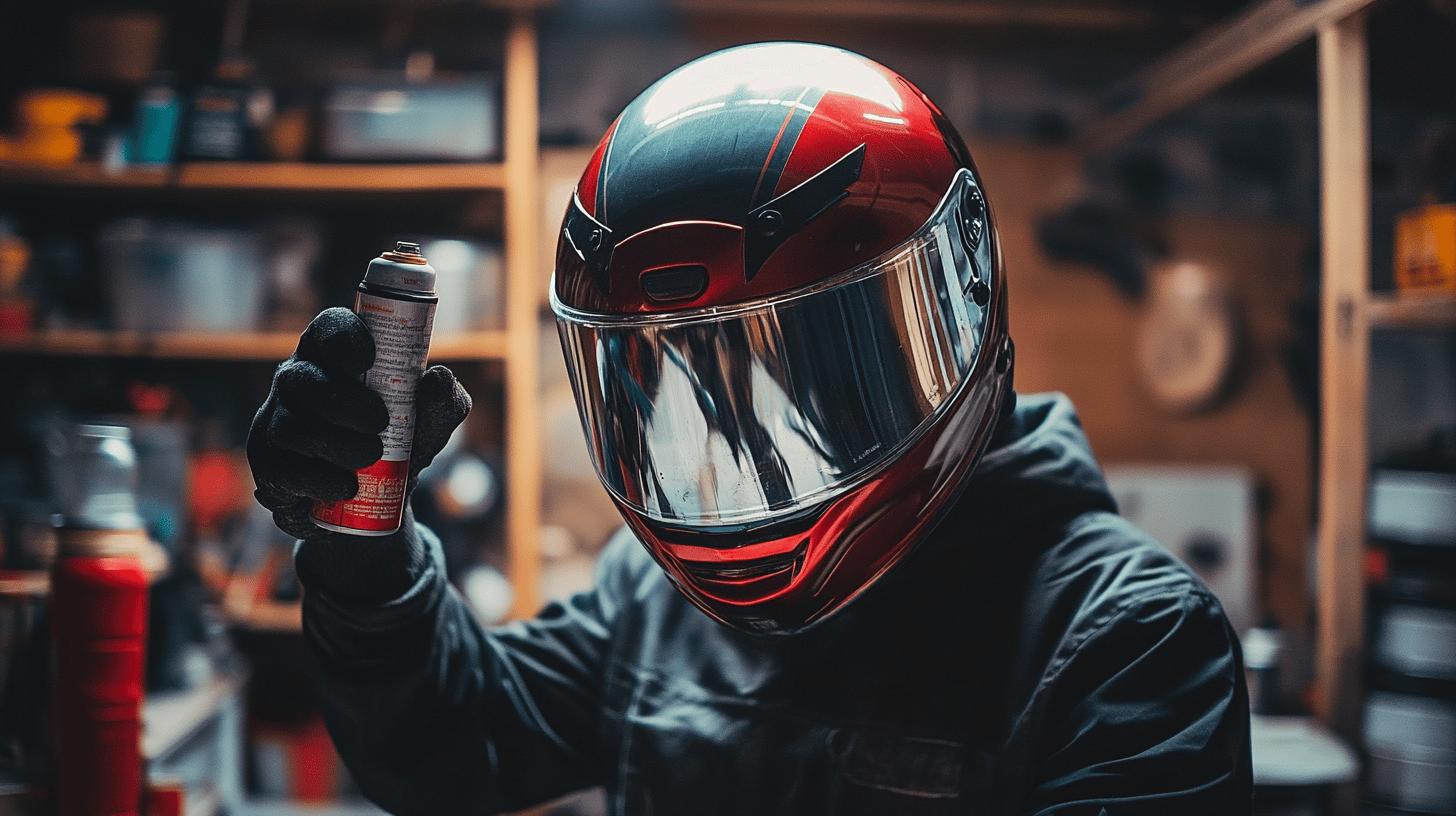
Applying a clear coat is a critical step in protecting the flat black paint on a motorcycle helmet. This transparent layer not only enhances the paint's durability but also provides a polished, professional finish. Typically, 2-3 layers of clear coat are recommended to ensure robust protection against environmental elements like UV rays and moisture.
Each layer should be applied evenly, allowing for complete coverage without drips or runs. It is essential to let each coat dry thoroughly, which generally takes between 3-6 hours. This drying time ensures the clear coat properly hardens, creating a resilient barrier over the paint.
The drying process is vital for achieving a high-quality finish. Patience is key; rushing this step can lead to imperfections such as bubbling or peeling. It's advisable to leave the helmet in a dust-free environment to prevent particles from settling into the drying clear coat.
The final coat should be left to cure for at least 24 hours, allowing the layers to bond fully and set into a durable finish. By adhering to these drying guidelines, the integrity of the paint job is maintained, ensuring the helmet remains visually appealing and structurally sound.
-
Reattach Components: Once the helmet is completely dry, reattach the face shield, straps, and any other removable parts.
-
Check Fastenings: Ensure that all screws and fastenings are secure to avoid loose parts during use.
-
Inspect for Flaws: Examine the helmet for any paint imperfections or assembly issues, correcting them as needed.
The reassembly process is crucial for maintaining the helmet’s protective capabilities. Careful attention should be paid to securing all parts properly, as loose components can compromise safety during riding.
Double-checking each fastening ensures that the helmet functions as intended, providing maximum protection. This meticulous approach not only completes the aesthetic transformation but also guarantees that the helmet remains a reliable piece of safety equipment.
Helmet Painting Legal and Safety Considerations
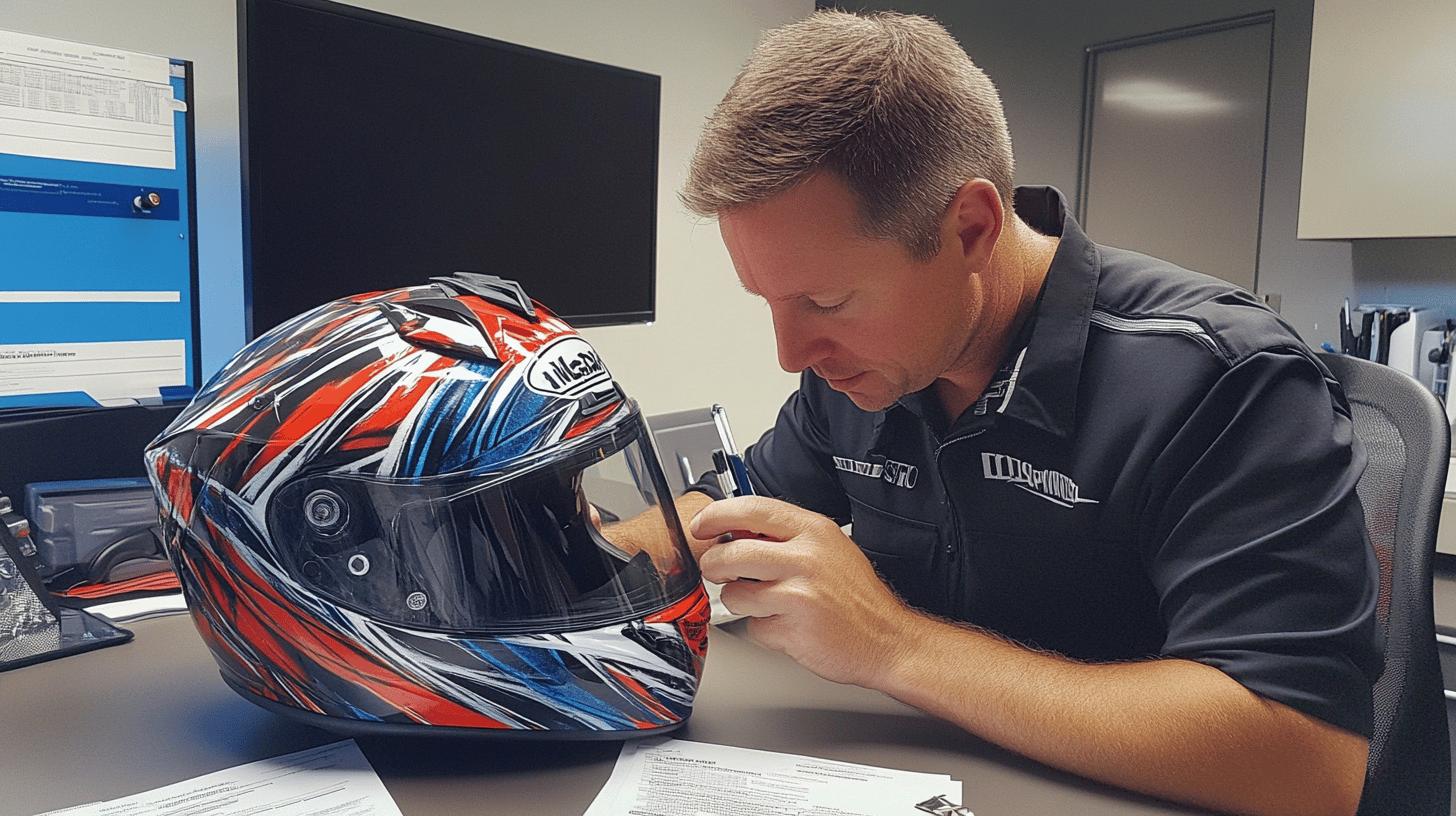
Altering a motorcycle helmet's surface through painting can have significant legal and safety implications. Can painting a helmet affect its safety certification? Yes, modifying the helmet can impact its safety certifications, potentially making it non-compliant with regulatory standards.
Certifications like DOT, ECE, or Snell are based on rigorous testing, and any changes to the helmet's exterior might compromise its protective capabilities. These standards ensure the helmet can withstand impacts and protect the rider effectively. Altering a helmet's paint could lead to penalties or fines if the helmet no longer meets these safety requirements. It’s crucial to understand the regulations governing helmet alterations in your area to avoid any legal issues.
When painting a helmet, it’s essential to ensure that the paint used does not compromise the helmet's structural integrity. Is it safe to paint any helmet? No, the type of paint is critical; using paints with strong solvents can weaken the helmet material, reducing its effectiveness in an accident.
Selecting paint specifically designed for use on helmets, such as acrylic or urethane, can help mitigate these risks. To maintain safety, avoid heavy layers of paint that could obscure ventilation or add unnecessary weight, which might affect the helmet's performance during a crash.
-
Verify compliance with local and national safety regulations before painting your helmet.
-
Use only helmet-safe paints that do not contain solvents harmful to the helmet material.
-
Regularly inspect the helmet post-painting to ensure it retains its structural integrity and certification.
Final Words
Painting a motorcycle helmet flat black requires thorough preparation, from cleaning to surface sanding. The choice of quality paint and supplies is crucial to avoid damaging the helmet. Applying the paint with proper techniques in a well-ventilated space ensures an even finish. Concluding with a protective clear coat and careful reassembly safeguards the paintwork and helmet's functionality. Always check legal considerations to maintain safety certifications after customizing the helmet. These steps enhance both the appearance and safety of your helmet.
FAQ
What kind of paint should be used on a motorcycle helmet?
A: Use acrylic or urethane paint for a motorcycle helmet to avoid compromising its material integrity. These types of paint offer durability and flexibility, ensuring the helmet's safety features remain intact.
Is it okay to spray paint a motorcycle helmet?
A: Yes, spray painting a motorcycle helmet is acceptable when using appropriate paint types like acrylic or urethane. Proper preparation and application are crucial to maintain structural integrity and performance.
Does painting a motorcycle helmet weaken it?
A: Painting a helmet can weaken it if improper paint types or techniques are used. Utilizing suitable paints and applying them correctly helps preserve the helmet’s protective capabilities and safety standards.
How much does it cost to paint a motorcycle flat black?
A: Painting a motorcycle helmet flat black typically costs between $50 and $150. This covers the cost of paints, primer, clear coat, and necessary painting tools.
Is it legal to paint a motorcycle helmet?
A: Painting a motorcycle helmet is legal, but it's important to check local laws and regulations. The paint used should not impede safety certifications or diminish the helmet's protective functions.
What is the best spray paint for helmets?
A: Quality brands such as Rust-Oleum, Dupli-Color, and Krylon provide reliable aerosol options for helmet painting. These brands offer paints that maintain the helmet's protective integrity when applied correctly.

Ryan Thompson is a 35-year-old sport bike enthusiast known for his adventurous spirit. With years of weekend rides and exploring new roads, Ryan brings fresh insights and firsthand experience to ProtectiveGearz. His energetic approach and passion for the latest gear make him a trusted source for riders seeking up-to-date advice.
