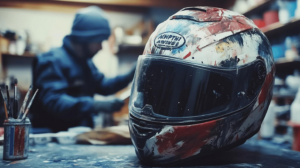
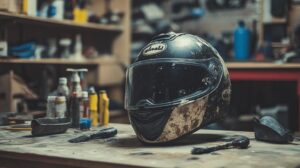
Have you ever mulled over transforming your plain motorcycle helmet into a work of art? Before diving into this creative project, understanding the materials and safety precautions is key.
Painting a motorcycle helmet isn't just about aesthetics—it's about safety and compliance with regulations. Our guide will walk you through the critical steps to gather the right helmet painting supplies and implement safety measures.
Whether you're new to the intricacies of helmet painting or seeking to refine your technique, this comprehensive approach will help you achieve professional-grade results while ensuring your safety throughout the process.
Materials and Safety Precautions for Painting a Motorcycle Helmet
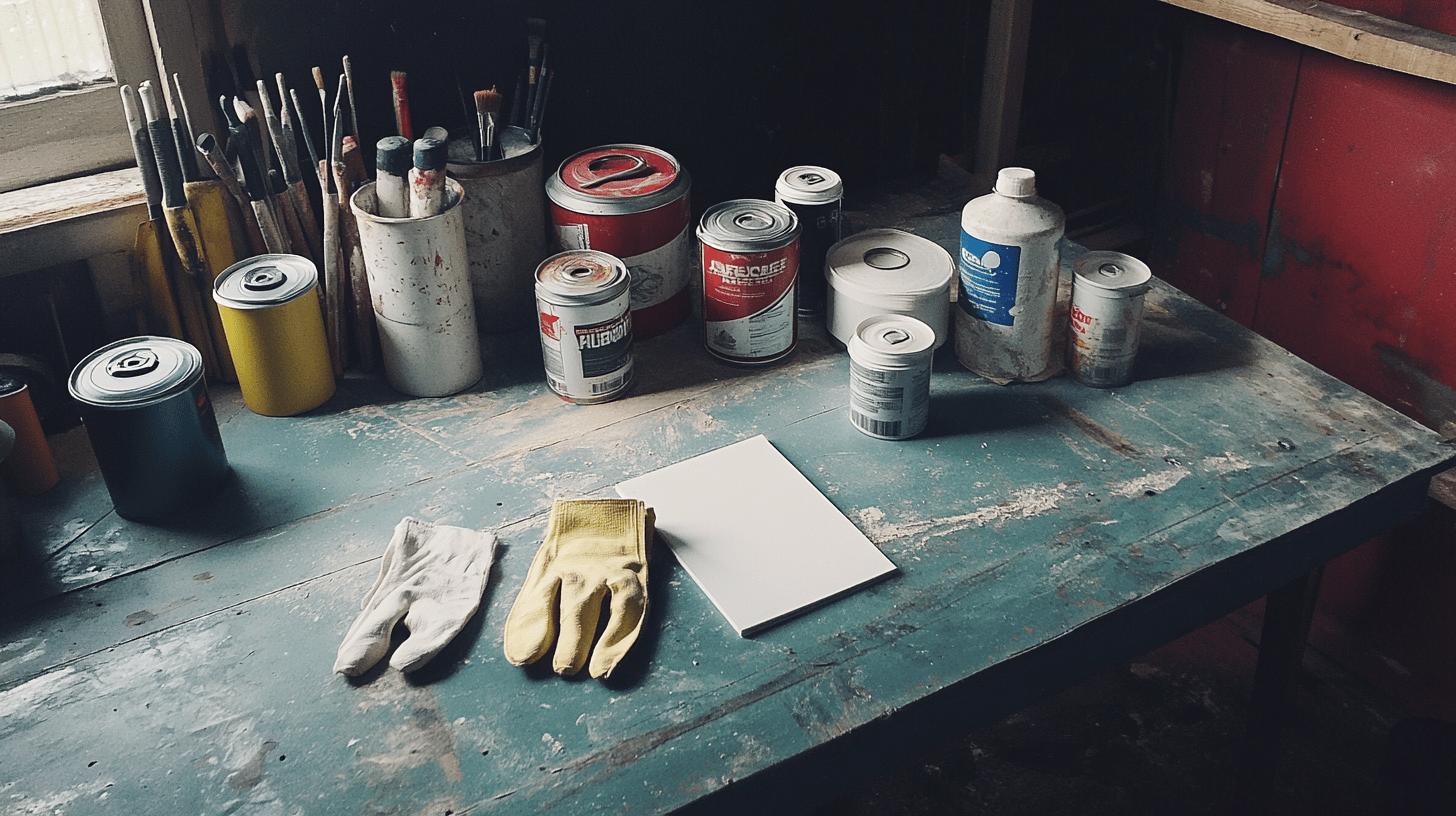
Gathering the correct materials and adhering to safety protocols are crucial steps in successfully painting a motorcycle helmet. Proper materials ensure that the paint adheres well, providing a durable and aesthetically pleasing finish.
Safety precautions, on the other hand, protect the painter from harmful fumes and potential hazards during the painting process.
Below is a list of essential materials needed for helmet painting:
-
Sandpaper (various grits)
-
Primer (suited for the helmet material)
-
Paint (water-based or acrylic)
-
Clear coat for protection
-
Safety gear (masks and gloves)
-
Masking tape
-
Cleaning solutions
-
Ventilation equipment or setup
Using safety gear is paramount during the painting process. Masks prevent inhalation of toxic fumes, while gloves protect the skin from chemicals.
Proper ventilation, whether through a well-ventilated space or using a ventilation setup, minimizes exposure to harmful substances. By following these precautions, both the quality of the painted helmet and the safety of the painter are assured.
Preparing Your Motorcycle Helmet for Painting
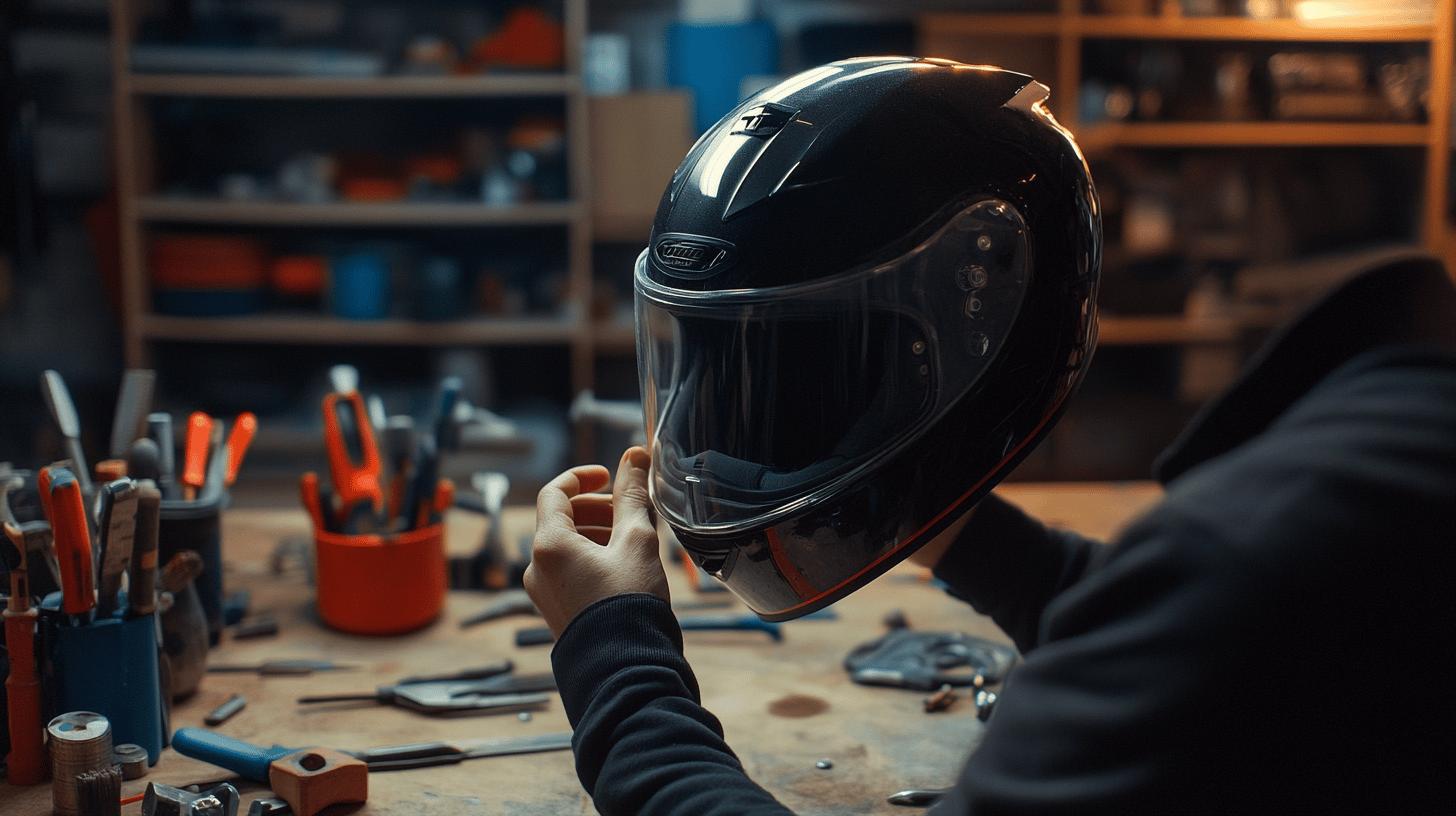
Proper preparation is critical for achieving a smooth and professional-looking finish on a motorcycle helmet. Before any paint touches the surface, meticulous preparation ensures that the paint adheres correctly, minimizing flaws and extending the life of the paint job.
Here are the essential steps for preparing your helmet for painting:
-
Remove all accessories, including visors and stickers.
-
Clean the helmet thoroughly with an all-purpose cleaner.
-
Sand the helmet surface to remove imperfections.
-
Use wet sandpaper for better adhesion.
-
Dry the helmet completely before painting.
Sanding is an essential step in the preparation process. Using wet sandpaper, typically in a grit range of 400 to 600, helps in smoothing out the surface and removing any glossy finish.
This step is crucial because a roughened surface allows the primer and paint to adhere more effectively. Sanding also eliminates any existing surface imperfections, enhancing the final paint job's appearance.
After sanding, cleaning the helmet is the final preparation step. Use a mild cleaning solution to remove any dust or residue left from sanding. It's essential to ensure the helmet is completely dry before moving on to apply primer or paint.
This cleanliness is crucial for avoiding any contaminants that could interfere with the paint's adhesion, resulting in a smooth and flawless surface ready for the application of paint.
Choosing the Best Paint and Techniques for Your Helmet

Selecting the appropriate type of paint is essential for achieving a durable and visually appealing finish on a motorcycle helmet. Acrylic and urethane paints are commonly recommended due to their excellent adhesion properties and resistance to weathering.
Acrylic paint is known for its ease of application and quick drying time, making it suitable for beginners. Urethane paint, although more challenging to apply, offers superior durability and a professional finish, making it ideal for those seeking long-lasting results.
| Paint Type | Benefits |
|---|---|
| Acrylic | Easy application, quick drying, affordable |
| Urethane | Highly durable, professional finish |
| Water-based | Environmentally friendly, less toxic fumes |
Various painting techniques can be employed to customize a helmet, each offering distinct visual effects. Spray painting is the most accessible method, providing even coverage and a smooth surface when applied correctly.
Airbrushing allows for intricate designs and gradients, ideal for detailed artwork. Detailing involves the use of brushes or fine-tipped tools for precision and is perfect for adding small accents or unique patterns.
Each technique requires different skill levels and tools, so choosing one that matches your expertise and desired outcome is crucial. Popular color choices for helmet painting include navy, black, and red, each providing a classic and stylish appearance. Applying paint evenly is vital to avoid streaks and inconsistencies.
Begin with light coats, allowing each layer to dry before applying the next. This approach ensures a smooth, uniform finish. Experiment with color combinations and effects to achieve a personalized look that reflects your style.
Step-by-Step Guide to Painting Your Motorcycle Helmet
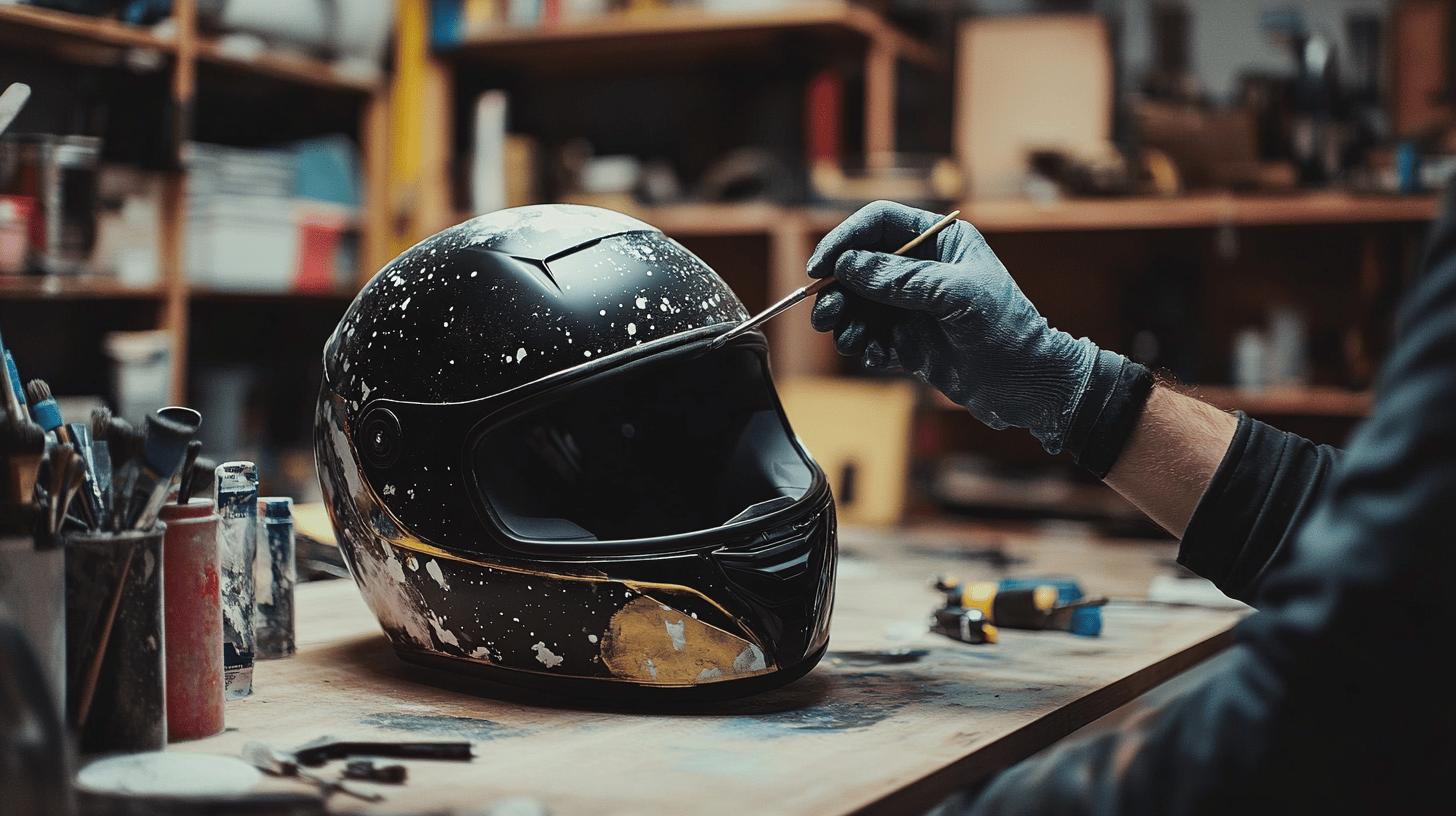
Painting a motorcycle helmet requires patience and care to achieve a professional and durable finish. Following a structured process ensures that each layer of paint adheres properly, resulting in a design that not only looks good but also withstands the elements.
Here's a detailed step-by-step guide to help you through the helmet painting process:
- Prepare the Helmet
Remove all accessories, such as visors and stickers, from your helmet. Clean the surface thoroughly to remove any dust or grease, ensuring a pristine base for painting.
- Apply Primer
Use a spray gun to apply two to three coats of primer, allowing each coat to dry fully before applying the next. Let the primer dry overnight to achieve optimal bonding.
- Sand Primer Smooth
Once the primer is dry, sand it smoothly using fine grit sandpaper. This step is crucial for eliminating any imperfections and ensuring a seamless surface for the base color.
- Apply Base Color
Select your desired base color and apply it evenly over the helmet. Use multiple light coats, allowing each to dry fully to prevent dripping and achieve a uniform finish.
- Add Designs
If you wish to add designs, use masking tape to section off areas and apply paint using a fine brush or airbrush for precision. This step allows for creative expression and personalization.
- Apply Clear Coat
Finish with two coats of clear coat to protect the paintwork. This layer acts as a shield against environmental damage and enhances the helmet's gloss or matte finish.
- Finishing Touches
Inspect the helmet for any missed spots or uneven areas. Lightly sand any imperfections and apply additional clear coat if necessary for a polished look.
Patience and attention to detail are essential throughout each step of painting your motorcycle helmet. Rushing the process may result in uneven coats or paint peeling over time. By taking the time to let each layer dry fully and carefully applying each coat, a durable and aesthetically pleasing finish can be achieved, ensuring your helmet not only looks great but remains protected.
Finishing and Protecting Your Painted Helmet

Applying a clear coat is crucial for protecting the painted surface of a motorcycle helmet, ensuring both durability and an appealing finish. A clear coat of Urethane is specifically recommended because it seals the design, providing a robust barrier against environmental factors such as UV rays, moisture, and debris.
Typically, applying up to four layers of clear coat will achieve a glossy finish that enhances the visual appeal while significantly extending the paint's lifespan. This protective layer is essential for maintaining the helmet's appearance and safeguarding the intricate designs beneath.
-
Apply the clear coat in a dust-free environment to avoid imperfections.
-
Use a spray gun for even application and optimal coverage.
-
Allow each layer to dry completely before applying the next.
- Lightly sand between coats for a smoother finish.
In addition to the clear coat, other protection methods can further enhance the helmet's durability. Waxing the helmet provides an extra layer of protection, helping to repel water and reduce the risk of scratches.
Using a high-quality automotive wax ensures that the helmet retains its shine and remains easy to clean. Furthermore, specialized sealants designed for automotive finishes can be applied for added resistance to harsh weather conditions, ensuring the paint remains vibrant and intact.
Regular maintenance is vital for the long-lasting beauty of a painted helmet. Gently cleaning the helmet with a mild soap and water solution prevents the buildup of dirt and grime, which can dull the finish over time. Avoid using abrasive cleaners or cloths that might scratch the surface.
Storing the helmet in a cool, dry place away from direct sunlight minimizes exposure to elements that could degrade the paintwork. By following these care practices, the helmet will maintain its aesthetic and protective qualities for years.
Final Words
Mastering how to paint a motorcycle helmet involves understanding materials, safety precautions, and proper techniques. Starting with the right supplies and adhering to safety guidelines lay the foundation for success. Preparing the helmet through cleaning and sanding is critical for paint adhesion. Choosing suitable paints and applying them with care ensures durability and vibrant results.
With patience and attention to detail, a personalized helmet can boost confidence and reflect personal style on the road.
FAQ
How to paint a motorcycle helmet for beginners?
Beginners should start by gathering essential materials such as sandpaper, primer, and paint. Follow proper steps, including helmet preparation, applying primer, and ensuring clean and even paint layers for optimal results.
What kind of paint do you use on a motorcycle helmet?
For painting a motorcycle helmet, acrylic or urethane paints are preferred due to their durability and quality finish. They provide a lasting, even coat when correctly applied.
Is it okay to spray paint a motorcycle helmet?
Spray painting is permissible for helmets; however, using paint products designed for plastic ensures the integrity of the helmet remains intact with minimal risk.
Is it legal to paint a motorcycle helmet?
Painting a motorcycle helmet is legal as long as the process doesn't compromise its safety standards or the structural integrity mandated by safety regulations.
How to prep a helmet for painting?
To prep a helmet, remove all accessories, sand the surface with wet sandpaper for adhesion, clean thoroughly, and ensure it's dry before applying paint.
Does painting a motorcycle helmet weaken it?
Using incorrect paint or procedures can weaken a helmet. Always use compatible materials and follow proper instructions to maintain safety and strength.
Best spray paint for helmets?
The best spray paints for helmets are specialized for plastics and acrylic surfaces, ensuring adhesion without damaging the helmet’s material. Choose high-quality brands for optimal results.
Which paint to use on a helmet?
Acrylic and urethane paints are recommended for helmets, offering durability and a smooth finish. They adhere well and resist wear over time.
Helmet painting ideas?
Consider designs like graphics, color shifts, or two-tone options. These creative approaches enhance visual appeal while personalizing the helmet.
Motorcycle helmet painting near me?
For professional painting services, search for local shops specializing in motorcycle helmets to ensure expertise and quality finish.
How to paint a motorcycle helmet black or white?
To paint a helmet black or white, choose a suitable acrylic spray paint, apply multiple even coats, and finish with a clear topcoat for protection and shine.

Ryan Thompson is a 35-year-old sport bike enthusiast known for his adventurous spirit. With years of weekend rides and exploring new roads, Ryan brings fresh insights and firsthand experience to ProtectiveGearz. His energetic approach and passion for the latest gear make him a trusted source for riders seeking up-to-date advice.


