
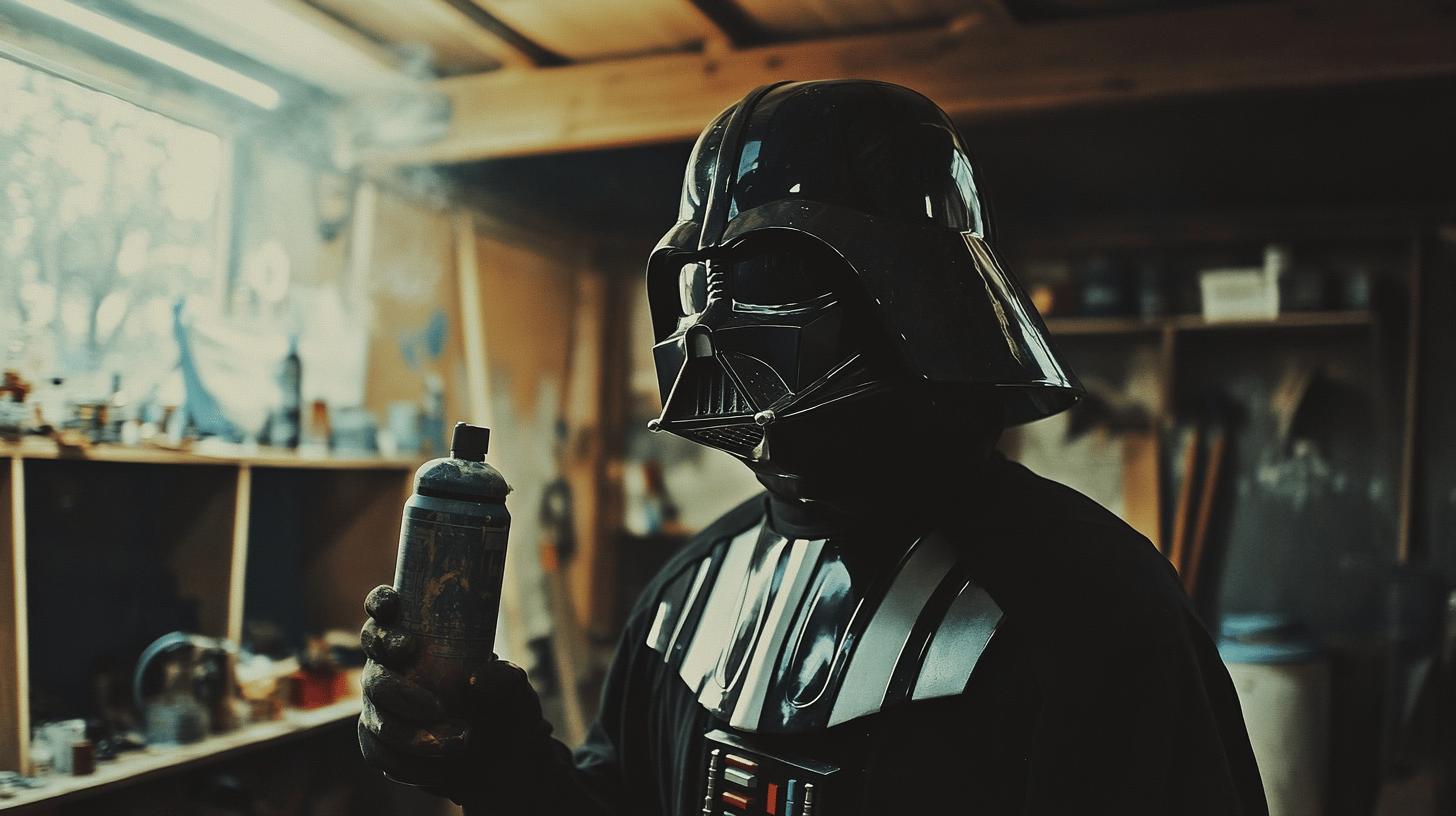
Ever considered blending your passion for motorcycles with your love for Star Wars? Transforming a standard motorcycle helmet into an iconic Darth Vader headpiece not only makes a bold statement but also offers a unique fusion of style and safety.
This post delves into the intricate process of creating this standout headgear, highlighting the significance of meticulous material selection and precise craftsmanship.
From materials and tools to painting techniques and safety checks, this comprehensive guide will walk you through achieving a helmet worthy of the Sith Lord himself. Unleash your inner Dark Side while riding in style and safety.
Materials and Tools for Crafting a Darth Vader Motorcycle Helmet
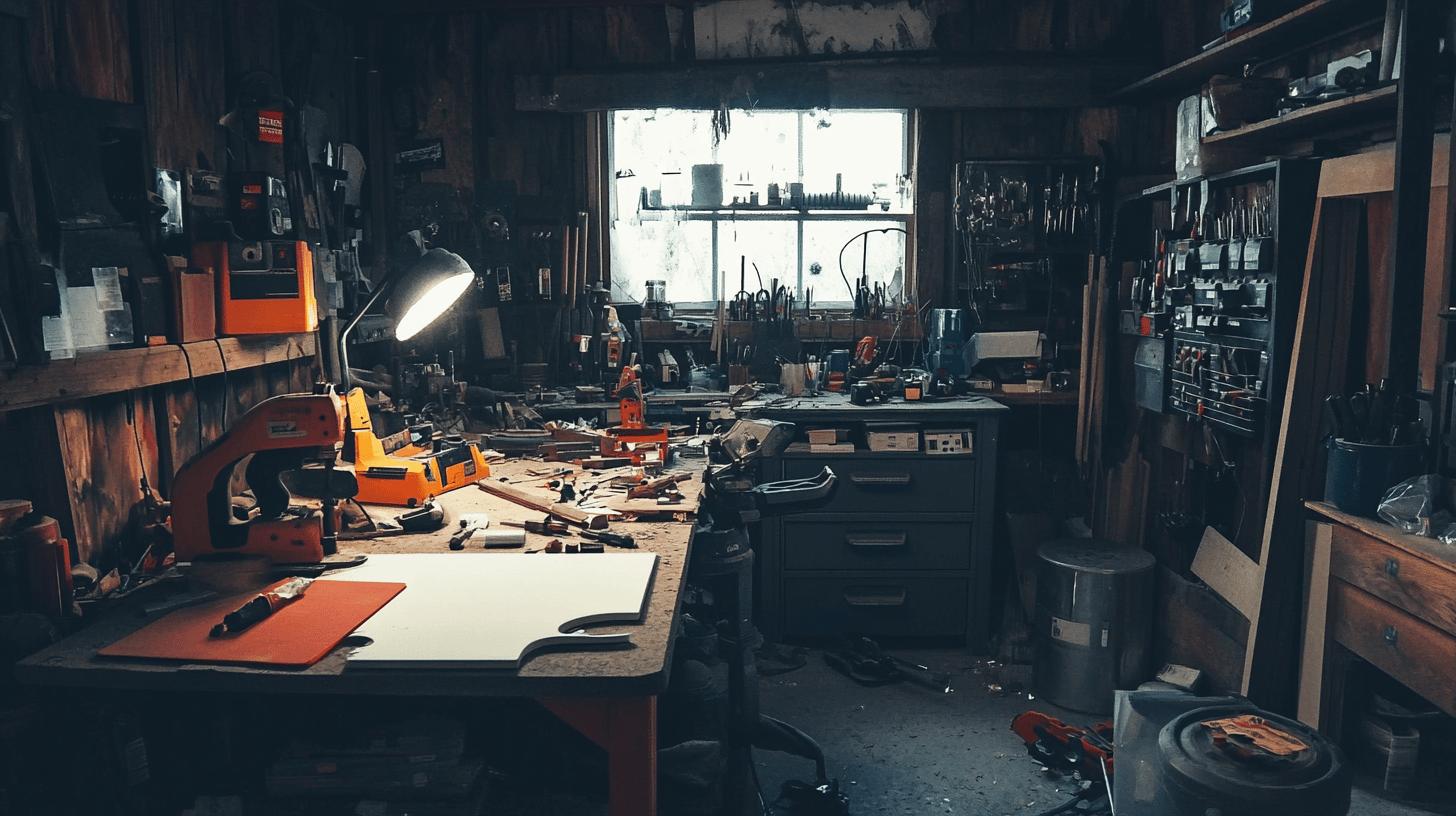
Durable materials are crucial when crafting a Darth Vader motorcycle helmet to maintain its protective function. Start with a standard motorcycle helmet as the base, ensuring it meets safety standards. Incorporate EVA foam for its lightweight and resilient properties, ideal for shaping the mask's intricate details. Use black spray paint and glossy black acrylic to achieve the iconic finish.
Mirror chrome paint adds realistic detailing, enhancing the helmet's visual appeal. A dark green medical face shield material is recommended for the visor, providing both clarity and the distinct look of Darth Vader's mask. These materials not only contribute to the helmet's aesthetic but also preserve its structural integrity, crucial for rider safety.
Specific tools play a vital role in achieving the detailed design of Darth Vader’s helmet. A heat gun is essential for molding EVA foam, allowing precise shaping to replicate the helmet's iconic contours. A Dremel tool aids in smoothing seams and refining edges, ensuring a polished appearance. Contact cement provides strong adhesion, especially for the layered components of the helmet.
Sandpaper, preferably in finer grits, assists in finishing surfaces to a smooth texture. Each tool has a specific purpose, contributing to the overall craftsmanship and functionality of the helmet. The careful selection and use of these tools ensure that the helmet not only looks authentic but also retains its protective features.
- Standard motorcycle helmet
- Black spray paint
- Glossy black acrylic paint
- Mirror chrome paint
- EVA foam
- Dark green medical face shield material
- Heat gun
- Dremel tool
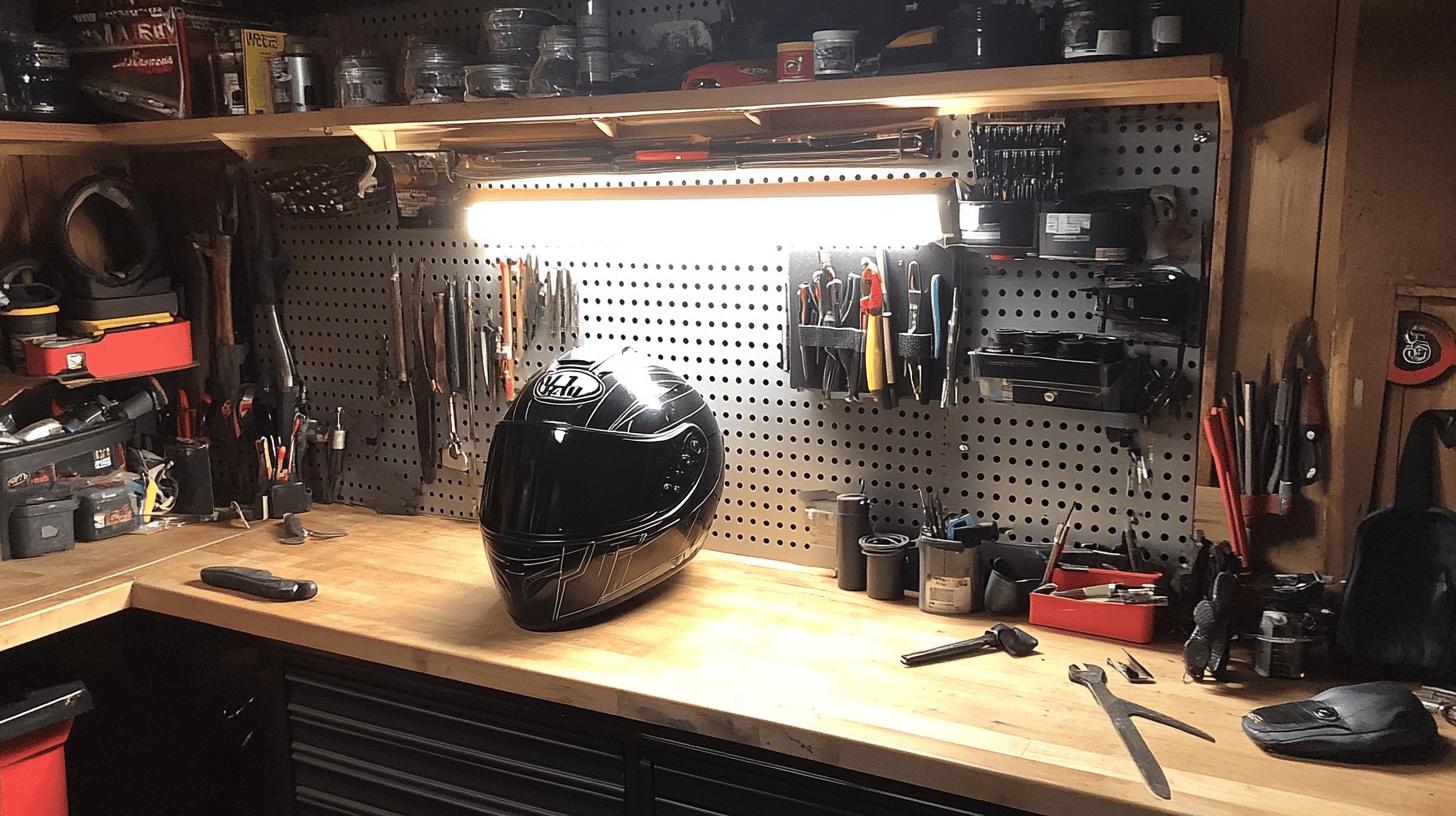
Step-by-Step Guide to Crafting Your Helmet

Adhering to each step meticulously is paramount when crafting a Darth Vader motorcycle helmet. The precision required in shaping and detailing ensures the helmet not only embodies the iconic design but also maintains its protective capabilities. Utilizing specific materials and tools will facilitate the crafting process, ensuring a professional finish that captures the essence of Darth Vader's mask.
-
Reshape the Helmet: Begin by modifying the base structure of your standard motorcycle helmet. Use plastic sheets and sculpting materials to mimic the contours of Darth Vader's mask. This initial reshaping is crucial for setting the foundation of the helmet's design.
-
Mold with Heat: Employ a heat gun to mold EVA foam, allowing you to achieve the precise shapes and angles characteristic of the helmet. This technique is essential for creating smooth curves and intricate details.
-
Smooth and Refine: Use a Dremel tool to smooth the seams and refine the edges. This step ensures a polished appearance and prepares the surface for painting.
-
Apply Finishing Touches: Seal any gaps with Kwik Seal Plus and sand the surfaces with fine-grit sandpaper. These finishing touches are vital for achieving a seamless look and preparing the helmet for painting.
-
Paint the Helmet: Coat the helmet with Plasti Dip for durability and follow with black acrylic paint for the glossy finish. These paints provide the iconic dark sheen synonymous with Darth Vader's helmet.
-
Detailing: Add mirror chrome paint for detailing screws and other accents. This final step enhances the helmet's realism and brings the design to life.
Attention to detail is crucial throughout the crafting process. Each step, from reshaping to detailing, contributes to the helmet's authenticity and functionality. By carefully following the guide, you can create a striking Darth Vader motorcycle helmet that is both visually impressive and safe for riding.
Painting and Detailing Techniques for a Darth Vader Helmet
Achieving the iconic look of a Darth Vader helmet requires meticulous painting techniques. Black spray paint serves as the base layer, providing an even and consistent coat. Follow this with glossy black acrylic paint to create the helmet's signature shine. Applying two coats of Plasti Dip is crucial for enhancing the helmet's durability, offering a protective layer that withstands wear.
Mirror chrome paint is used for detailing, adding realistic metallic accents that bring the design to life. Ensuring a smooth finish involves applying each coat evenly and allowing ample drying time between layers to prevent streaks and blemishes.
Safety during the painting process cannot be overstated. Use a mask to avoid inhaling harmful fumes and work in a well-ventilated area to minimize exposure to volatile organic compounds. Proper ventilation helps in dispersing fumes, reducing health risks. Additionally, wear gloves to protect your skin from paint and chemicals. These precautions ensure a safe and effective painting environment, allowing you to focus on achieving the perfect finish for your helmet.
- Use fine-grit sandpaper to prepare surfaces before painting.
- Apply paint in thin, even coats to avoid drips.
- Allow each layer to dry completely before applying the next.
- Use masking tape to protect areas that shouldn't be painted.
- Add subtle shading with airbrushing for depth and realism.
Installing Functional Features: Visor and Electronics
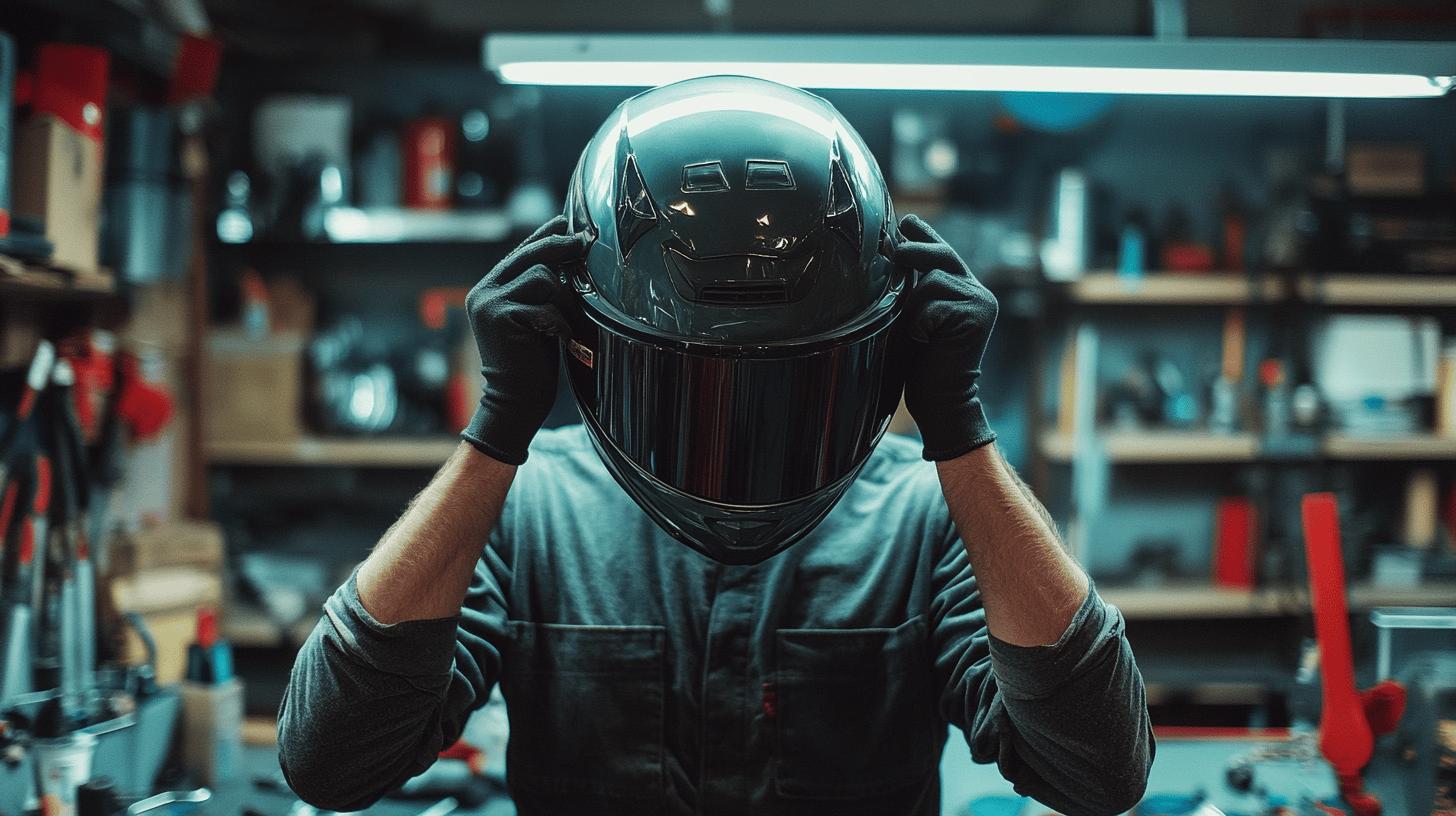
Selecting the right visor material is crucial for both safety and authenticity in creating a Darth Vader motorcycle helmet. For this project, a dark green medical face shield material is recommended due to its clarity and durability. Begin by carefully measuring and cutting the shield to fit the visor section of the helmet.
Secure it in place using contact cement or a similar adhesive, ensuring a firm attachment that will withstand regular use. The color and transparency of this material not only replicate the look of Darth Vader’s helmet but also provide the necessary visibility for safe riding.
Integrating electronics into the helmet enhances its authenticity and functionality. Consider installing LED lights to mimic the helmet's iconic features or a voice changer to deepen your speech, aligning with Darth Vader's distinctive sound.
Secure electronic components with hot glue, ensuring they are positioned properly without interfering with the helmet's structural integrity. It is essential to maintain a balance between added features and safety, as improperly installed electronics can compromise the helmet's protective capabilities.
Before final assembly, thoroughly test all components for functionality and safety. This includes checking the visor for secure attachment and clarity, as well as ensuring all electronic features operate correctly. Conduct a thorough inspection to confirm that no wires or devices obstruct the helmet's fit or comfort. By testing each element, you ensure that the helmet is not only visually striking but also safe and functional for use.
Ensuring Safety and Legal Compliance in Helmet Modifications
Maintaining the helmet’s safety features during modifications is crucial to ensure continued protection. Begin by preserving the helmet's structural integrity to avoid compromising its primary function.
This involves using materials that do not weaken the helmet's original shell and ensuring any additions, such as decorative elements, do not interfere with the helmet's ability to absorb impact. Incorporate padding and proper fitting adjustments to maintain comfort and security. When adding features like electronics, ensure they are securely fastened without creating pressure points or affecting the helmet's stability.
Legal requirements play a significant role in helmet modifications, as non-compliance can lead to penalties or unsafe riding conditions. Check local laws to ensure your Darth Vader helmet remains road-legal, focusing on regulations surrounding helmet safety standards.
These standards typically address aspects such as visibility, strap security, and impact resistance. Adhering to these guidelines not only ensures legality but also enhances rider safety. It is important to consult official resources or authorities for the most accurate and up-to-date information regarding helmet modifications.
-
Inspect the helmet for any structural weaknesses post-modification.
-
Ensure that all added components are securely attached and do not impede functionality.
-
Verify that the helmet still meets visibility and impact resistance standards.
- Check that the fit remains snug and comfortable, without undue pressure points.
Resources and Inspiration for Your Custom Helmet Project

Online communities and forums are excellent resources for finding inspiration and tips for your custom Darth Vader helmet project. Platforms like Reddit, Instructables, and dedicated motorcycle gear forums host a wealth of information where enthusiasts share their experiences, techniques, and challenges in helmet customization.
Engaging with these communities can provide you with unique insights, creative ideas, and practical advice that can enhance your project. By exploring threads and discussions, you can discover various approaches and solutions that others have found successful, helping you avoid common pitfalls and streamline your crafting process.
To effectively plan and execute your helmet project, consider utilizing helmet design software and video tutorials. Design software allows you to visualize your helmet modifications before you start, ensuring that your ideas are feasible and aligned with safety standards. This preliminary step can save time and resources, allowing for adjustments in the virtual stage rather than during physical construction.
Additionally, video tutorials offer step-by-step guidance, particularly for complex procedures such as shaping and detailing, providing visual references that can be invaluable. These tools collectively empower you to achieve a striking and safe Darth Vader helmet with greater confidence and precision.
Final Words
Crafting a Darth Vader-inspired motorcycle helmet begins with selecting durable materials and tools, crucial for maintaining protection. A clear, step-by-step guide ensures precision throughout the reshaping and detailing phases, accentuating the helmet's iconic design.
Painting techniques must be executed carefully for a glossy finish, with safety precautions in place. Installing functional features like visors and electronics adds authenticity, yet must accommodate safety and compliance.
This creative endeavor not only enhances riding experiences but also melds craftsmanship with helmet functionality, exemplifying how to make a Darth Vader motorcycle helmet successfully.
FAQ
How to make a Darth Vader motorcycle helmet out of cardboard?
A: To make a Darth Vader helmet out of cardboard, gather materials like cardboard sheets, glue, and a template. Use the template to cut and assemble the pieces, then paint it black for authenticity.
Is there a Darth Vader helmet template PDF available?
A: Yes, a Darth Vader helmet template PDF is available online. It provides a comprehensive guide, assisting in cutting and assembling the helmet's pieces accurately.
How long does it take to build a Darth Vader helmet?
A: Building a Darth Vader helmet typically takes several days, depending on skill level and detail desired. This time allows for constructing, detailing, and proper drying of paints and adhesives.
How did they make Darth Vader's original helmet?
A: The original Darth Vader helmet was crafted using fiberglass for rigidity and durability. Advanced design processes were used, combining artistry with functional helmet making techniques.
How much did Darth Vader's helmet sell for?
A: The original Darth Vader helmet has been auctioned for various prices, sometimes reaching several hundred thousand dollars, making it a highly valued piece among collectors.
Mark Anderson is a trusted expert with over 25 years of riding experience. At 56, his deep knowledge of long-distance touring and participation in major motorcycle rallies makes him a reliable source for gear recommendations on ProtectiveGearz. Mark’s decades of firsthand experience ensure his advice is authoritative and valuable to riders seeking expert guidance.


