Why ride silently when your helmet could be your connectivity hub on two wheels? Installing Bluetooth on a motorcycle helmet not only elevates your riding experience but also ensures you stay connected, whether for communication or music.
This guide dives into the nuts and bolts of setting up Bluetooth, from choosing reliable kits by brands like Sena and Lexin to securing your helmet's integrity. Motorcyclists will discover the steps to seamlessly integrate tech into their riding gear while balancing safety and comfort.
Preparing for Bluetooth Installation on Your Motorcycle Helmet

Selecting the right Bluetooth communicator kit is an essential first step in the motorcycle helmet Bluetooth installation process. Reliable brands such as Sena and Lexin offer kits like the Sena 30K and Lexin LX-B4FM, known for their robust performance and features.
These kits usually include a main unit, speakers, and a microphone, with prices ranging from $100 to $350 depending on features. A trustworthy kit ensures durability and effective communication, making your rides safer and more enjoyable.
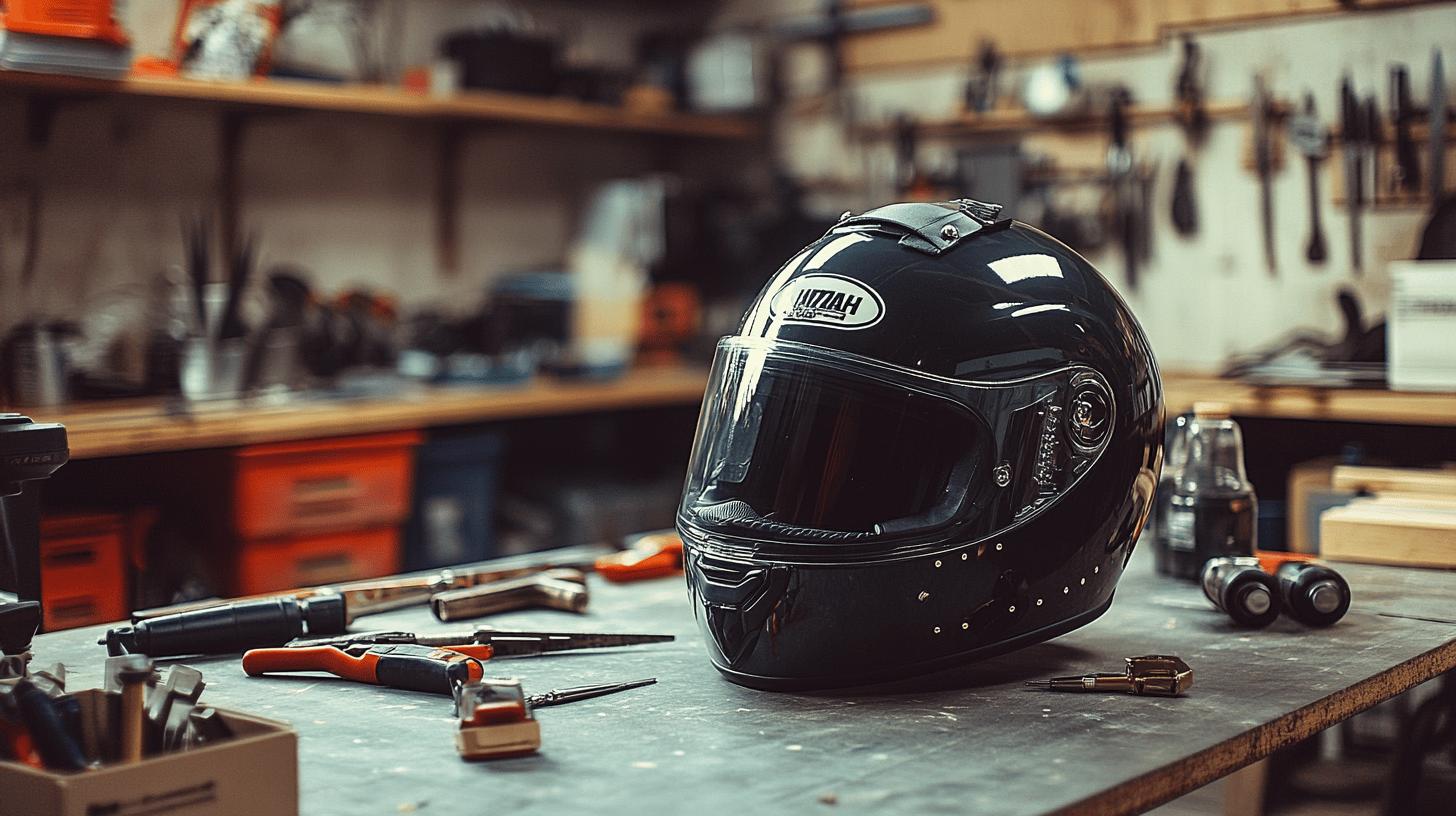
Essential tools for Bluetooth installation include:
-
Adhesive pads for securing components.
-
Screwdrivers for mounting brackets.
-
Mounting brackets to attach the main unit.
-
Scissors for trimming excess material.
-
Velcro straps for wire management.
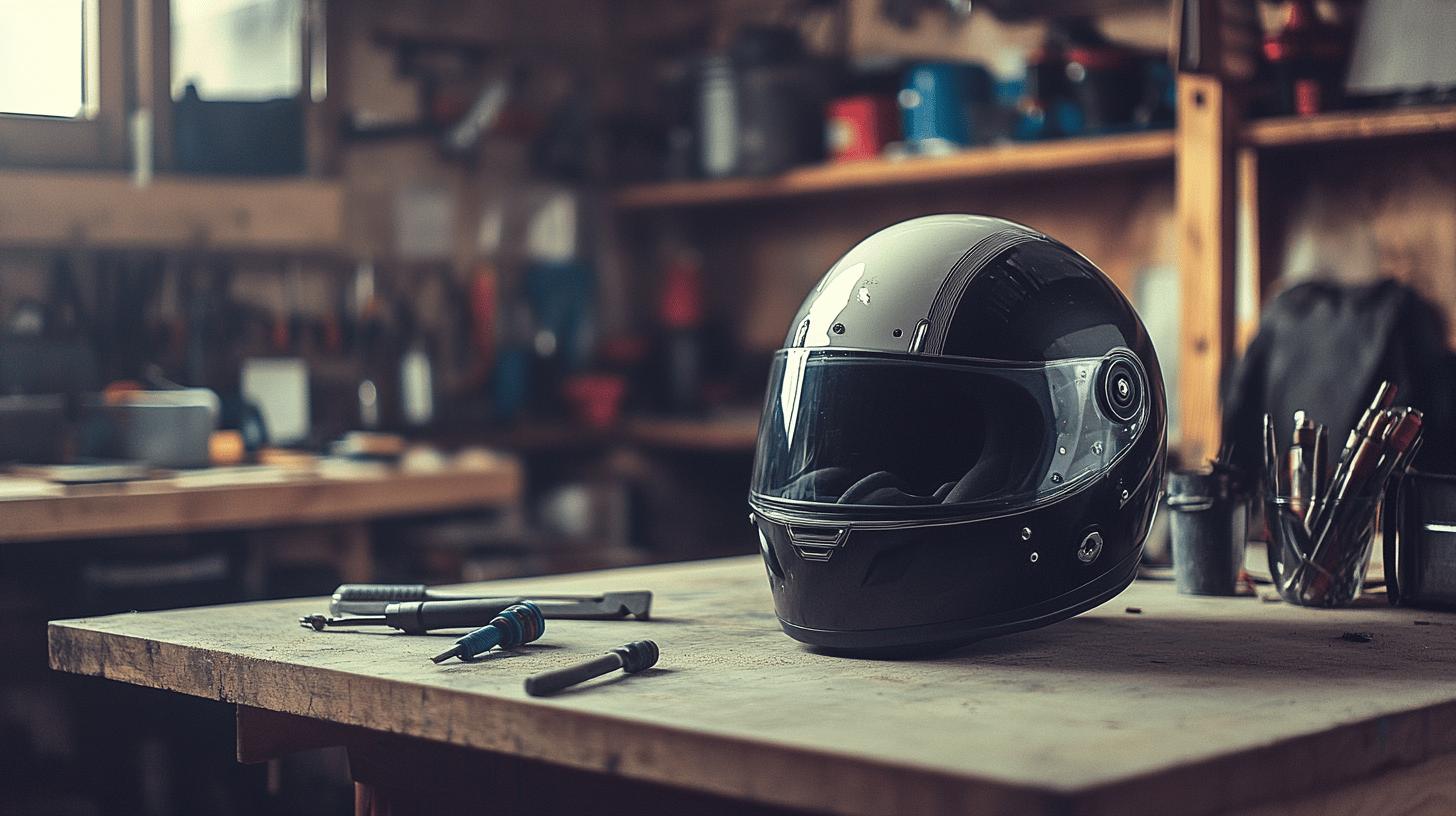
Setting up a suitable workspace is critical for a smooth installation process. Ensure your work area is well-lit and organized, minimizing distractions. Stabilizing the helmet is crucial to avoid slips and ensure precision; use duct tape to fix it in place during installation. A stable setup not only facilitates the process but also prevents accidental damage to the helmet.
Step-by-Step Guide to Installing Bluetooth on Your Helmet

-
Remove Helmet Padding: Carefully take out the inner padding of your helmet to expose the shell. This offers access to the areas where you will place the speakers and microphone. Ensure you memorize or take note of how the padding is fitted to ease reassembly.
-
Position the Speakers: Identify the ear-level positions inside the helmet. Use adhesive pads or clamps to secure the speakers at these locations. This ensures optimal sound quality while riding.
-
Attach the Microphone: Depending on your helmet type (full-face or open-face), attach the microphone near the mouth. Use a boom mic for open-face helmets or a wired mic for full-face helmets to ensure clear voice transmission.
-
Secure the Main Unit: Choose a location on the outside of the helmet for the main Bluetooth unit. Use the provided mounting bracket to attach it securely, ensuring it remains easily accessible while riding.
-
Route the Wires: Carefully route the wires from the speakers and microphone to the main unit. Use velcro straps or clips to keep wires organized and avoid discomfort or interference with the helmet's fit.
-
Reinstall Helmet Padding: Once all components are securely in place, reinsert the helmet's padding. Ensure it fits snugly and comfortably, as it did before removal.
-
Test the Bluetooth Connection: Pair the Bluetooth system with your smartphone or GPS device. Check for clear audio and a strong connection before setting off on your ride.
-
Adjust Speaker Position: If audio quality is subpar, adjust the speaker positions for better alignment with your ears. This might require minor repositioning for optimal sound delivery.
-
Check Microphone Functionality: Test the microphone by making a call or recording a voice note to ensure it picks up your voice clearly, even with road noise.
- Final Inspection: Perform a thorough check to confirm all components are secure and that the helmet maintains its original comfort and functionality. Adjust as necessary for an optimal riding experience.
Ensuring Safety and Comfort with Bluetooth Helmets

Maintaining the helmet's structural integrity is crucial when installing Bluetooth devices. Any modifications should avoid compromising the helmet's ability to protect the rider in case of an accident.
It's essential to follow manufacturer guidelines and use appropriate installation techniques to ensure that the helmet retains its original protective capabilities. This includes careful placement of components to avoid weakening the helmet's shell or affecting its fit.
Safety checks to consider:
-
Confirm that the Bluetooth installation aligns with local legal requirements.
-
Test helmet comfort, ensuring the added components do not create pressure points.
-
Ensure speakers are positioned correctly to avoid interference with the helmet's fit.
-
Verify that all wires are securely fastened and do not obstruct the helmet's interior.
-
Regularly inspect the helmet for any signs of wear or damage post-installation.
Balancing technology and safety is vital. The convenience of Bluetooth audio should not detract from the helmet's primary function of safety. Installations should be carried out with precision to ensure that the helmet remains as effective in protecting the rider as it is in delivering enhanced audio experiences.
Prioritizing these considerations ensures that the integration of Bluetooth technology does not come at the expense of rider safety.
Troubleshooting and Maintaining Your Bluetooth Helmet

Connectivity issues in Bluetooth helmets often arise from simple problems. If you experience difficulties pairing your device, the first step is to ensure that both the helmet's Bluetooth module and your smartphone or GPS are within range and have Bluetooth enabled.
Resetting the device can resolve many connectivity problems; this is typically done by holding down the power button or using a designated reset function.
Firmware updates are another crucial step in troubleshooting, as manufacturers regularly release updates to enhance functionality and fix bugs. Make sure your device is running the latest firmware to avoid compatibility issues.
Routine maintenance tasks are essential for prolonging the life of your Bluetooth helmet:
-
Charge the Bluetooth device regularly to prevent unexpected shutdowns during rides.
-
Clean the helmet and components with a soft, damp cloth to remove dust and debris.
-
Inspect and secure all connections to ensure they remain tight and free from corrosion.
-
Update firmware as recommended by the manufacturer to maintain optimal performance.
-
Store the helmet in a cool, dry place to prevent moisture damage.
Proper maintenance not only ensures the longevity of your Bluetooth helmet but also enhances audio quality. Regular checks and cleaning can prevent issues like distorted sound or reduced battery life.
By following a consistent maintenance routine, you can enjoy clear audio and reliable performance on every ride, ensuring that your Bluetooth helmet remains an integral part of your motorcycle gear.
Final Words
Installing Bluetooth on a motorcycle helmet enhances riding experiences while demanding careful planning and execution. Choosing a reliable Bluetooth kit, gathering tools, and setting up a stable workspace ensures smooth installation.
The step-by-step guide emphasizes precise speaker and microphone placement. Maintaining safety and comfort is crucial, ensuring the helmet's structural integrity stays intact. Mastery of how to install Bluetooth on a motorcycle helmet ultimately boosts helmet functionality, enriching both communication and safety for riders.
FAQ
How to install bluetooth on motorcycle helmet Harley Davidson?
To install Bluetooth on a Harley Davidson motorcycle helmet, acquire a Bluetooth communicator kit. Begin by removing the helmet's inner lining. Secure the speakers at ear level and attach the microphone and main unit externally.
How to connect Bluetooth Helmet to phone?
To connect a Bluetooth helmet to a phone, activate the helmet's Bluetooth. Ensure the phone's Bluetooth is turned on, then pair the devices through the phone's Bluetooth settings menu.
How to put headphones in motorcycle helmet?
Place headphones inside a motorcycle helmet by inserting them at ear level, securing with adhesive pads if necessary, ensuring they don't obstruct the helmet's internal structure or fitting.
How to install intercom in motorcycle helmet?
Installing an intercom involves mounting speakers and a microphone inside the helmet, typically at ear level and near the mouth. The control unit attaches to the helmet's exterior for easy access.
Bluetooth Motorcycle Helmet
A Bluetooth motorcycle helmet integrates wireless communication technology, enhancing rider experience by allowing calls, music, and GPS directions via a built-in system.
Can you add Bluetooth to any helmet?
Adding Bluetooth to any helmet is feasible with a universal Bluetooth communicator kit. Ensure compatibility and proper fitting without compromising the helmet's safety and integrity.
How to install Bluetooth system in helmet?
Installing a Bluetooth system requires removing helmet padding, mounting speakers and a microphone, and securing the main unit. Follow specific kit instructions for optimal placement and wiring.
Do motorcycle helmets have built in Bluetooth?
Some motorcycle helmets come with built-in Bluetooth, offering integrated speakers, a microphone, and control units. Others require separate installation using a Bluetooth communicator kit.
Are all Bluetooth motorcycle headsets compatible?
Not all Bluetooth motorcycle headsets are universally compatible. Check for compatibility with other devices and ensure the Bluetooth version matches the connected equipment.

Mark Anderson is a trusted expert with over 25 years of riding experience. At 56, his deep knowledge of long-distance touring and participation in major motorcycle rallies makes him a reliable source for gear recommendations on ProtectiveGearz. Mark’s decades of firsthand experience ensure his advice is authoritative and valuable to riders seeking expert guidance.


