Did you ever wish your motorcycle helmet had a custom flair that truly felt like a part of you? Hydro dipping might be the answer. This fascinating technique allows motorcyclists to transform an ordinary helmet into a personalized masterpiece with just a few supplies.
Mastering the art of hydro dipping requires the right mix of materials, tools, and technique. Dive into our simple, step-by-step guide to learn how to revamp your helmet with ease and precision. Whether it's flames, camo, or abstract patterns, your helmet can reflect your unique style.
Materials and Tools Needed for Hydro Dipping a Motorcycle Helmet

Having the right materials is crucial for a successful hydro dipping process. Isopropyl alcohol is used to clean the helmet surface, removing oils and contaminants that could hinder paint adhesion.
Cleaning cloths are essential for wiping down the helmet and ensuring it is spotless before priming. Primer and base coat paint are required to prepare the helmet for the hydrographic film, providing a smooth surface and enhancing the final design.
The hydrographic film, paired with an activator spray, allows the design to adhere to the helmet's surface. A clear coat is necessary to protect the design and add a finishing touch.
Specific tools are needed to maintain the correct water temperature and ensure a smooth application. A container large enough to submerge the helmet is essential. Additionally, a water heating element helps maintain the water temperature between 80-90 degrees Fahrenheit, which is critical for proper film activation and adhesion.
-
Isopropyl alcohol
-
Cleaning cloths
-
Gloves
-
Primer
-
Base coat paint
-
Hydrographic film
-
Activator spray
-
Clear coat
Preparing Your Helmet for Hydro Dipping
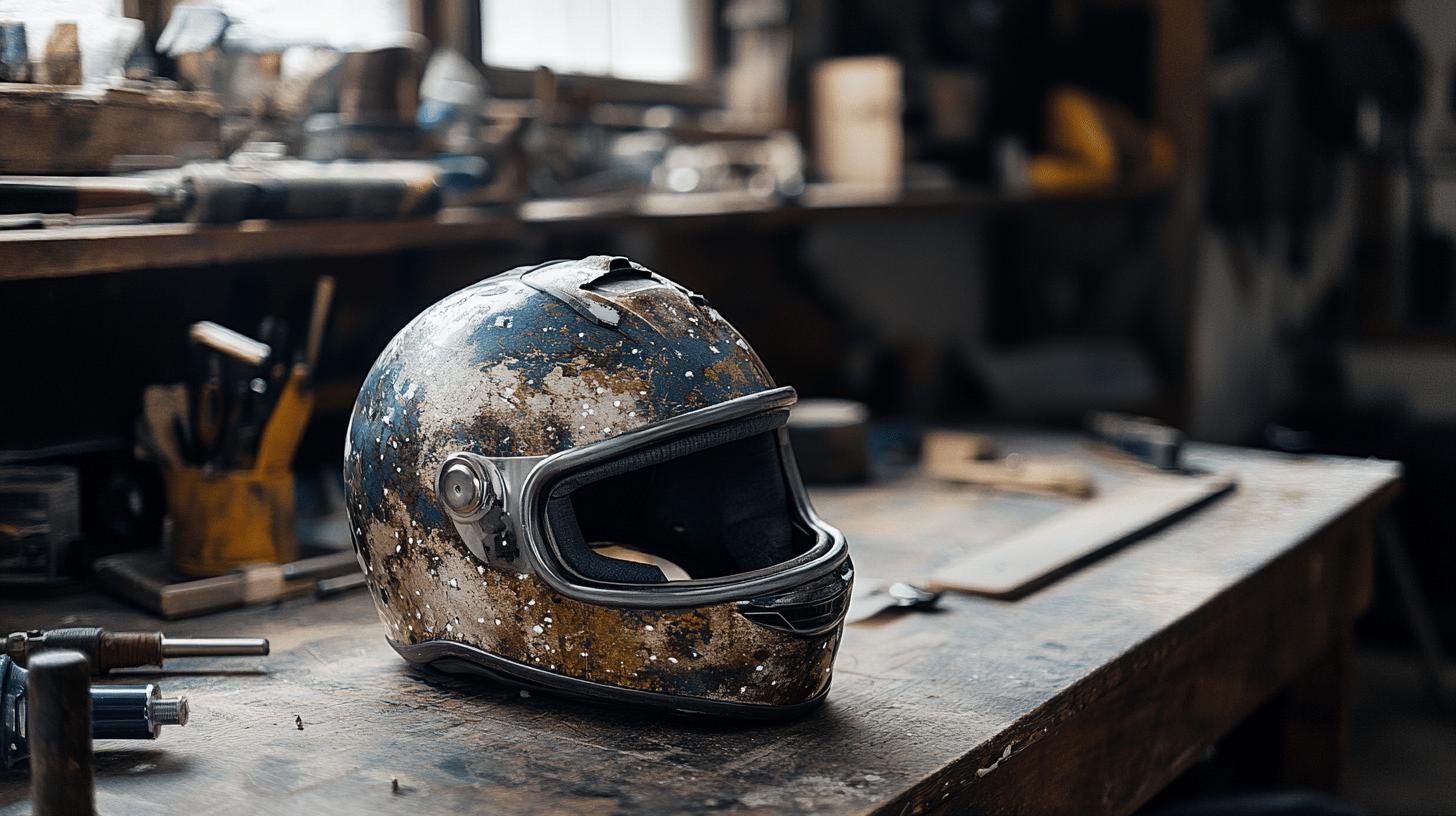
Why is it important to clean the helmet before hydro dipping? The primary reason is to remove oils and contaminants that can interfere with the adhesion of primer and paint. Using 91% isopropyl alcohol is recommended due to its effectiveness in breaking down oils and evaporating quickly without leaving residue.
Thorough cleaning ensures that the helmet surface is pristine, providing a solid foundation for the subsequent steps. Gloves should be worn during this process to prevent new contaminants from touching the surface.
What role does primer play in helmet surface preparation? Primer acts as a bonding agent between the helmet surface and the base coat paint. Applying it evenly is vital to prevent irregularities that could affect the appearance and durability of the final design.
An even layer of primer helps in creating a uniform surface, which is crucial for the hydrographic film's adhesion. Ensuring that the primer is fully cured before moving to the next step is essential for optimal results.
How does the base coat color influence the final hydro dipping design? The base coat serves as the background color for the hydrographic film. Selecting a color that complements or contrasts with the film can significantly alter the visual effect.
For instance, a lighter base coat can make patterns appear more vibrant, while a darker one can add depth and intensity. The choice of base coat color should be carefully considered to enhance the design's overall aesthetics.
-
Clean with isopropyl alcohol
-
Apply primer evenly
-
Choose an appropriate base coat
- Ensure the helmet is dry
Step-by-Step Guide to Hydro Dipping Your Helmet
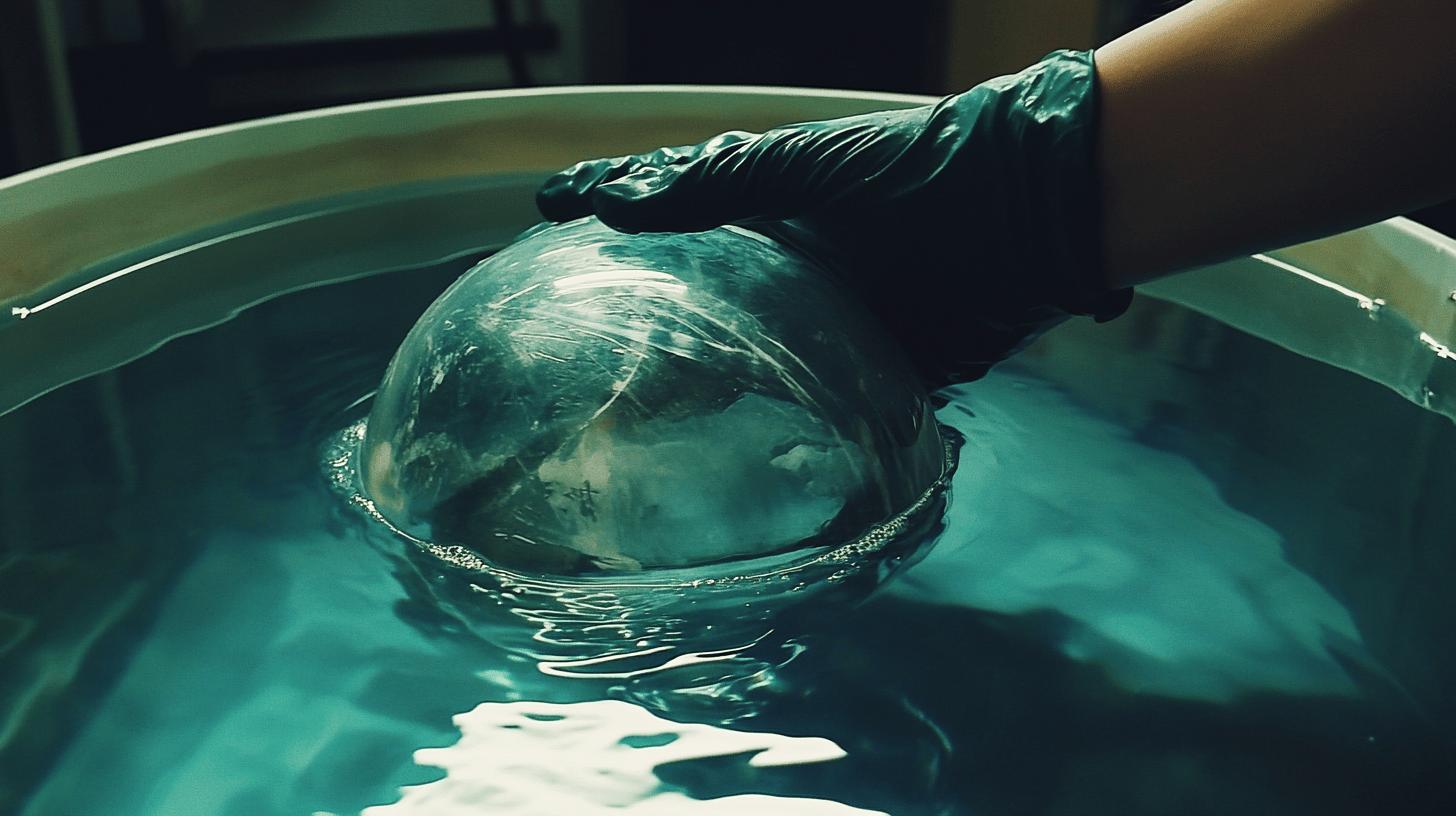
What is the correct water temperature for hydro dipping? The ideal water temperature is between 80-90 degrees Fahrenheit. This range ensures the hydrographic film activates properly, allowing it to adhere smoothly to the helmet.
Maintaining this temperature is crucial, as water that's too cold can hinder the film's dissolution, while water that's too hot may cause premature activation. A water heating element can assist in keeping the temperature consistent throughout the process.
How should you position the hydrographic film on the water? Carefully lay the film on the water surface, ensuring there are no air bubbles trapped underneath. Bubbles can cause gaps in the transfer, leading to incomplete design coverage.
The film should unfurl smoothly, and any edges curling up should be gently adjusted. This precise placement is essential for the subsequent activation step.
What is the purpose of the activator spray in the hydro dipping process? The activator spray dissolves the polyvinyl alcohol (PVA) component of the hydrographic film, transforming it into a liquid state ready to adhere to the helmet.
It's vital to spray evenly from 8-12 inches away to cover the entire film surface adequately. An uneven application can lead to irregular pattern transfer, so maintaining a consistent distance and speed is key.
Why is the dipping technique important? Submerge the helmet at a 30-40 degree angle to minimize air bubble formation and ensure even design coverage. This angle allows the film to wrap around the helmet smoothly. Full immersion is necessary to avoid design discontinuities. Moving steadily and without hesitation helps in achieving a seamless transfer of the pattern onto the helmet.
-
Heat water to 80-90 degrees Fahrenheit.
-
Place hydrographic film on water surface.
-
Spray activator evenly from 8-12 inches away.
-
Wait 5 seconds, then submerge the helmet at a 30-40 degree angle.
-
Ensure full immersion.
-
Rinse off excess film residue with light water spray.
Drying and Finishing Your Hydro Dipped Helmet
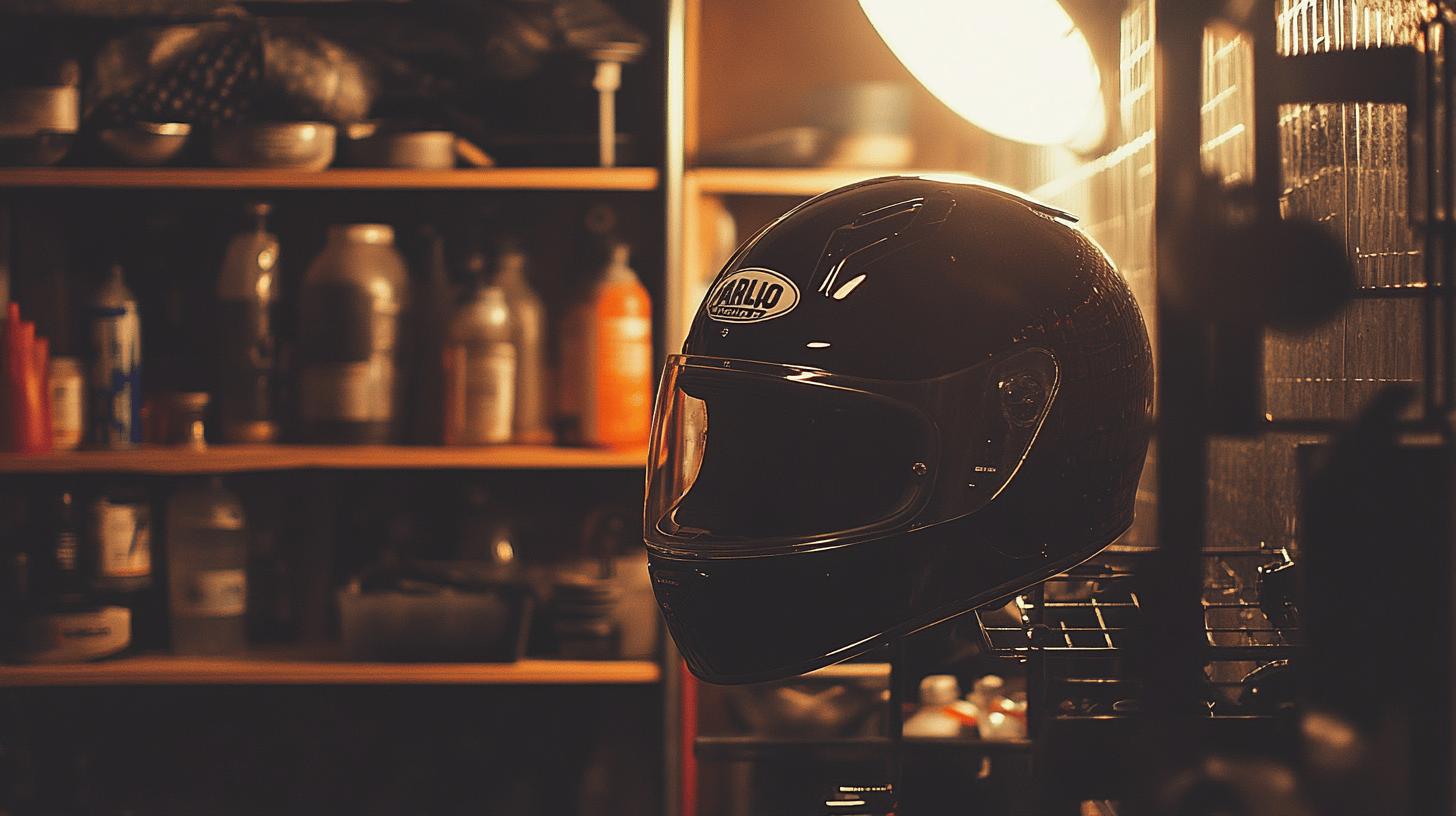
What are the best methods for drying a hydro dipped helmet? Convection heating and air drying are both effective techniques. Convection heating offers sharper results by evenly distributing heat, thereby reducing the risk of uneven drying that could warp the design. It maintains a consistent temperature, ensuring that the pattern remains intact and vibrant.
Air drying, while simpler and requiring no special equipment, takes longer and may result in a less uniform finish. It’s a viable alternative if convection heating is not available, but the helmet should be placed in a dust-free environment to avoid debris settling on the wet surface.
Why is a clear coat essential in finishing a hydro dipped helmet? The clear coat acts as a protective barrier, safeguarding the design from environmental damage such as UV rays and moisture. It enhances the appearance by adding depth and sheen to the pattern. Clear coat finishes are available in matte, semi-gloss, and high gloss, each offering a distinct aesthetic.
Matte provides a subdued look, semi-gloss strikes a balance between shine and subtlety, and high gloss delivers a reflective, polished appearance. Selecting the right finish depends on personal preference and the intended visual impact.
-
Convection heating for sharp results
-
Air drying as an alternative
-
Clear coat options: matte, semi-gloss, high gloss
Troubleshooting Common Hydro Dipping Issues
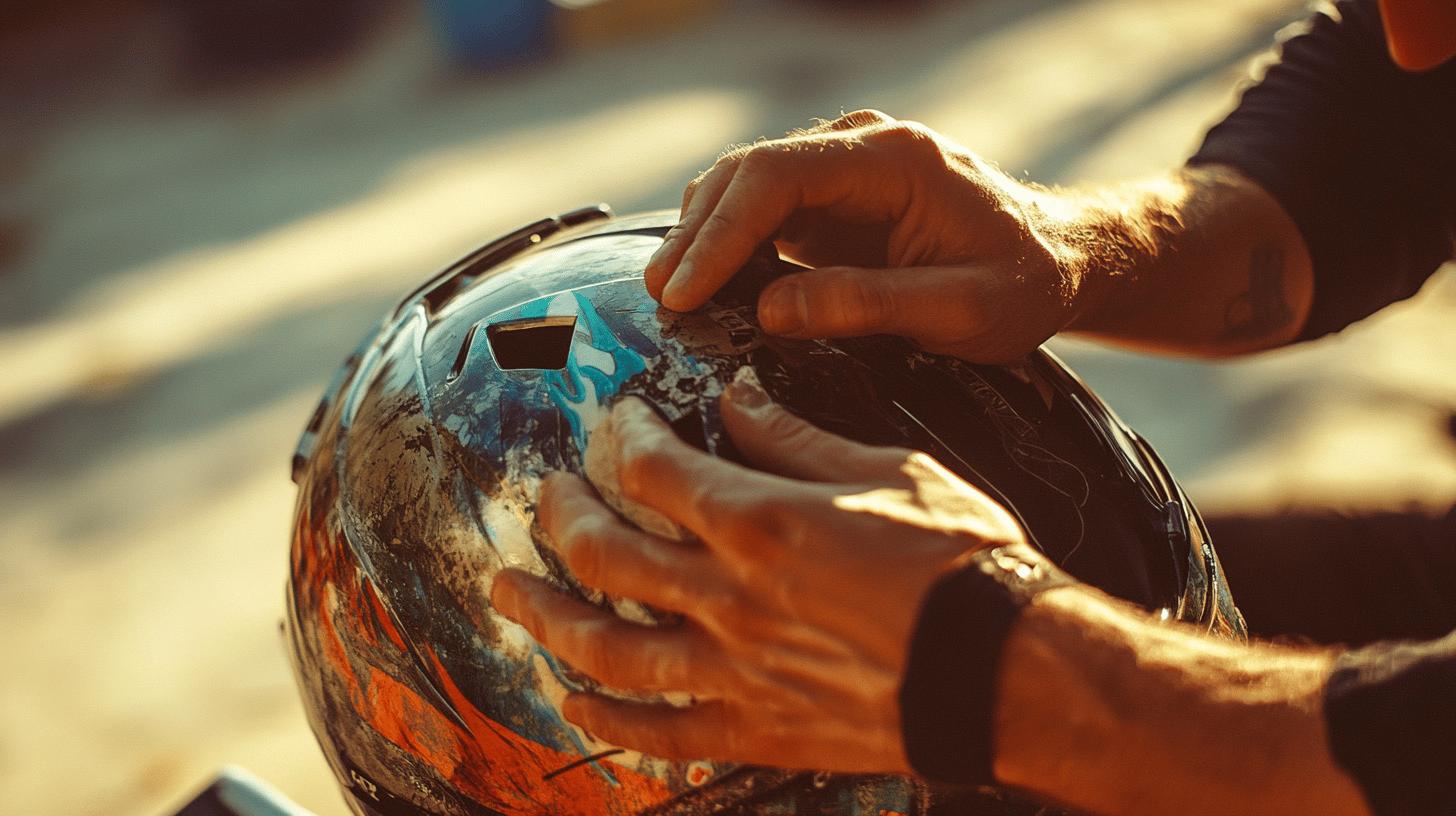
What causes air bubbles during hydro dipping? Air bubbles often result from improper film placement or an incorrect dipping angle. Bubbles can form if the film isn't laid flat on the water or if the helmet is submerged too quickly, trapping air underneath.
These bubbles disrupt the pattern, leaving unsightly gaps in the design. Ensuring the film is smoothly placed and dipping the helmet slowly at a 30-40 degree angle can help prevent this issue.
Why might there be poor pattern adhesion on a helmet? Poor adhesion can stem from inadequate surface preparation or incorrect activator application. If the helmet isn't thoroughly cleaned and primed, oils and residues can prevent the film from sticking properly.
Additionally, uneven activator spray distribution can cause sections of the film to fail in adhering. A consistent, even application of the activator from 8-12 inches away is crucial for uniform pattern transfer.
-
Adjust water temperature for better film adhesion.
-
Ensure even activator spray coverage.
-
Double-check helmet cleaning and priming steps.
Creative Design Ideas for Hydro Dipping Your Helmet
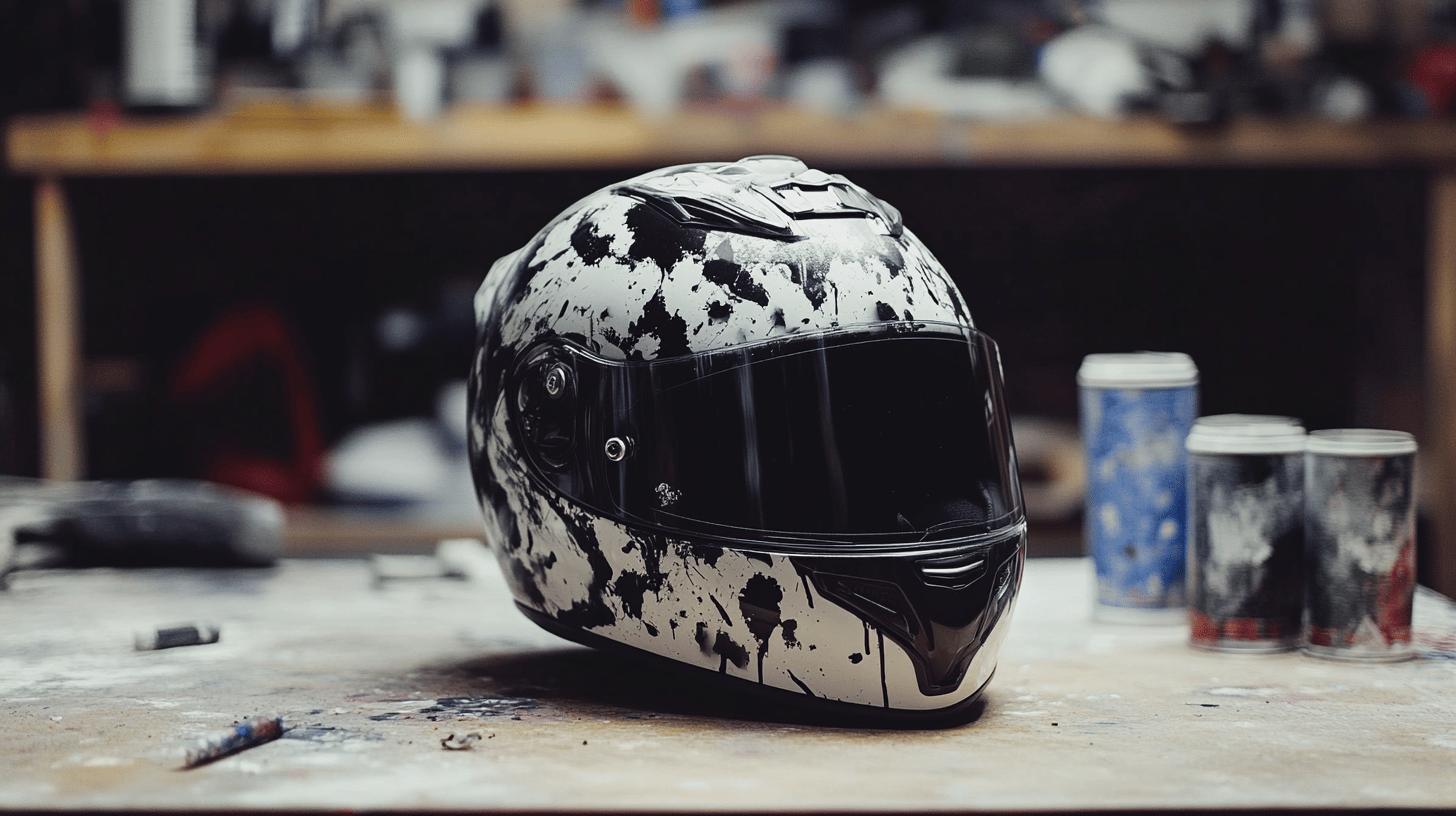
What are some popular design trends for hydro dipping a helmet? Flames, camo, and abstract patterns are among the top choices for riders looking to make a statement. Flames offer a bold, dynamic look that evokes speed and power, perfect for those who want their helmet to stand out.
Camo patterns provide a rugged, adventurous appearance, appealing to those who prefer a more robust and earthy aesthetic. Abstract patterns, on the other hand, allow for a unique and personalized style, giving riders the freedom to express their individuality with intricate and unconventional designs.
How should one choose a base coat to enhance the design? The base coat color plays a crucial role in the final appearance of the hydro dipped helmet. For flame designs, a dark base coat can intensify the fiery effect, making the colors pop vividly. In contrast, a lighter base coat with camo patterns can highlight the contrast between different shades, adding depth and realism.
For abstract designs, selecting a base coat that complements the film's primary colors can create a harmonious and eye-catching result. Thoughtful consideration of the base coat can elevate the overall visual impact of the helmet.
-
Flames for a bold look
-
Camo for a rugged appearance
-
Abstract patterns for a unique style
Final Words
Diving into how to hydro dip a motorcycle helmet offers a transformative experience, both visually and technically. From gathering the right materials to drying and finishing the project, each step is crucial to achieving excellent results.
This method allows riders to add a personal touch to their gear, boosting both style and visibility. Whether aiming for bold flames or subtle camo, hydro dipping opens new avenues for customization, making each ride more personal and exciting.
FAQ
How can I hydro dip my motorcycle helmet at home?
Hydro dipping a motorcycle helmet involves cleaning, priming, and using hydrographic film in heated water. Detailed steps include cleaning the helmet, applying primer, and fully immersing it in activated film.
Can I hydro dip my motorcycle helmet myself?
Yes, you can hydro dip your motorcycle helmet at home using a hydrographic film, activator spray, and a container of heated water. Proper helmet preparation is key to a successful result.
How much does it cost to hydro dip a helmet?
Hydro dipping a helmet typically costs between $30 to $100, depending on materials and location. DIY methods might be cheaper, while professional services may charge more for intricate designs.
What liquid is required for hydro dipping?
Water heated to 80-90 degrees Fahrenheit is required for hydro dipping, along with activator spray to dissolve and prepare the hydrographic film for application on your helmet.
Can a helmet be dipped in water for hydro dipping?
Yes, a helmet can be immersed in water as part of the hydro dipping process. Ensure the water is heated appropriately and the film is activated for successful application.
What materials are needed to begin hydro dipping at home?
To begin hydro dipping, gather isopropyl alcohol, cleaning cloths, gloves, primer, base coat paint, hydrographic film, activator spray, clear coat, and a container to hold heated water.

Brad Mitchell is a seasoned motorcycle enthusiast with over 16 years of riding experience. He’s spent countless hours on the open road, particularly favoring scenic routes aboard his trusted Harley-Davidson. Brad’s laid-back approach to life and riding gives him a unique perspective on motorcycle gear and safety, which he shares through his in-depth reviews and expert advice on ProtectiveGearz.
