Ever wonder what makes a drawing look professional and realistic? The secret lies in the details, like mastering helmets, one of the most iconic symbols of motorcycle culture.
In "How to Draw a Motorcycle Helmet: Creative Tips," you’ll discover the essential tools and techniques to bring your helmet drawings to life.
From understanding the right art supplies to following systematic steps and exploring creative design elements, this guide transforms how you approach helmet art. Ready to see how small changes make a big difference in your drawings? Let's dive deeper into the process.
Getting Started: Materials and Tools for Drawing a Motorcycle Helmet
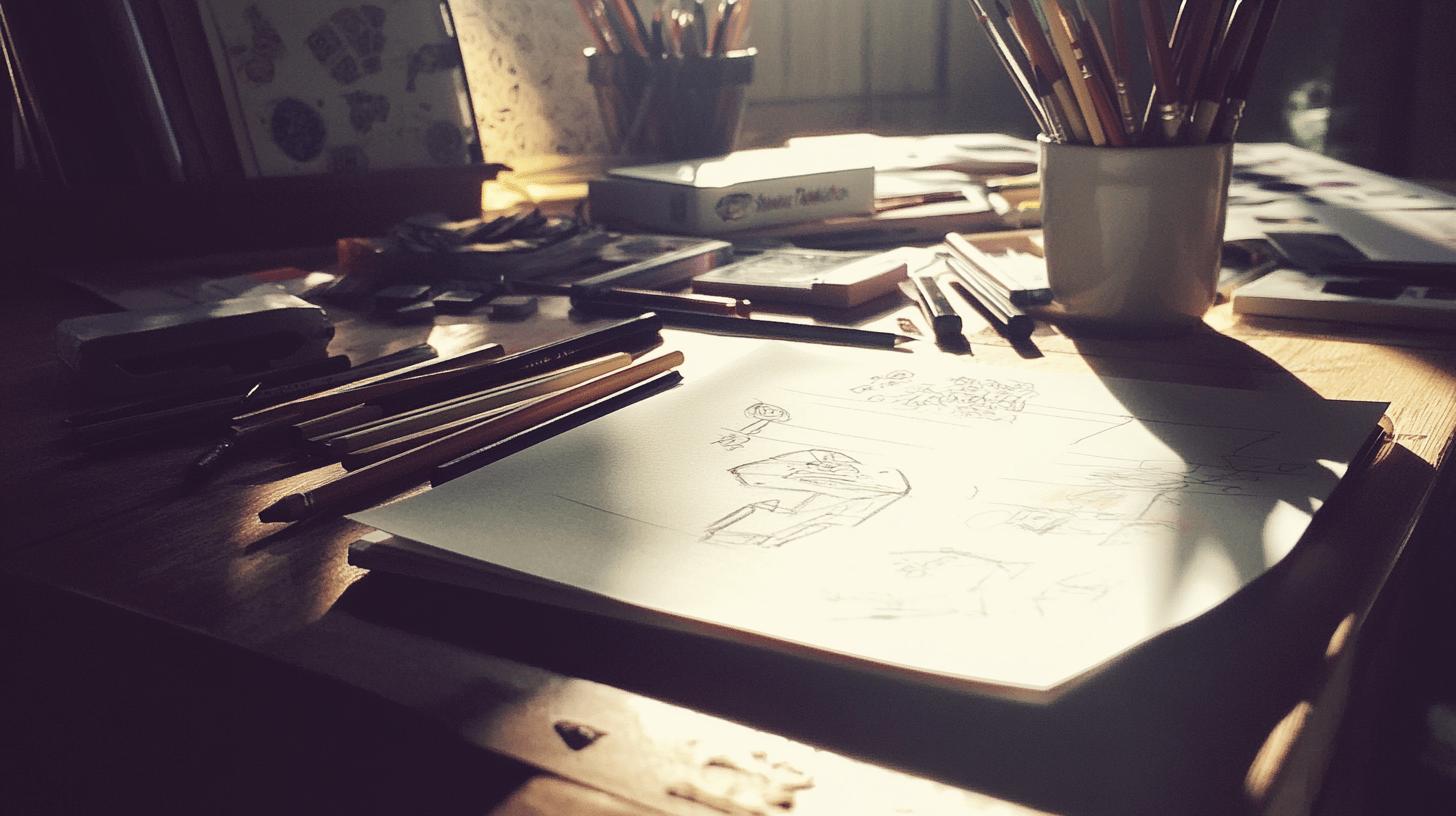
To draw a motorcycle helmet effectively, having the right art supplies is crucial. Essential materials include a range of pencils, such as HB for sketching and 2B or 4B for shading. An eraser is indispensable, with kneaded erasers preferred for precision corrections.
Quality paper, such as smooth Bristol board, enhances detail and texture in your sketches. A ruler ensures accurate lines, and a blending stump can help create seamless shading transitions.
To hone your skills, engage in the following practice exercises:
-
Basic Shape Studies: Practice drawing simple geometric shapes like circles and ovals to form the helmet's outline.
-
Line Control Drills: Work on creating straight, curved, and parallel lines to improve precision.
-
Proportion Practice: Sketch helmets of various sizes to understand spatial relationships.
-
Shading Techniques: Experiment with light and dark shading to create depth.
-
Texture Creation: Simulate different materials like leather or metal to add realism.
These tools and exercises lay the groundwork for more complex techniques by developing foundational skills. Mastering these basics allows you to focus on refining your style and introducing intricate details, ultimately enabling you to produce detailed and realistic helmet drawings.
Step-by-Step Guide: Drawing a Motorcycle Helmet
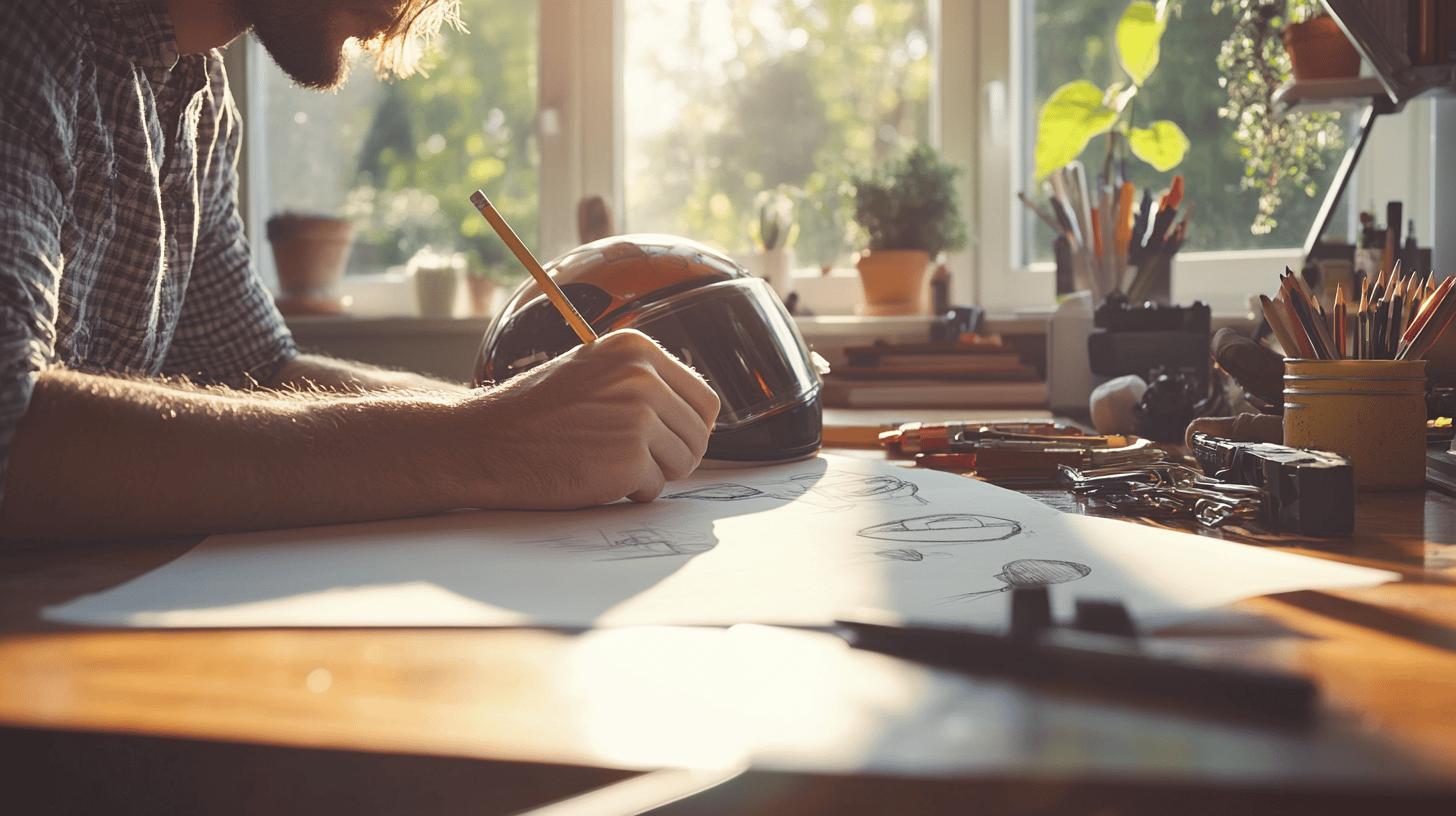
Following structured steps is vital in creating a motorcycle helmet drawing that captures both form and detail. This organized approach ensures each element is accurately rendered, enhancing both realism and precision.
-
Outline the Basic Shape: Begin by sketching a light oval or circle to represent the helmet’s general shape. This serves as the foundation for the drawing.
-
Define the Centerline: Draw a vertical line through the center of the oval. This helps maintain symmetry and guides feature placement.
-
Sketch the Visor Area: Mark the visor's location with a horizontal line across the oval. This line should curve slightly to mimic the helmet's curvature.
-
Add the Chin Bar: Beneath the visor line, draw the chin bar by extending lines from the bottom of the oval, forming a slightly curved rectangle.
-
Refine the Helmet's Contours: Enhance the basic shape by refining the curves, adding definition to the helmet's edges and overall form.
-
Detail the Ventilation and Features: Sketch vents or additional features like rivets or logos. These elements contribute to the helmet’s authenticity.
-
Apply Shading: Use different pencil grades to shade the helmet, creating depth and form. Focus on light source direction to ensure consistency.
-
Final Touches: Review the drawing for any asymmetry or missing details. Make corrections and add fine lines to enhance details and realism.
Completing a detailed drawing of a motorcycle helmet is a rewarding endeavor, reflecting dedication and skill in capturing its intricacies. Each step builds upon the last, culminating in a piece that showcases both artistic capability and attention to detail.
Mastering Techniques: Shading and Adding Details to Your Helmet Drawing
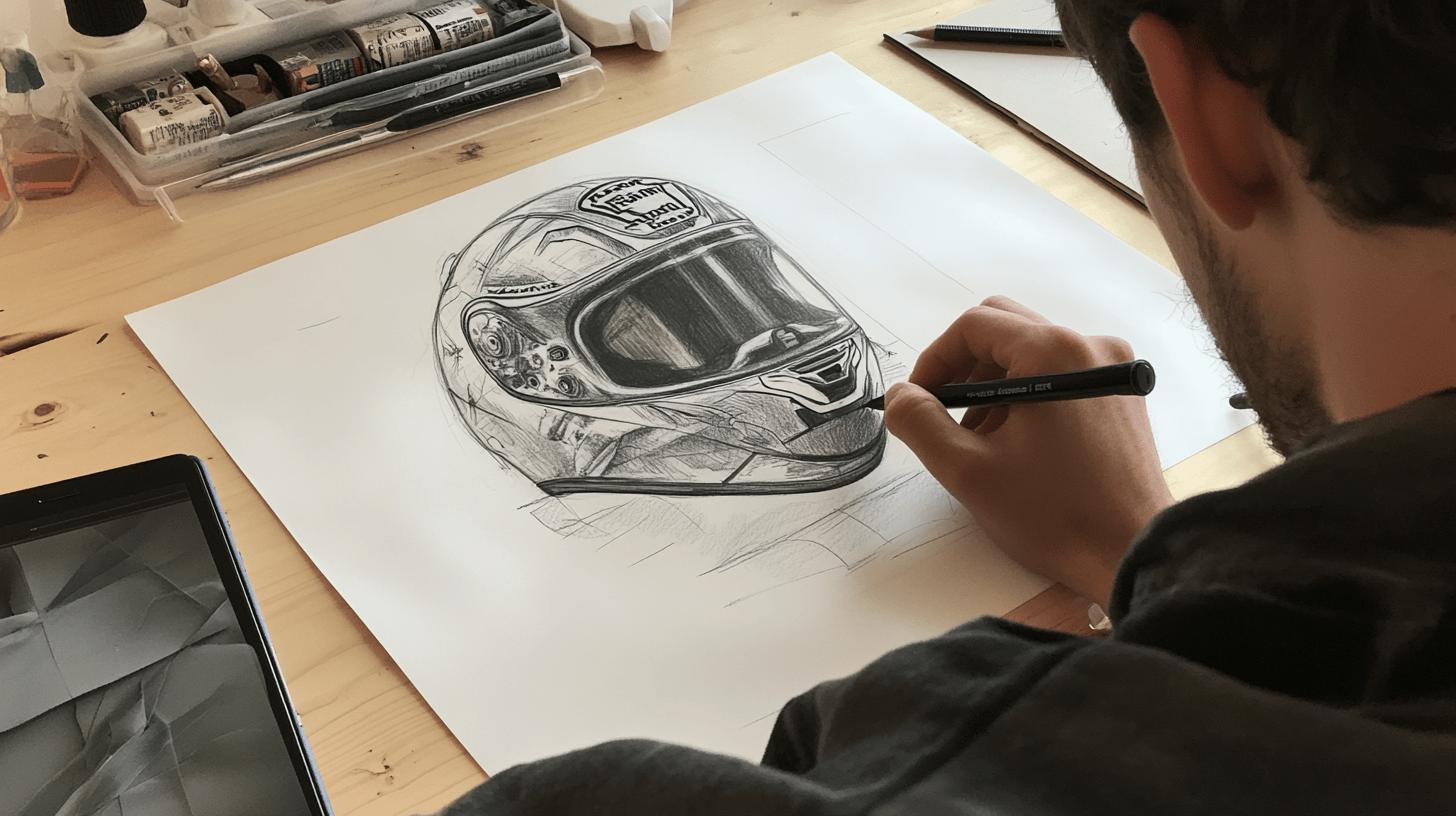
Shading plays an integral role in bringing depth and realism to motorcycle helmet drawings. By manipulating light and shadow, artists can create a three-dimensional effect that makes the helmet appear more lifelike. Shading helps accentuate the helmet's curves and contours, providing a sense of volume and structure.
Understanding the light source and how it interacts with different surfaces is essential in achieving realistic shading results. This technique not only adds layers to the drawing but also guides the viewer's eye across the artwork.
-
Gradual Shading: Use a range of pencil grades, from lighter to darker, to create smooth transitions and gradients. This technique helps in achieving a natural look.
-
Cross-Hatching: Apply intersecting lines to build up value and texture, offering an alternative to smooth shading for added texture.
-
Highlight Accents: Use an eraser to lift off graphite and create highlights, emphasizing areas where light naturally hits the helmet.
- Defining Edges: Use sharper pencil strokes to define intricate details and edges, enhancing the helmet's features such as vents or logos.
Color can further enhance the helmet drawing by adding contrast and dimension. Using colored pencils or markers, artists can introduce vibrant hues that reflect the helmet's material and design.
Applying color thoughtfully, such as accentuating highlights with a lighter shade or deepening shadows with complementary colors, can enhance realism. Additionally, color can emphasize specific details, such as reflective surfaces or decals, and bring the drawing to life by infusing energy and personality into the artwork.
Exploring Creative Design Elements in Motorcycle Helmet Art
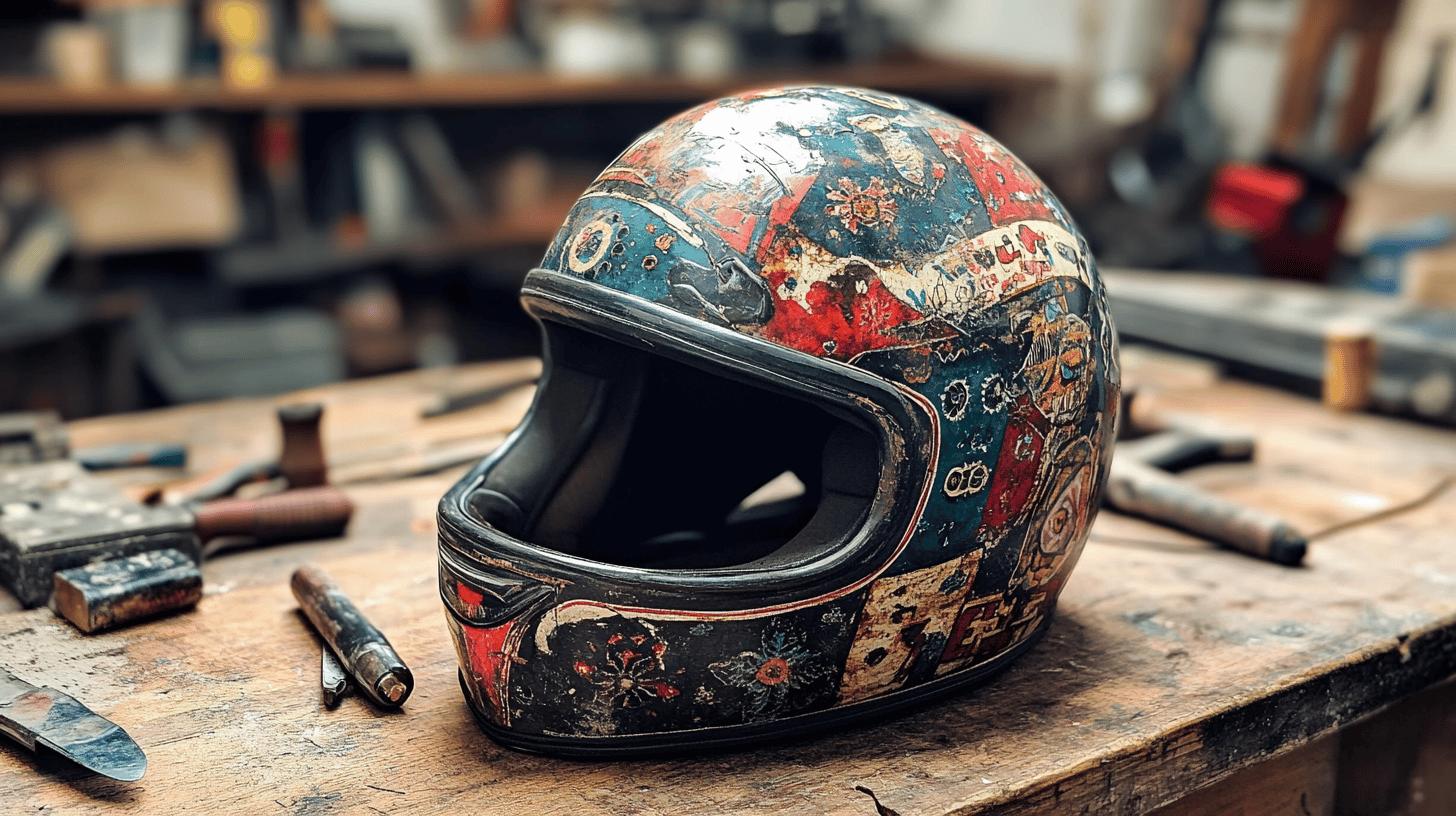
Creativity serves as the driving force behind remarkable art, allowing artists to breathe life into their works with originality and flair. In motorcycle helmet drawings, incorporating creative design elements can transform a simple sketch into a unique masterpiece that echoes personal expression or cultural narratives. These elements not only enhance visual appeal but also offer an opportunity to communicate individuality through art.
-
Geometric Patterns: Integrate sharp lines and shapes to create striking, modern designs.
-
Floral Motifs: Add elegance with intricate floral details that can range from abstract to realistic.
-
Tribal Designs: Utilize bold, symmetrical patterns inspired by various indigenous cultures.
-
Graffiti Art: Infuse the helmet with urban energy using vibrant colors and dynamic lettering.
-
Animal Prints: Mimic the textures of animal skins, such as leopard spots or tiger stripes, for a wild touch.
-
Cultural Symbols: Include icons or emblems that reflect cultural heritage or personal beliefs.
These design elements allow artists to explore diverse styles and narratives, making each helmet drawing a canvas for storytelling. Patterns, motifs, and decorations can be tailored to reflect personal tastes or cultural influences, adding depth and meaning to the artwork.
Whether drawing inspiration from personal experiences or global cultures, incorporating these elements can turn a simple helmet sketch into a powerful expression of identity.
Understanding Proportions and Perspective in Helmet Drawings

Achieving accurate proportions and perspective is crucial in motorcycle helmet art, as these elements ensure the drawing maintains balance and realism. Proportions dictate the relative size of the helmet components, like the visor, chin bar, and vents, ensuring they fit together harmoniously.
Perspective provides depth and dimension, allowing the helmet to appear three-dimensional on a two-dimensional surface. Understanding these concepts helps artists create dynamic compositions that are visually appealing and anatomically correct.
| Common Mistake | Correction |
|---|---|
| Disproportionate features | Use reference lines to guide feature size |
| Flat appearance | Apply perspective lines for depth |
| Misaligned elements | Align features with a central axis |
Practicing proportions and perspective involves several effective techniques. Start by using reference photos to understand the helmet's structure and shapes. Break down the helmet into basic geometric forms and practice sketching these from different angles.
Utilize grid systems to maintain accurate proportions and perspective, ensuring each element aligns correctly. Consistent practice of these methods will enhance an artist’s ability to produce helmet drawings that are both realistic and compelling.
Final Words
Mastering how to draw a motorcycle helmet involves more than just a pencil and paper. With the right materials, step-by-step guidance, and creative techniques, artists can transform basic sketches into detailed, realistic helmet drawings.
By incorporating shading and perspective, the depth and dimension achieved can make your artwork stand out. Exploring unique design elements adds a personal touch, reflecting individuality and style. Engage with these practices, and elevate your helmet artistry to new heights.
FAQ
How do you draw a simple motorcycle helmet?
A: To draw a simple motorcycle helmet, start by sketching the basic shape – an oval for the shell and a curved line for the visor. Add details like vents and fasten lines for realism.
What paint to use to paint a motorcycle helmet?
A: To paint a motorcycle helmet, use acrylic or enamel paint. These types of paint adhere well to helmet surfaces and provide a durable finish. Ensure the helmet is clean and properly sanded before painting.
Can you decal a motorcycle helmet?
A: Yes, you can decal a motorcycle helmet. Use adhesive vinyl decals. Ensure the helmet's surface is clean and dry before applying. This enhances appearance without compromising safety.
How do you tie your hair for a motorcycle helmet?
A: To tie your hair for a motorcycle helmet, gather it into a low ponytail or braid to prevent discomfort. Ensure hair is secure but not too tight to allow for comfort and protection.

Brad Mitchell is a seasoned motorcycle enthusiast with over 16 years of riding experience. He’s spent countless hours on the open road, particularly favoring scenic routes aboard his trusted Harley-Davidson. Brad’s laid-back approach to life and riding gives him a unique perspective on motorcycle gear and safety, which he shares through his in-depth reviews and expert advice on ProtectiveGearz.

