Have you ever questioned whether your motorcycle helmet can securely hold a camera without compromising safety? Many riders struggle with this challenge, seeking the perfect balance between capturing stunning footage and maintaining helmet integrity.
In this guide, we'll explore secure ways to attach a camera to your motorcycle helmet, ensuring stability and adherence to legal standards. Learn how to choose the best mounts and discover techniques to optimize your filming experience.
Dive into our step-by-step guide—and transform your motovlogging setup without sacrificing safety or quality.
Choosing the Right Mounting Equipment for Your Camera
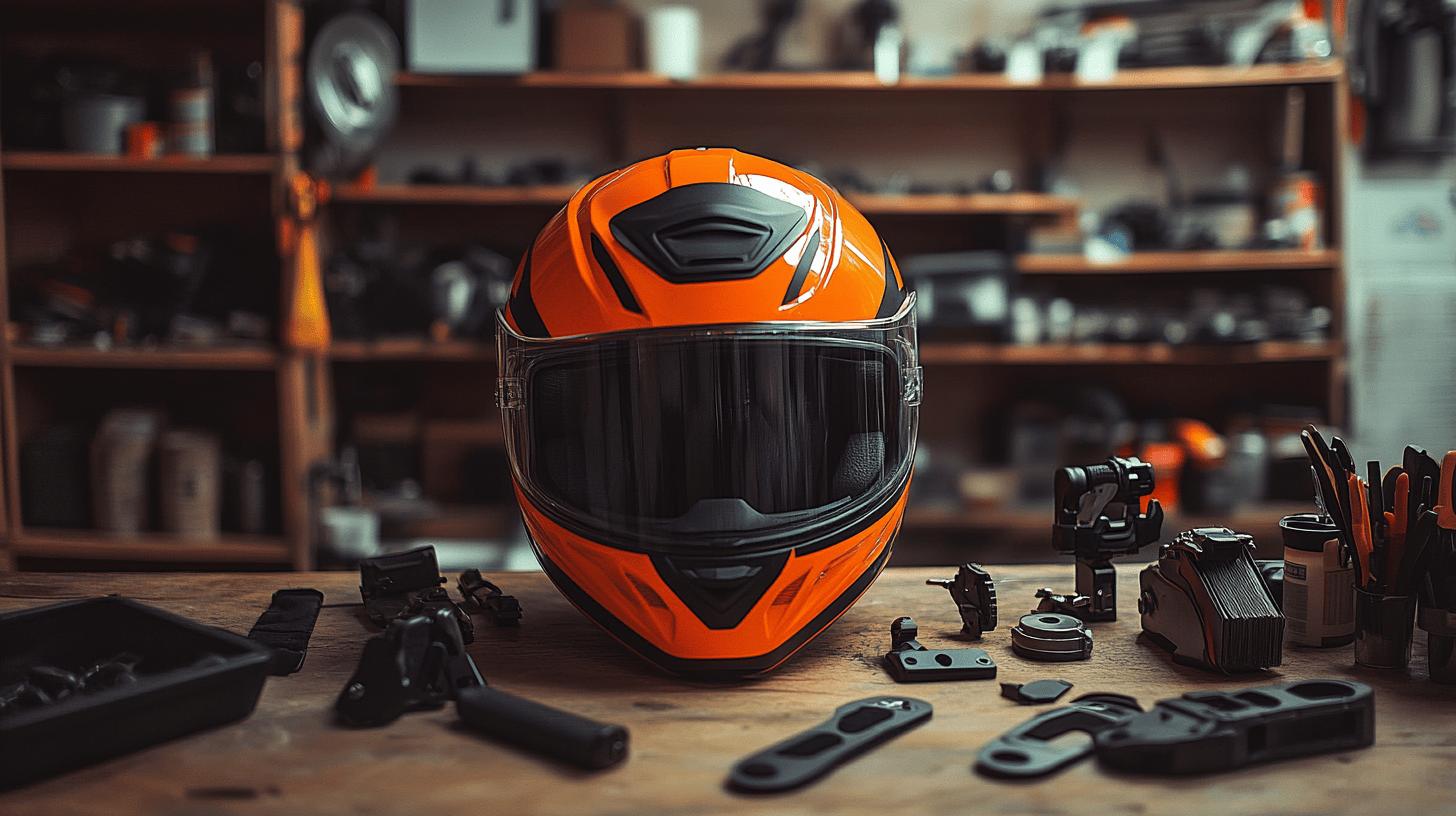
Selecting appropriate mounting equipment is crucial to achieving stable and clear footage while riding. The right mount not only ensures a secure attachment but also optimizes the camera's field of view.
Different mounts cater to various helmet styles and rider preferences, offering distinct advantages based on positioning. Ensuring the mount complements the camera's weight and design is essential for long-term use without compromising safety or comfort.
Popular mounting locations on a motorcycle helmet offer diverse perspectives:
-
Front: Ideal for a straightforward view, mimicking the rider's perspective.
-
Side: Provides a unique angle, capturing side views or road edges.
-
Chin: Offers an eye-level view with minimized wind resistance.
-
Vented Strap: Utilizes helmet vents, reducing installation complexity.
-
Under Visor: Protects against wind and rain, beneficial for off-road conditions.
Adhesive and strap mounts are common choices for helmet camera setups. Adhesive mounts, such as those from the Chin Mounts company, use 3M Adhesive for a strong bond. The installation involves test fitting, warming the adhesive with a hairdryer, and applying pressure for 30 to 60 seconds.
This process ensures a secure attachment that adapts to various helmet contours. Strap mounts, on the other hand, offer flexibility and easy removal, suiting riders who frequently switch between helmets. Both options provide stability without requiring helmet modifications that could compromise safety.
Steps to Securely Attach a Camera to Your Motorcycle Helmet
- Select the Mount Location
Where should the camera be mounted on the helmet? The location of the mount drastically affects the video perspective. For a classic first-person view, consider the chin position. This spot not only mirrors the rider's viewpoint but also minimizes wind resistance. Side or top mounts offer unique angles but may capture more helmet in the frame.
- Clean the Helmet Surface
Why is cleaning important? A clean surface ensures maximum adhesion. Use alcohol wipes or a mild detergent to remove dirt, oil, and residue from the helmet area where the mount will be placed. Allow the surface to dry completely before proceeding.
- Apply the Adhesive
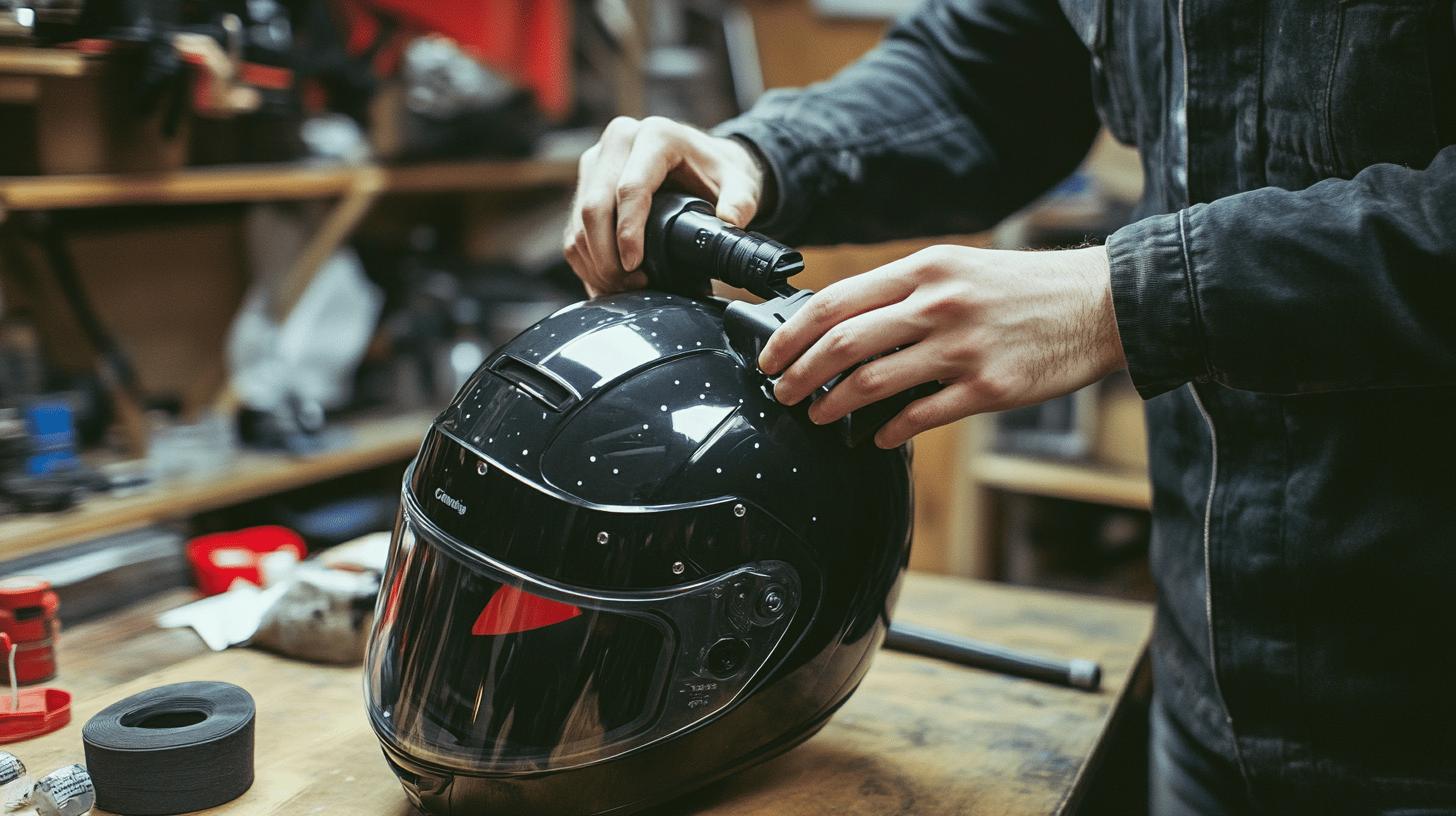
How do you prepare the adhesive? If using an adhesive mount, follow the manufacturer's instructions. Warming the adhesive with a hairdryer can enhance stickiness. Position the mount on the selected area and apply firm pressure for 30 to 60 seconds to establish a strong bond.
- Mount the Camera
How should the camera be attached? Attach the camera to the mount, ensuring it's securely fastened. Check the connection by gently tugging the camera to confirm stability. Adjust the camera angle for the desired field of view, ensuring it's aligned with your intended shot.
- Secure with a Tether
Why use a tether? A tether provides an additional layer of security. Attach a tether between the camera and the helmet to prevent loss if the mount fails. This is particularly crucial for high-speed rides or rough terrains.
- Test Fit and Adjust
What's involved in test fitting? Before hitting the road, wear the helmet and evaluate the camera's position and angle. Adjust as needed to ensure the camera doesn't obstruct your vision or comfort. A few test recordings can help in assessing the footage quality and angle.
- Allow Adhesive to Cure
How long should you wait? Let the adhesive cure for at least 24 hours before using the camera. This curing period is vital for the adhesive to achieve its full bonding strength, ensuring the mount remains secure during rides.
Ensuring Camera Stability and Reducing Wind Noise
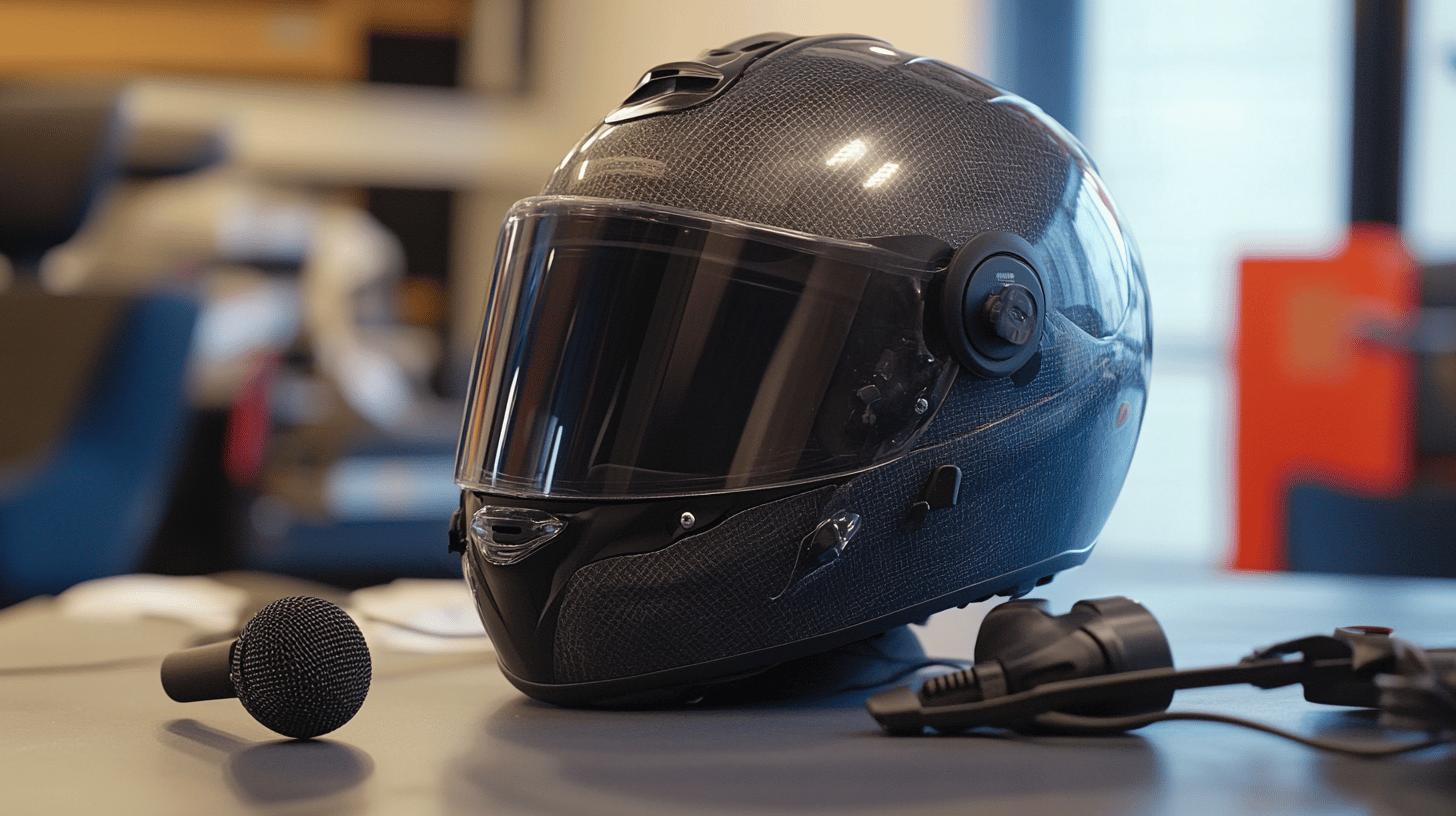
Achieving camera stability and reducing wind noise are key factors for capturing high-quality footage during motorcycle rides. Stability ensures that the camera remains securely positioned, providing clear and steady visuals.
Wind noise can severely impact audio quality, making it challenging to hear important sounds or commentary. To address these issues, selecting the right mounting location, such as the chin, can significantly improve stability and minimize wind interference.
Chin mounts offer an eye-level perspective while reducing the hassle of loose straps, making them an excellent choice for riders. By focusing on these aspects, riders can enhance both video and audio quality without compromising the riding experience.
-
Use Windscreens: Attach windscreens to microphones to dampen wind noise effectively.
-
Optimal Mounting Location: Choose the chin mount for a stable, eye-level view with reduced wind exposure.
-
Secure Cables: Tuck cables into helmet padding to prevent them from catching the wind and causing vibration.
-
Vibration Dampening: Use vibration-dampening pads between the camera and mount to minimize camera shake.
-
Tighten All Screws: Regularly check and tighten all screws and fasteners on the camera mount to maintain stability.
Incorporating a media mod with a 3.5mm jack allows for the use of a lavalier microphone, which can be strategically placed inside the helmet. This setup is beneficial in reducing wind noise while capturing clear audio.
The lavalier microphone, when positioned close to the mouth and shielded by the helmet, minimizes exposure to external sounds and wind. This configuration, combined with proper cable management and the use of windscreens, ensures that the audio quality matches the high standards set by stable and visually appealing footage.
Legal and Safety Considerations for Helmet-Mounted Cameras
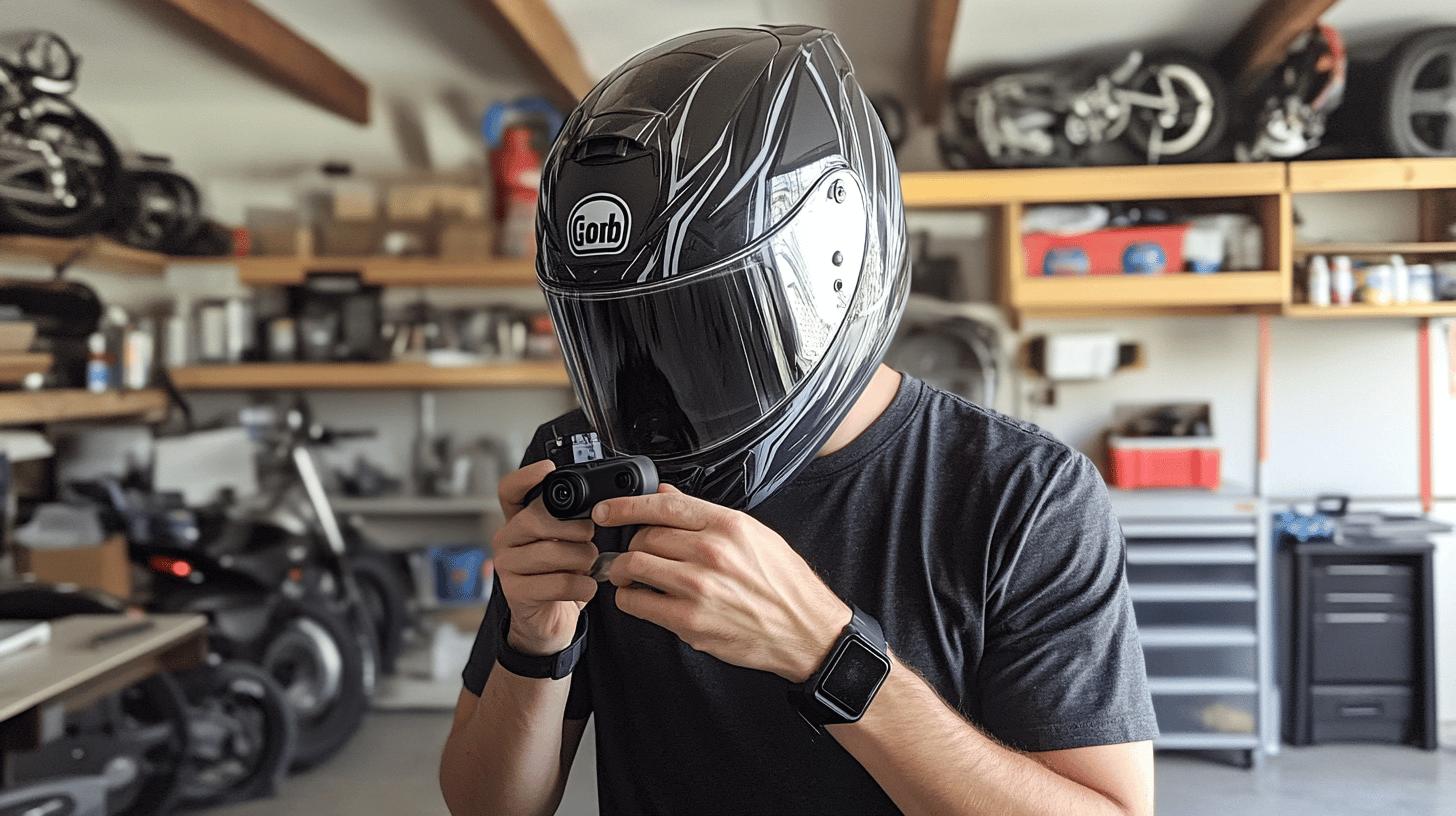
Why is maintaining helmet integrity important? To ensure safety. Mounting a camera on a motorcycle helmet should never compromise the helmet's structural integrity. Avoid drilling holes or making any modifications that could weaken the helmet's protective capabilities. Instead, opt for adhesive mounts or suction caps that adhere to the helmet's surface without altering its design.
These non-invasive mounting methods maintain the helmet’s ability to absorb impact during a fall or collision, ensuring the rider's head remains protected. The use of adhesive mounts, which are specifically designed for helmet applications, provides a secure attachment while preserving the helmet's integrity.
What legal aspects should riders consider? Camera use on helmets is subject to state-specific regulations. While it is generally legal to mount devices like a GoPro on a full-face helmet, riders must be mindful of local laws that may impose restrictions. In states with mandatory helmet laws, the addition of a mounted camera could be viewed as a safety concern if it alters the helmet's design or efficacy.
Riders should check their state's regulations regarding helmet-mounted accessories to avoid fines or penalties. Understanding these legal considerations ensures compliance and promotes safe riding practices without compromising legal obligations.
Optimizing Camera Angles and Recording Quality

Why is selecting the right camera angle important? The camera angle directly influences the quality and perspective of the footage. When mounted correctly, it can capture immersive and captivating visuals that closely mirror the rider's experience. Poorly chosen angles might lead to obstructed views or excessive helmet presence in the frame, which can diminish the viewer's experience.
The choice of angle should align with the intended view—whether it's a straightforward road shot or a dynamic side perspective. Selecting the right angle is crucial for achieving footage that effectively captures the essence of the ride.
-
Use Wide-Angle Lenses: Employ lenses with a wide field of view, such as 170°, to capture more of the surroundings, but be cautious of helmet obstruction.
-
Choose Strategic Mounting Locations: For an unobstructed view, consider mounting the camera on the top of the helmet to avoid capturing too much of the visor.
-
Test Different Positions: Experiment with different mounting spots like the chin or side to see which offers the best balance between perspective and stability.
- Consider Helmet Type: Different helmets may require different mounting strategies to achieve the optimal angle without compromising safety or comfort.
How should recording settings be adjusted for optimal quality? Adjusting recording settings is vital to enhance both video and audio quality. High-resolution settings ensure that the visuals are crisp and detailed. Frame rates should be selected based on the desired effect, with higher rates offering smoother motion capture.
For audio, reducing sensitivity levels can help minimize wind noise, while using directional microphones can focus on capturing specific sounds. Properly adjusting these settings allows riders to produce high-quality recordings that are both visually engaging and audibly clear, enhancing the overall production value of the footage.
Advanced Tips for Effective Motorcycle Ride Filming
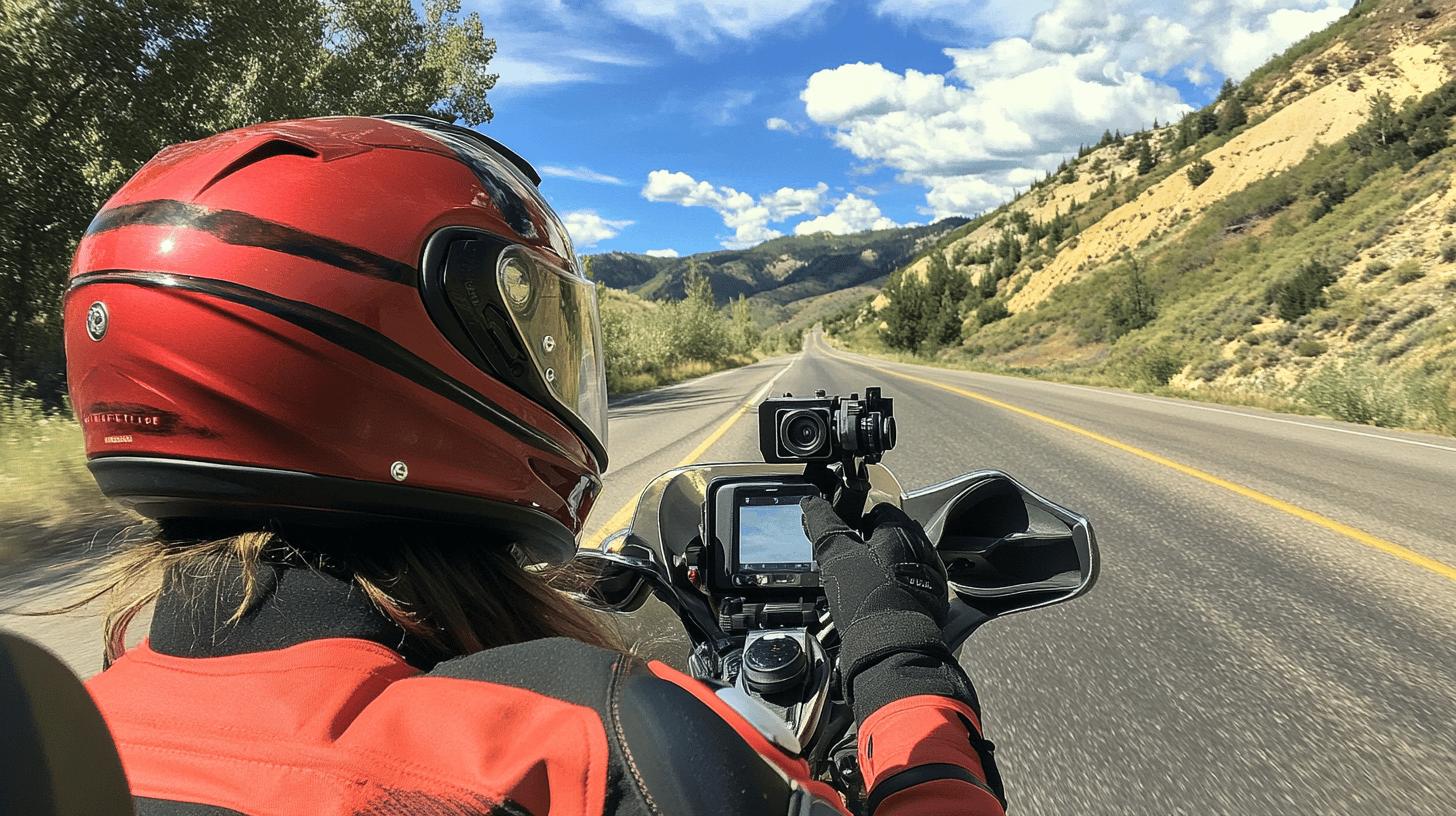
What is the significance of planning shots? Planning shots is crucial to creating engaging and dynamic footage. By considering personal preferences and the purpose of the video, riders can decide which perspectives will best capture the ride's essence.
Some may prefer a straightforward road view, while others might want to highlight the bike's handling or the surrounding landscape. Thoughtful planning allows for a cohesive narrative, ensuring the final video resonates with viewers and effectively conveys the ride's experience.
-
Use Multiple Cameras: Equip your bike and helmet with more than one camera to capture different angles simultaneously, offering a richer narrative.
-
Experiment with Angles: Try diverse mounting locations—side, top, or chin guard—to find unique perspectives that enhance the film's appeal.
-
Incorporate Slow Motion: Use slow-motion settings to highlight specific moments, like sharp turns or scenic vistas, adding dramatic flair.
-
Leverage Natural Light: Shoot during the golden hours (early morning or late afternoon) to utilize soft lighting conditions that enhance video quality.
-
Optimize Frame Rates: Adjust frame rates to suit the action level—higher rates for smooth fast-paced scenes, lower for more static shots.
-
Include POV Shots: Integrate point-of-view shots to immerse viewers in the ride, offering a first-hand experience of the journey.
Why is post-production editing vital? Post-production editing refines raw footage, turning it into a polished final product. By enhancing video quality through color correction, audio balancing, and scene transitions, riders can elevate their videos, making them more captivating and professional. Adding music or commentary can further enrich the storytelling, ensuring the captured footage effectively communicates the thrill and beauty of the motorcycle ride.
Final Words
Choosing the right gear and techniques transforms helmet-mounted camera setup. With understanding, one learns how to attach a camera to a motorcycle helmet without compromising safety or legal standards.
This guide empowers enthusiasts with mounting solutions, stability tips, and insight into legal considerations. Mastering these elements enables capturing high-quality adventures, ensuring memorable rides and exceptional footage.
Achieving the perfect setup enhances the riding experience for any motorcycle enthusiast.
FAQ
How to attach a GoPro to a motorcycle helmet?
To attach a GoPro to a motorcycle helmet, choose an appropriate spot like the chin or side, clean the surface, apply adhesive mounts, and secure the camera. Let adhesive cure for 24 hours for secure attachment.
Is it legal to attach a camera to a motorcycle helmet?
It is generally legal to mount a camera on a full-face motorcycle helmet, provided the mounting does not compromise the helmet's structural integrity. Check local laws, as some areas may have specific restrictions.
Should I mount a camera to my motorcycle helmet?
Mounting a camera to a motorcycle helmet is beneficial for capturing rides and motovlogging. Consider helmet safety and legality, ensuring the mount doesn't impact helmet integrity.
Where is the best place to mount a GoPro on a motorcycle helmet?
Popular mounting locations include the chin, front, side, vented strap, and under the visor. Each offers different perspectives—chin mounts provide an eye-level view preferred by many riders.
How do you attach a camera to a helmet?
Attach a camera by selecting a mount location, cleaning the helmet surface, applying adhesive, securing the camera with a tether, and allowing the adhesive to cure for 24 hours.
What are the benefits of using an action camera helmet mount?
Action camera helmet mounts offer varied perspectives, clear footage, and hands-free recording. Ensure stability and minimize wind noise with quality mounts and proper setup.
Ryan Thompson is a 35-year-old sport bike enthusiast known for his adventurous spirit. With years of weekend rides and exploring new roads, Ryan brings fresh insights and firsthand experience to ProtectiveGearz. His energetic approach and passion for the latest gear make him a trusted source for riders seeking up-to-date advice.


