Ever wondered how a seemingly harmless dirty motorcycle helmet can compromise your safety? Keeping your helmet clean isn't just about appearance—it's a critical part of maintaining helmet hygiene and safety.
A clean visor ensures enhanced visibility, crucial for avoiding accidents. Regular maintenance not only removes grime and bugs that can harm a helmet's integrity but also contributes to long-lasting use.
This blog post will delve into the step-by-step procedures for washing your helmet correctly, ensuring it remains in top condition so you can hit the road with confidence and clarity.
Importance of Cleaning Your Motorcycle Helmet

Keeping a motorcycle helmet clean is crucial for maintaining both hygiene and safety. Regular cleaning is not just about aesthetics; it plays a significant role in ensuring your helmet performs its protective functions.
A clean visor is essential for clear visibility, which is vital for safe riding. Dirt, grime, and insects that build up on the helmet's surface can compromise its integrity and, by extension, your safety. Maintaining helmet hygiene through regular cleaning helps prevent these issues and supports the helmet's structural soundness.
-
Enhanced visibility
-
Prevents buildup of odors
-
Protects helmet materials
-
Ensures proper ventilation
-
Maintains aesthetic appearance
Regular maintenance, including cleaning, significantly extends the lifespan of a motorcycle helmet. Over time, accumulated dirt and grime can deteriorate helmet materials, leading to wear and tear that could compromise safety features.
By routinely cleaning your helmet, you ensure that it remains in good condition, maximizing its protective capabilities over the long term. Proper helmet care also involves checking for any signs of damage or wear, ensuring all components remain functional and safe.
Essential Supplies for Washing a Motorcycle Helmet

Selecting the right tools and supplies is crucial when washing a motorcycle helmet. Using appropriate materials ensures that the helmet is cleaned effectively without causing any damage to its structure or finish.
Proper tools not only maintain the helmet's aesthetic appeal but also help preserve its safety features. Incorrect supplies or harsh chemicals can degrade helmet materials, affecting both its appearance and integrity.
-
Microfiber cloths
-
Gentle detergent
-
Soft-bristled toothbrush
-
Specific helmet cleaner
-
Neutral soap
-
Absorbent cloth
- Automotive wax (optional)
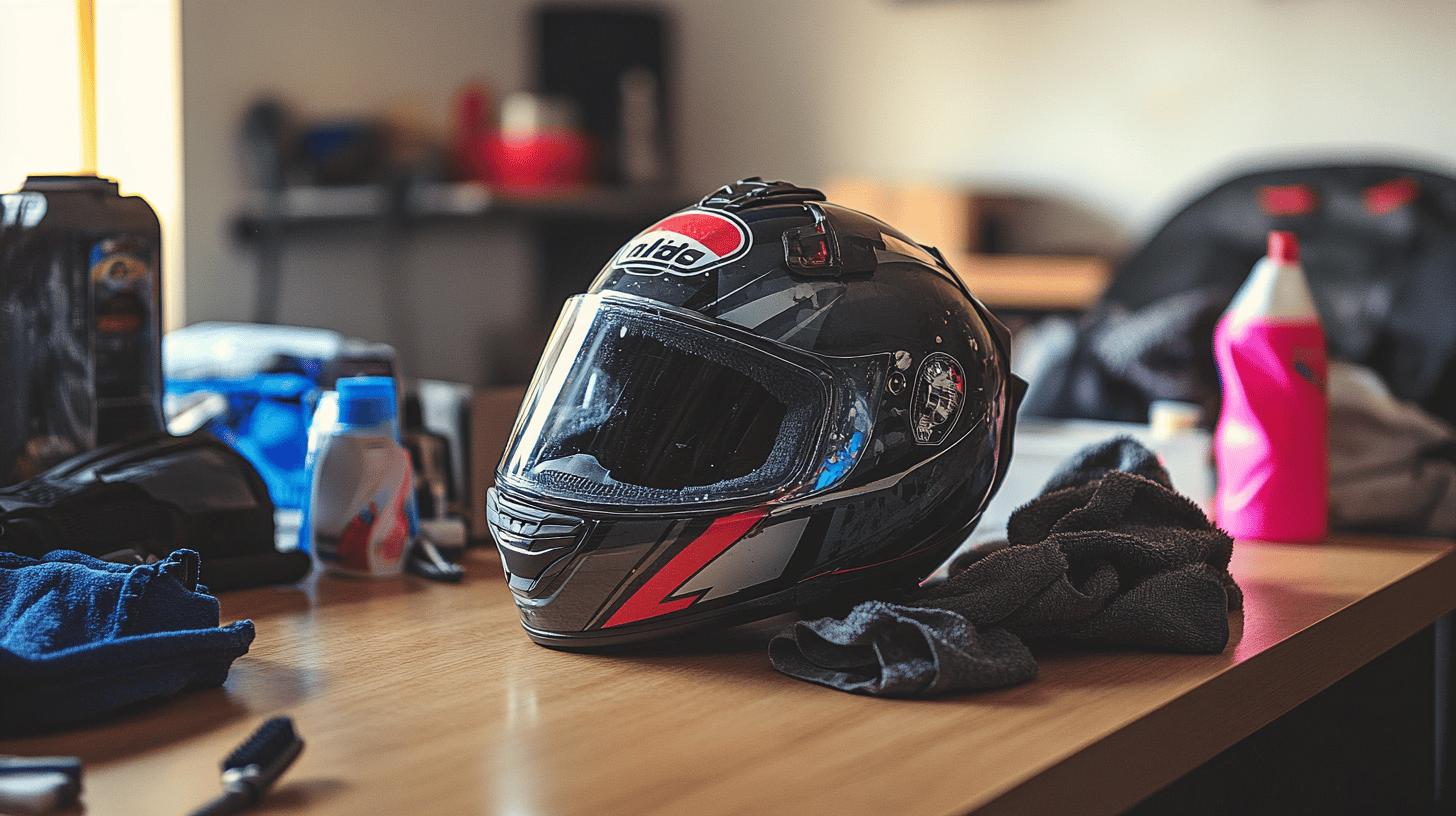
The choice of cleaning products depends on the helmet's materials and specific cleaning needs. A microfiber cloth is preferred because it is gentle and minimizes the risk of scratching surfaces.
When selecting a detergent, opt for one that is mild to avoid any chemical reactions that could harm the helmet's exterior or interior linings. For stubborn spots, a soft-bristled toothbrush can reach into crevices without damaging delicate parts.
Specific helmet cleaners are formulated to tackle grime without being abrasive. Neutral soap offers a versatile solution for general cleaning tasks. An absorbent cloth is useful for drying without leaving streaks. Automotive wax can be used optionally to add a protective layer to the helmet's exterior, keeping it looking pristine.
Step-by-Step Guide to Washing the Helmet Exterior

Maintaining the exterior of your motorcycle helmet is critical for both aesthetic and functional reasons. Gentle cleaning is key to preserving the helmet’s finish and ensuring it remains free of debris that can impair your safety.
Over time, dirt, grime, and insects accumulate on the surface, which can lead to scratches or even degrade the helmet's materials if not properly addressed. Implementing a careful cleaning process helps maintain the helmet’s integrity without causing damage.
-
Cover the helmet with a damp microfiber cloth.
Begin by placing a warm, damp microfiber cloth over the helmet's surface. Microfiber is ideal due to its gentle nature, which reduces the risk of scratching. -
Let it sit for 30 minutes.
Allow the damp cloth to remain on the helmet for half an hour. This step helps to soften and loosen any stubborn dirt or bug residues, making them easier to wipe away. -
Wipe gently with another cloth.
After the initial soak, use another clean, damp microfiber cloth to gently wipe the helmet. This should remove most of the loosened debris without requiring excessive force.
-
Use a toothbrush for hard-to-reach areas.
To tackle dirt in tight spots, such as around vents or edges, use a soft-bristled toothbrush. This tool can effectively clean intricate areas without damaging the helmet's surface. -
Apply automotive wax for added protection.
Once the helmet is clean and dry, consider applying a layer of automotive wax. This optional step adds a protective coating, enhancing the helmet's shine and helping to repel future grime.
Applying automotive wax to your helmet not only boosts its visual appeal but also forms a protective barrier that can make future cleanings easier. The wax fills in minor scratches and creates a slick surface, preventing dirt from clinging.
When cleaning your helmet, avoid excessive rubbing or using harsh cleaning agents, as these can cause scratches or weaken the helmet's materials. Always opt for gentle methods and products specifically designed for helmet care to ensure its longevity and continued safety performance.
Interior Cleaning Methods for Your Motorcycle Helmet

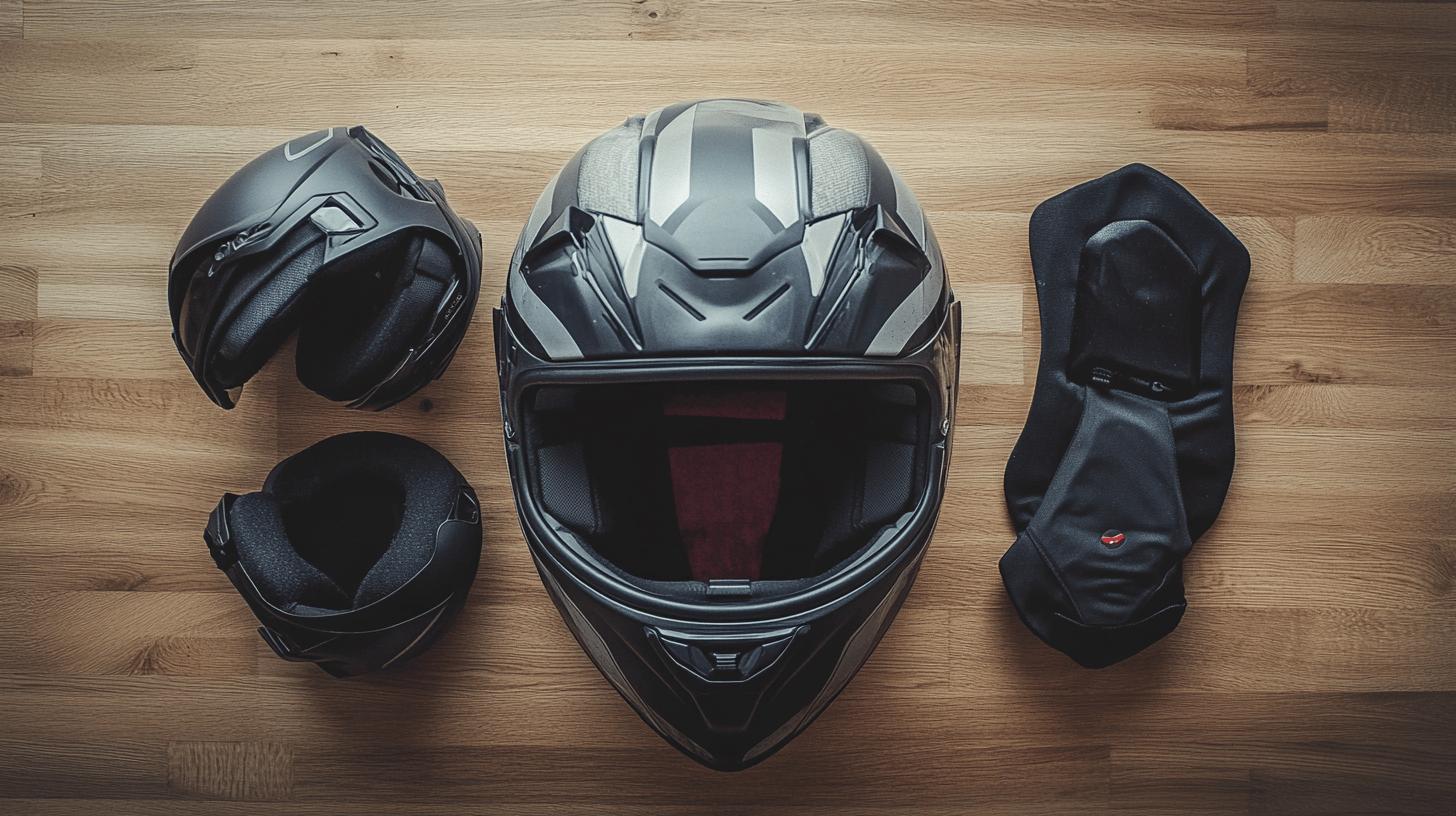
For helmets with removable interiors, washing the lining and cheek pads is a straightforward process. Remove these components before cleaning, as this allows for a more thorough wash. They can be gently machine-washed on a delicate cycle or hand-washed using warm, soapy water.
It’s important to use a detergent that’s mild to avoid degrading the fabric or causing irritation to your skin. After washing, air dry the components completely before reinserting them into the helmet. Avoid using dryers or direct heat sources, as these can warp or damage the materials.
Cleaning Non-Removable Interiors
For helmets with non-removable interiors, cleaning requires a bit more care to prevent moisture damage. Use a damp cloth to gently wipe down the internal surfaces. This method helps remove dirt and sweat without soaking the polystyrene liner, which should not come into direct contact with water.
The polystyrene is integral to the helmet's shock absorption capabilities, and water exposure can compromise its effectiveness. Thus, maintaining a dry environment is crucial to preserving the helmet’s protective features.
After cleaning, drying is a critical step to ensure the helmet interior remains fresh and functional. Place the helmet in a well-ventilated area away from direct sunlight or heat sources. This allows for gradual drying, minimizing the risk of mold or odor developing.
Ensure all parts are completely dry before reassembling to maintain the integrity of the helmet and ensure a comfortable fit on your next ride. Proper drying also helps in preserving the helmet's longevity and maintaining its hygiene.
Proper Visor Cleaning Techniques

Maintaining visor clarity is crucial for safe riding, as it ensures unobstructed vision in various weather conditions. A clear visor reduces glare and enhances the rider's ability to see the road and other vehicles, contributing to overall safety. To achieve this, regular cleaning is necessary.
Use a soft cloth to clean the face shield, sun shield, and vents to avoid scratching their surfaces. A specific visor cleaner or a mild detergent can effectively remove dirt and grime without damaging the visor. Avoid using paper towels or rough materials, which can scratch the visor and impair visibility.
-
Use a soft cloth
-
Apply mild detergent or visor cleaner
-
Rinse with clean water
-
Dry with a microfiber towel
-
Store visor separately if not in use
Avoid common mistakes to preserve the visor's clarity and functionality. Using harsh chemicals or abrasive materials can lead to scratches, reducing the visor's transparency and effectiveness. Rinsing with dirty or rough water can also cause scratches, while improper drying techniques might leave streaks or watermarks.
Always handle the visor with care and store it separately if not attached to the helmet, preventing accidental damage or scratches. Proper care ensures the visor remains clear and contributes to a safer riding experience.
Drying and Maintenance Tips to Extend Helmet Life

After washing your motorcycle helmet, it is vital to dry it properly to prevent damage and maintain its effectiveness. Air drying in a ventilated area is the best approach, as it allows moisture to evaporate naturally.
Avoid placing the helmet in direct sunlight or near heaters, as excessive heat can cause the materials to warp or degrade. Thorough drying is essential before reassembling any parts, as residual moisture can lead to odors or mold growth, compromising both comfort and safety.
-
Air dry in a ventilated area
-
Check for damage regularly
-
Clean every few months
-
Replace worn linings
-
Store in a cool, dry place
Routine maintenance plays a crucial role in extending the lifespan of a motorcycle helmet. By incorporating regular checks for damage, such as cracks or loose fittings, you can ensure that the helmet remains safe and functional.
Cleaning the helmet every few months helps to maintain its appearance and hygiene. Replacing worn linings is also important, as they contribute to comfort and can affect the helmet's fit. Proper storage in a cool, dry place prevents unnecessary exposure to elements that might cause deterioration.
Consistent care and attention to drying and maintenance practices ensure that your helmet offers maximum protection over time. These efforts help preserve the helmet's structural integrity and optimize its performance, providing peace of mind while riding.
Regular maintenance not only enhances safety but also extends the helmet's usability, making it a worthwhile investment for any rider.
Common Mistakes to Avoid When Washing Your Helmet

Avoiding mistakes during the helmet washing process is crucial to maintaining its protective qualities and extending its lifespan. Many riders inadvertently damage their helmets by using inappropriate cleaning methods or products.
The helmet's materials are designed to withstand impact, but they can be compromised by harsh chemicals or excessive moisture. Understanding the potential pitfalls ensures that your helmet remains safe and effective.
-
Using harsh chemicals
-
Scrubbing too hard
-
Not drying thoroughly
-
Leaving in direct sunlight
-
Ignoring manufacturer instructions
Neglecting these precautions can lead to several adverse outcomes. Harsh chemicals may degrade the helmet's materials, reducing its ability to protect in a crash. Scrubbing too hard can cause surface scratches that weaken the helmet's structure. Inadequate drying can result in mold growth or unpleasant odors, while exposing the helmet to direct sunlight might warp the materials.
Ignoring manufacturer instructions can void warranties and lead to improper care. Keeping these factors in mind helps preserve the helmet's integrity and ensures a safer riding experience.
Final Words
Regular cleaning of a motorcycle helmet is key to maintaining both safety and hygiene. Utilizing the right tools and methods ensures helmets remain in prime condition, enhancing visibility and comfort.
Understanding how to wash a motorcycle helmet properly prolongs its lifespan, contributing to a safer riding experience. By following these techniques, riders can enjoy confidence and peace of mind on every journey, making each ride more enjoyable.
FAQ
How to clean a motorcycle helmet inside at home?
Cleaning the inside of a motorcycle helmet involves removing the lining and cheek pads if possible. Wash them on a delicate cycle or by hand with mild soap and warm water, then air dry.
How to clean a motorcycle helmet visor?
To clean a motorcycle helmet visor, use a soft cloth and mild detergent or a designated visor cleaner. Rinse with clean water, dry with a microfiber towel, and avoid abrasive materials.
How to clean a motorcycle helmet exterior?
Use a damp microfiber cloth to cover the helmet for 30 minutes, then gently wipe the exterior. Address tight spots with a toothbrush. Optionally, apply automotive wax for added protection.
How to clean a non-removable helmet liner?
Use a damp cloth for cleaning non-removable helmet liners. Gently wipe the interior without soaking it to avoid water contact with the polystyrene. Strictly air dry to prevent mold.
Can you wash the inside of a motorcycle helmet?
Yes, the interior of a motorcycle helmet can be washed. Removable linings and pads should be either hand-washed or machine-washed on delicate, with all parts being air dried.
Is there a motorcycle helmet cleaning machine?
While there are specific helmet cleaning machines, typical home cleaning involves manual methods using soft cloths, water, and gentle cleaners to maintain helmet hygiene and safety.
What is the best way to clean a riding helmet?
The best way to clean a riding helmet is to use warm, damp cloths, gentle soap or helmet cleaner, and a toothbrush for hard-to-reach areas. Avoid harsh chemicals to preserve helmet integrity.
How do you clean a smelly bike helmet?
Cleaning a smelly bike helmet involves washing the removable liner and cheek pads with mild soap and warm water. For non-removable parts, use a damp cloth and let the interior air dry completely.
Can you put a helmet in the washing machine?
Only removable linings and cheek pads of a helmet can be machine-washed on a delicate cycle. The helmet shell itself should never be placed in a washing machine.

Ryan Thompson is a 35-year-old sport bike enthusiast known for his adventurous spirit. With years of weekend rides and exploring new roads, Ryan brings fresh insights and firsthand experience to ProtectiveGearz. His energetic approach and passion for the latest gear make him a trusted source for riders seeking up-to-date advice.


