Ever wondered how removing your motorcycle helmet liner could be the key to a cleaner, more comfortable ride? When it comes to motorcycle helmet tips, understanding the inner workings and attachments of your helmet liner can enhance both safety and hygiene.
In this guide, Protective Gearz will break down how to remove your helmet liner easily, ensuring you're ready for a thorough cleaning process.
Whether you're dealing with snaps, zippers, or unique fasteners, the steps outlined will help you maintain your gear like a pro, leading to a safer, more enjoyable riding experience.
Preparing for Helmet Liner Removal

Proper preparation is crucial when removing a motorcycle helmet liner to prevent damage to both the liner and the helmet. A helmet liner, the padded interior that enhances comfort and fit, is often attached via snaps or zippers.
Understanding these attachments is vital, as improper handling can lead to tears or misalignment during reinstallation. Preparing adequately by gathering the necessary tools and familiarizing oneself with the helmet's design ensures a smooth removal process.
-
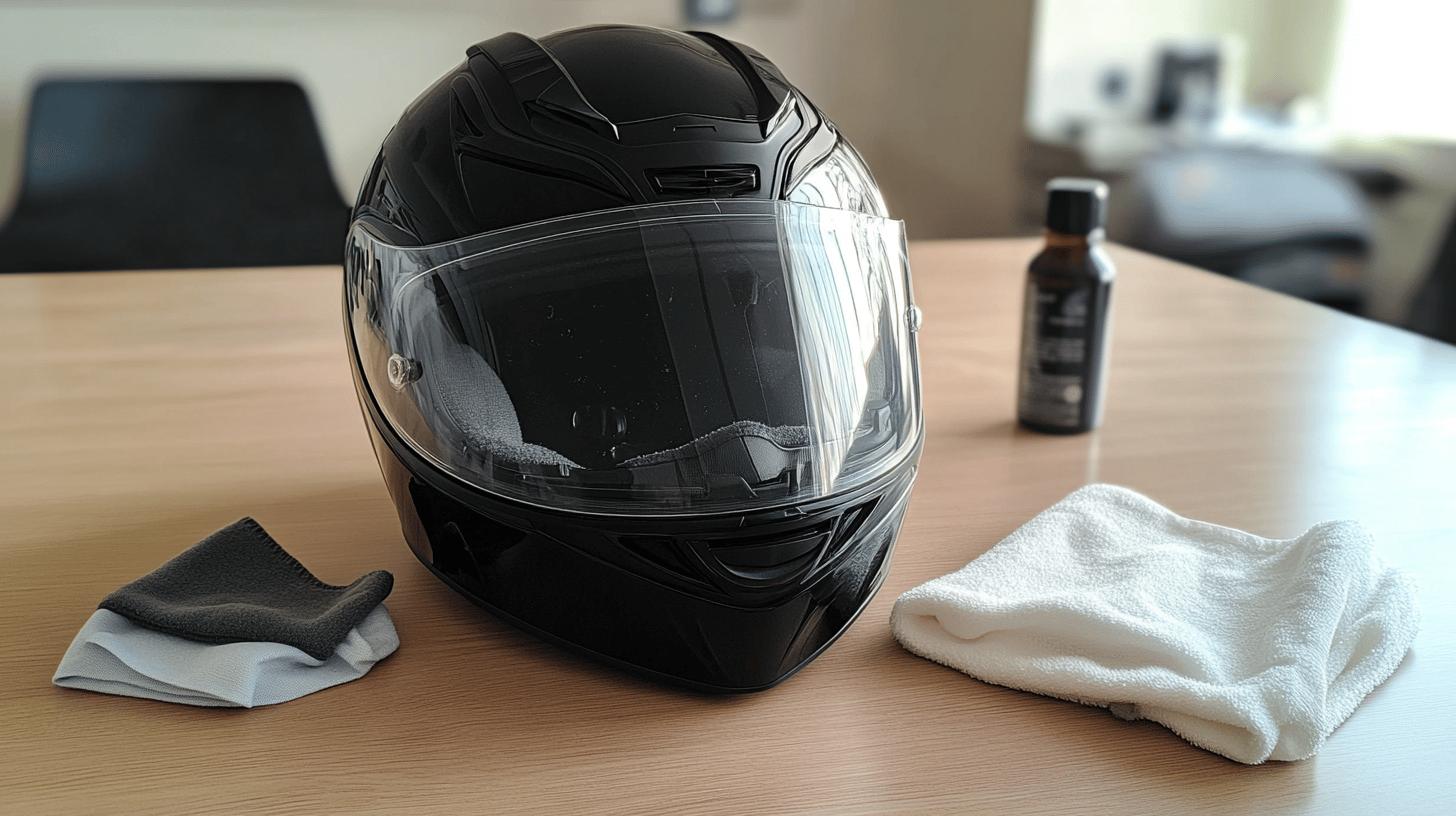
Soft Cloth: Useful for cleaning delicate parts of the liner and helmet shell.
-
Mild Cleaning Solution: Essential for removing dirt or debris without damaging materials.
-
Small Brush or Toothbrush: Helps clean hard-to-reach areas of the liner.
-
Flashlight: Aids in viewing and handling small fasteners or intricate liner sections.
-
Safety Gloves: Protect hands from any sharp edges or fasteners within the helmet.
Consulting the manufacturer's instructions is a critical step before starting the liner removal. Each helmet model may have unique features or fasteners that require specific handling techniques.
These instructions provide detailed guidance on the location of snaps, zippers, or other attachment mechanisms and may include warnings about potential pitfalls during the process. Adhering to these guidelines helps in preventing any unintended damage and ensures a hassle-free liner removal experience.
Step-by-Step Helmet Liner Removal Process

Successfully removing a motorcycle helmet liner involves understanding the helmet's design and handling its attachments with care. Most helmet liners are secured by snaps or zippers, though some models may include unique fasteners.
It's essential to approach this process gently to prevent damage to both the liner and the helmet shell. This guide provides a clear, step-by-step method to navigate the helmet liner removal process, ensuring a seamless experience.
-
Inspect the Helmet: Begin by examining the interior of your helmet to identify the types of fasteners used, such as snaps or zippers. Look for any special fasteners specific to your helmet model that might require extra attention.
-
Locate Attachment Points: Using a flashlight if needed, find all the attachment points. This could include snaps positioned near the ear areas or zippers along the edges of the liner. Understanding the layout helps in planning the removal sequence.
-
Detach Snaps or Zippers: Start with the easiest fasteners to reach, typically those located at the back or sides. Gently unsnap or unzip these attachments. For snaps, apply steady pressure near the base to avoid tearing the fabric.
-
Handle Special Fasteners: If your helmet includes unique fasteners, consult the manufacturer's instructions. Use a small tool or your fingers to carefully disengage these fasteners, ensuring they are not damaged.
-
Remove the Liner: Once all fasteners are detached, slowly pull the liner out, beginning at the back and moving forward. Take your time to avoid stretching or ripping the material.
-
Troubleshoot Stubborn Areas: If any part of the liner seems stuck, double-check for missed fasteners or gently wiggle the liner to loosen it. Re-inspect attachment points for any remaining connections that may need further attention.
Following these steps will help ensure a smooth and damage-free removal of your helmet's liner, making it ready for cleaning or replacement.
Cleaning and Washing the Helmet Liner

Regular cleaning of a motorcycle helmet liner is crucial for maintaining hygiene and prolonging the liner's lifespan. A clean liner ensures comfort and a fresh-smelling helmet, preventing the buildup of sweat and grime that can lead to odors and potential skin irritation. The best way to clean a helmet liner involves using appropriate cleaners and techniques to preserve its integrity and functionality.
Washing Instructions
Selecting the right cleaning products is vital for effectively washing a helmet liner. Using mild soap or a helmet-specific cleaner is recommended to avoid damaging the liner material. Harsh chemicals should be avoided as they can degrade the fabric and affect the liner's performance.
-
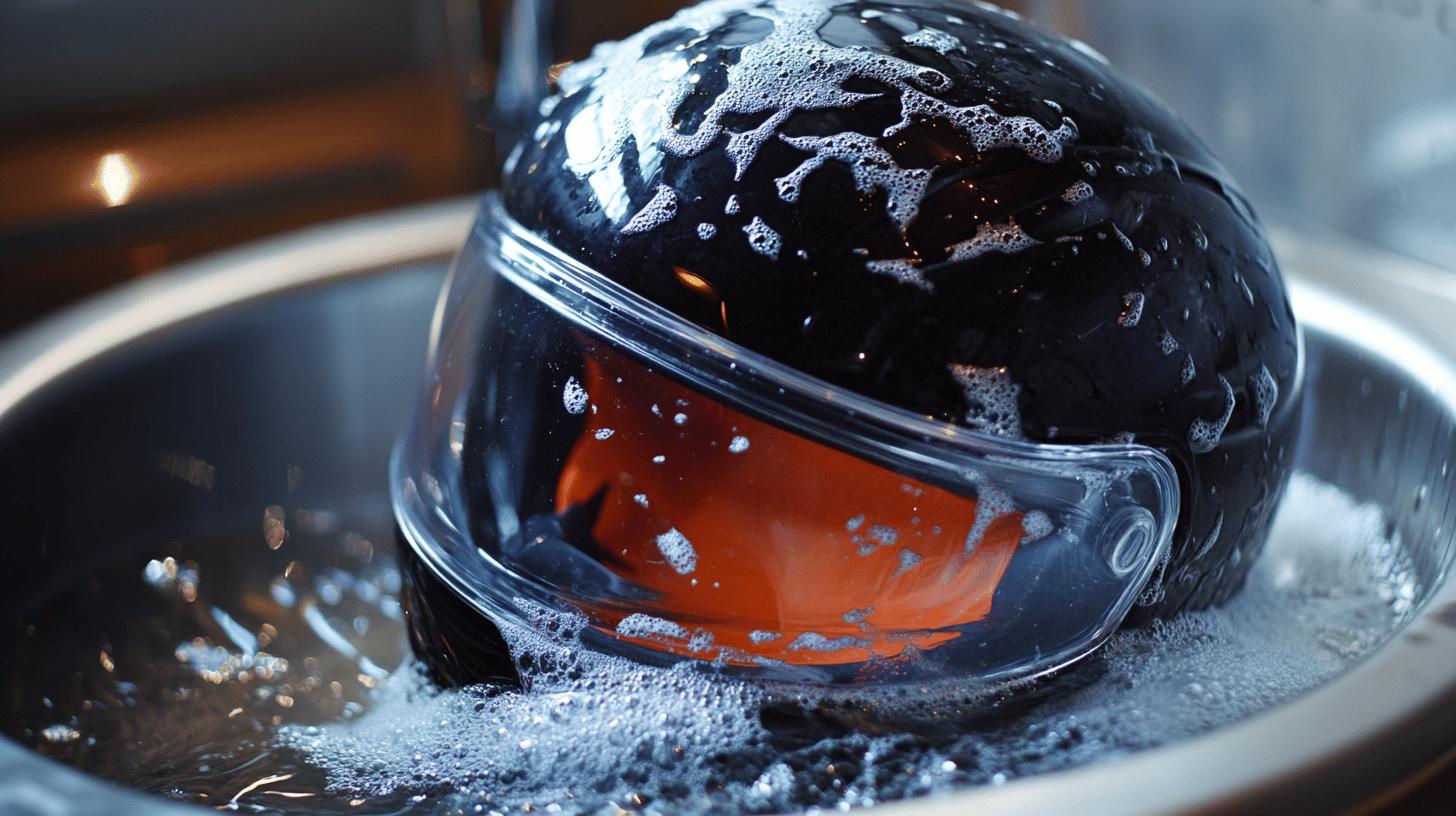
Prepare Cleaning Solution: Mix a small amount of mild soap with lukewarm water to create a gentle cleaning solution.
-
Soak the Liner: Submerge the helmet liner in the solution, allowing it to soak for a few minutes. This helps loosen dirt and sweat trapped in the fabric.
-
Hand Wash Carefully: Gently wash the liner by hand, paying attention to areas that accumulate the most sweat and dirt. Use a soft cloth or sponge to avoid damaging the liner's surface.
- Rinse Thoroughly: After washing, rinse the liner thoroughly with clean water to remove all soap residues. Leftover soap can cause irritation and degrade the liner over time.
Drying Techniques
Proper drying is essential to maintain the shape and integrity of the helmet liner. Air drying is the preferred method to ensure the liner remains in optimal condition.
-
Air Dry Completely: Lay the liner flat in a well-ventilated area to air dry. Avoid exposing it to direct sunlight, as UV rays can cause fading and material deterioration.
-
Avoid Machine Dryers: Machine drying can warp or shrink the liner, leading to a poor fit. Instead, allow the liner to dry naturally, even if it takes longer.
-
Check for Moisture: Before reattaching the liner to the helmet, ensure it is completely dry. Any residual moisture can lead to mold or mildew growth, affecting both hygiene and liner longevity.
Reinstalling Your Clean Helmet Liner

Reinstalling your clean helmet liner requires precision to maintain comfort and safety. Before starting, confirm the liner is completely dry to prevent mold and mildew. Begin by aligning the liner with the interior shell of the helmet, ensuring all contours and edges match up accurately.
This alignment is crucial for maintaining the helmet's fit and comfort during rides. Use the original attachment method, whether snaps or zippers, to securely fasten the liner back into place. Pay attention to the snugness of the fit; a liner that's too loose or too tight can impact both comfort and protection.
-
Align Precisely: Ensure the liner fits perfectly with the helmet's interior contours.
-
Check Fasteners: Confirm all snaps or zippers are securely reattached.
-
Assess Fit: Verify the liner is snug but comfortable, ensuring optimal protection.
Helmet Liner Maintenance and Care Tips

A consistent maintenance routine is vital for the longevity and hygiene of your motorcycle helmet liner. Regular upkeep not only ensures the liner remains fresh but also helps in preserving the overall integrity of the helmet.
Experienced riders emphasize the significance of cleaning the liner every few months, or more often in hot or humid conditions, to prevent the buildup of sweat and grime. This routine maintenance helps avoid unpleasant odors and potential skin irritation, enhancing your riding experience.
Practical tips for maintaining your helmet liner include using mild cleaning agents and disinfectant sprays specifically designed for helmet interiors. These products effectively eliminate bacteria and odors without compromising the liner's material.
When cleaning, hand wash the liner using lukewarm water and mild soap, ensuring thorough rinsing to remove all soap residues. After washing, air dry the liner completely in a shaded area to prevent any material distortion. Additionally, periodically inspect the liner for wear and tear, such as fraying or thinning, to ensure it continues to provide optimal comfort and protection.
| Maintenance Task | Frequency |
|---|---|
| Cleaning | Every 2-3 months (or more frequently in humid conditions) |
| Disinfecting | After each wash or as needed |
| Inspecting for Wear | Monthly or before long rides |
Final Words
Getting started with how to remove a motorcycle helmet liner involves preparation, using the appropriate tools, and consulting manufacturer instructions for specific guidance.
The detailed steps provided ensure you handle the liner with care, preventing any damage. Regular cleaning maintains the liner's hygiene and extends its lifespan, while proper reinstallation ensures comfort and safety.
Maintaining this routine not only enhances the riding experience but also boosts the rider's confidence.
FAQ
How to remove an LS2 helmet liner?
To remove an LS2 helmet liner, locate any snaps or zippers securing the liner. Gently unsnap or unzip, being careful to avoid damage. Consult the manufacturer's instructions for specific guidance related to your helmet model.
How to wash helmet pads effectively?
To wash helmet pads, use a mild soap or helmet-specific cleaner. Hand wash in lukewarm water, ensuring all soap residues are rinsed thoroughly. Air dry completely before reattaching to avoid mold or odors.
How do you remove a motorcycle helmet visor?
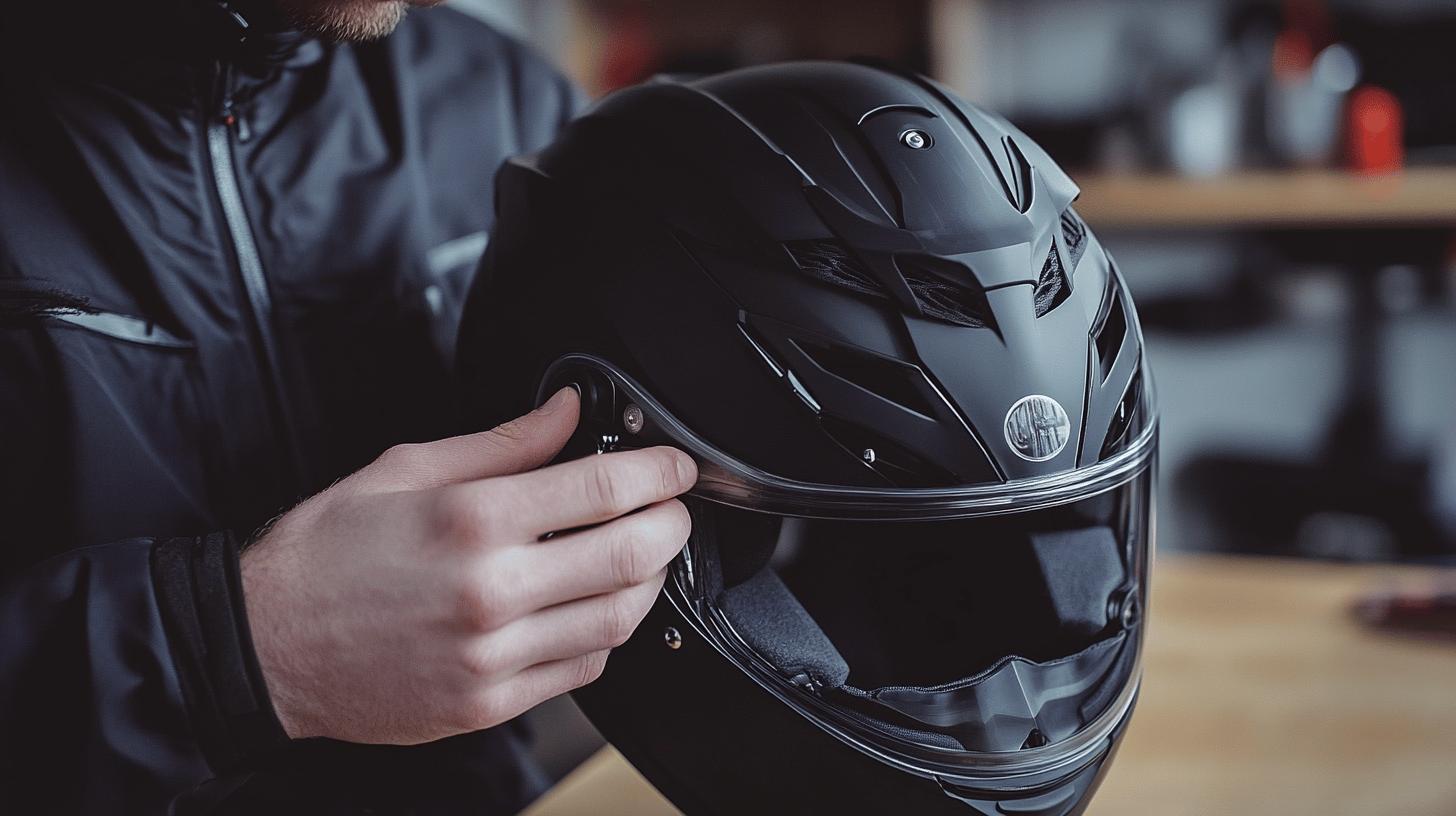
To remove a motorcycle helmet visor, find the release mechanism on the helmet's side, often a lever or button. Follow the user's manual for specific steps, which typically involve gently pulling the visor out once unlocked.
How to take off helmet padding?
Taking off helmet padding generally involves locating any fasteners such as snaps, zippers, or Velcro. Carefully unfasten all attachments and gently remove the padding to avoid tearing or damaging it.
How to remove motorcycle helmet decals without damage?
To remove decals, gently heat the decal with a hairdryer to soften the adhesive. Peel off the decal slowly using a plastic scraper or your fingers. Clean remaining residue with a mild adhesive remover.

Brad Mitchell is a seasoned motorcycle enthusiast with over 16 years of riding experience. He’s spent countless hours on the open road, particularly favoring scenic routes aboard his trusted Harley-Davidson. Brad’s laid-back approach to life and riding gives him a unique perspective on motorcycle gear and safety, which he shares through his in-depth reviews and expert advice on ProtectiveGearz.


