Ever found yourself squinting behind a scratched or foggy visor, wondering if there's a simpler way to swap it out? Whether you're a seasoned rider or just starting out, understanding how to easily attach the right visor to your motorcycle helmet can transform your riding experience.
By equipping your helmet with a visor suited to various riding conditions, you not only enhance safety but also comfort on the road.
This guide dives into the essentials of installing a motorcycle helmet visor, considering types, tools, step-by-step instructions, and potential troubleshooting, ensuring every rider hits the road with confidence.
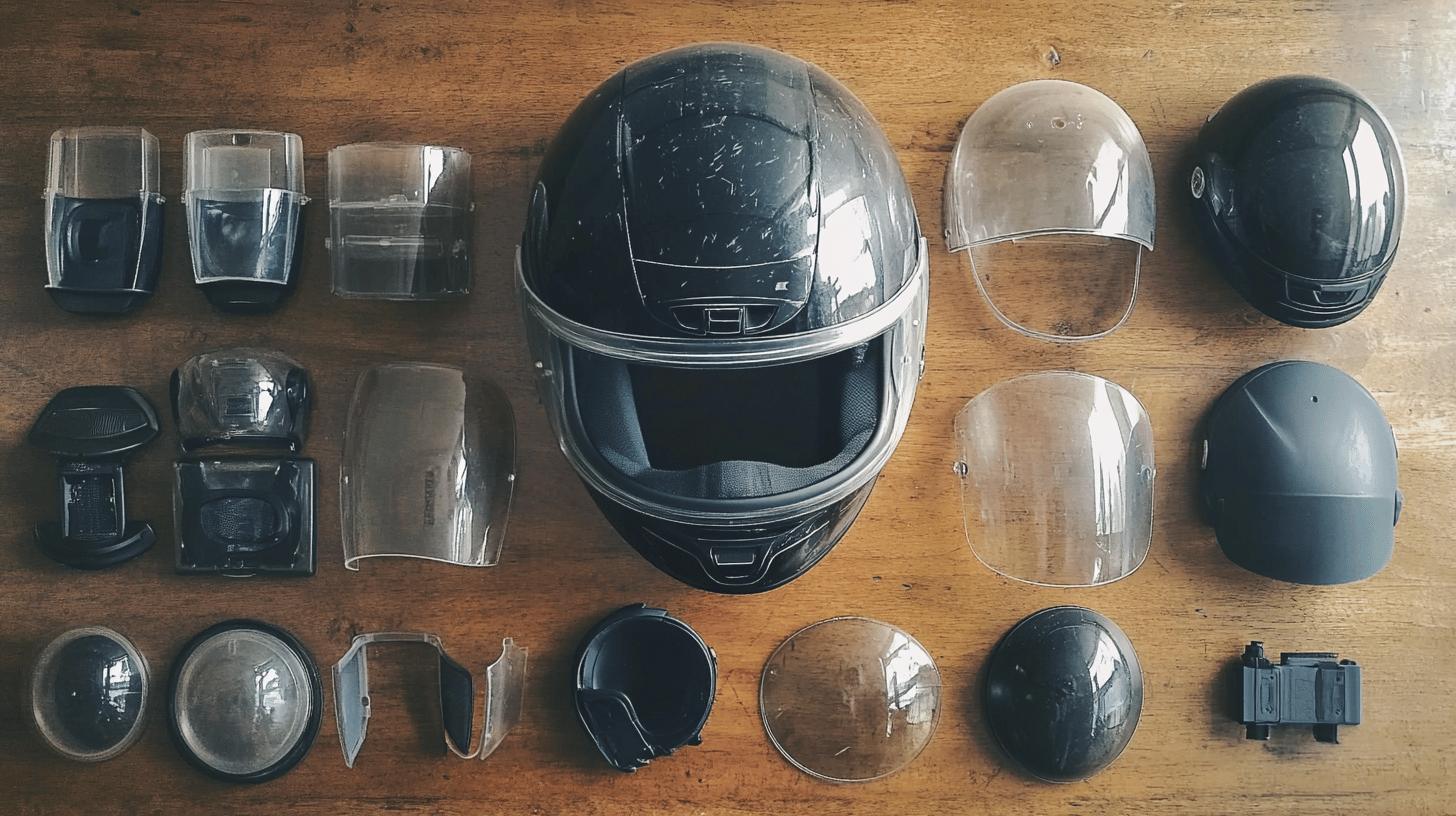
Understanding Visor Types for Motorcycle Helmets

Choosing the right visor for a motorcycle helmet is crucial as it directly impacts visibility and protection. Different visor types cater to the specific needs of riders, ensuring safety and comfort during rides.
-
Clear Visors: These are ideal for night riding or low-light conditions, providing unobstructed visibility without altering the natural color perception.
-
Tinted Visors: Perfect for daytime use, they reduce glare from the sun and help prevent eye strain. They also offer some level of UV protection.
-
Impact-Resistant Visors: Engineered with durable materials, these visors provide an extra layer of safety by absorbing shocks and preventing shattering upon impact.
-
Fog-Resistant Visors: Equipped with anti-fog coatings or pinlock systems, these visors help maintain clear vision in humid or rainy conditions.
-
Photochromic Visors: These adaptive visors automatically darken in bright sunlight and lighten in darker environments, offering versatility without the need for manual switching.
When selecting a visor, consider the typical riding conditions and personal preferences. For those who frequently ride in varying light conditions, a photochromic visor can offer adaptability and convenience.
Riders in sunny climates might prefer tinted visors for added comfort against glare and UV exposure. Alternatively, if the ride often involves unpredictable weather, a fog-resistant visor can maintain clarity in challenging conditions.
Understanding these distinctions allows riders to make informed decisions, enhancing both safety and riding experience.
Tools and Preparations for Helmet Visor Installation

Preparation is key to a smooth and successful visor installation on a motorcycle helmet. Ensuring you have the right tools and have taken necessary precautions can prevent mishaps and extend the lifespan of your helmet and visor.
Essential tools and preparation tips include:
-
Screwdriver: Depending on your helmet model, a Phillips or flathead screwdriver may be necessary to loosen or tighten screws during visor installation.
-
Microfiber Cloth: Use this to clean the helmet and visor surfaces, removing any dust or debris that may interfere with the installation process.
-
Soft Surface: Place your helmet on a soft surface like a towel or cushion to avoid scratches or damage while working on it.
- Manufacturer's Handbook: Have this on hand for specific instructions related to your helmet model, ensuring proper visor compatibility and fit.
Checking visor compatibility is crucial. Not all visors fit every helmet, so it's important to verify that the new visor aligns with your helmet's specifications. Regular maintenance, such as inspecting screws and cleaning moving parts, can prevent wear and ensure a secure fit.
This proactive approach not only facilitates easy installation but also enhances the overall functionality and safety of your riding gear.
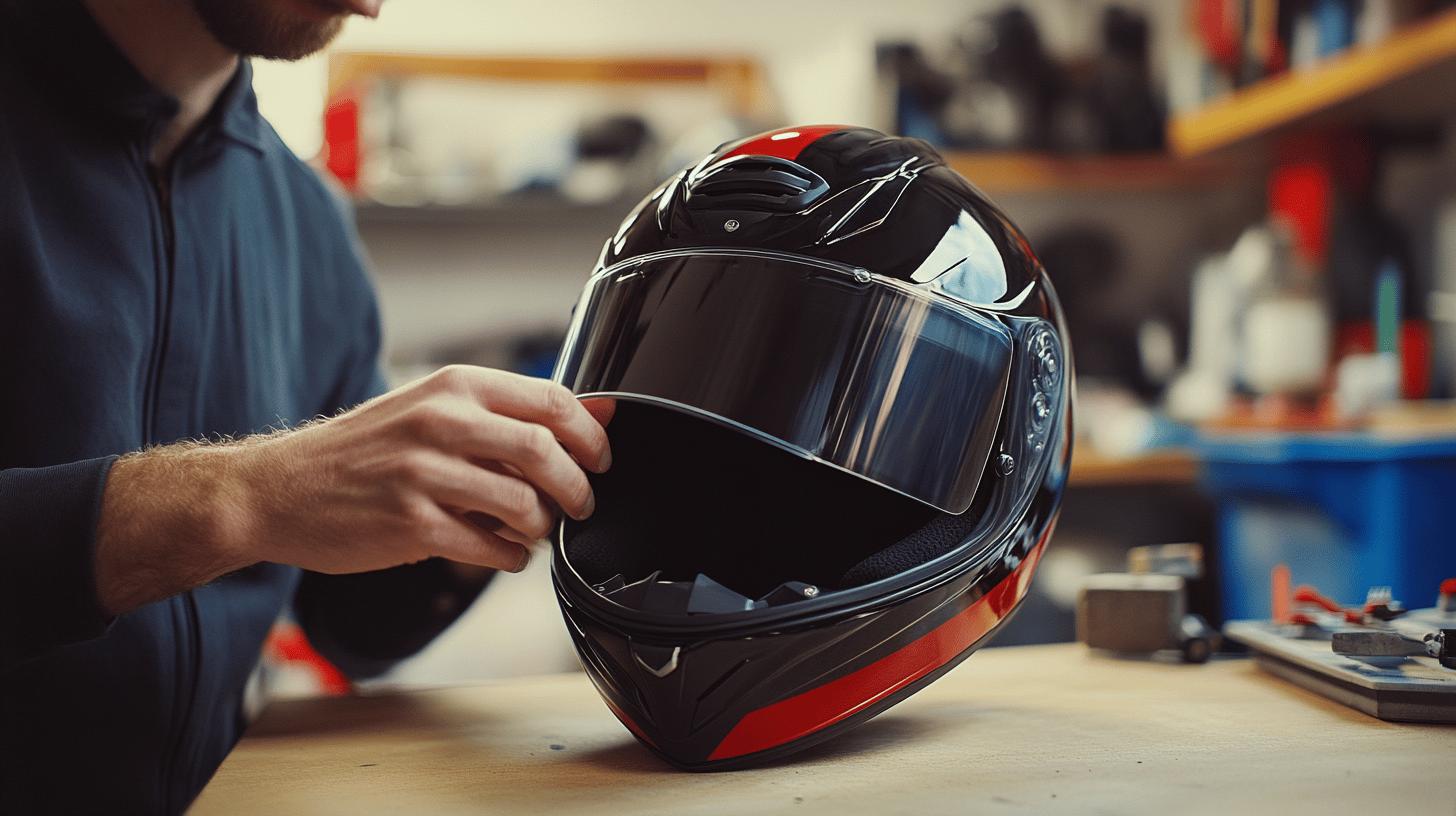
Step-by-Step Guide to Installing a Motorcycle Helmet Visor

Installing a visor on a motorcycle helmet may seem daunting, but with the right approach, it becomes a straightforward task. Following this detailed guide ensures a secure and proper fit, enhancing both safety and comfort.
- Prepare Your Helmet and Visor
Begin by placing your helmet on a soft surface to prevent scratches. Ensure the visor and helmet are clean and free from debris.
- Locate the Visor Release Mechanism
Identify the release button or tab near the ear area of the helmet. This mechanism varies by brand, so consult the manufacturer's handbook if needed.
- Remove the Existing Visor
Press or slide the release mechanism to detach the current visor. Carefully remove it by gently pulling it away from the helmet.
- Align the New Visor
Position the new visor so that its attachment points align with the helmet's mounting slots. Ensure it is correctly oriented to avoid any misalignment.
- Secure the Visor in Place
Press the visor into the mounting slots until you hear a click or feel it lock. Ensure all attachment points are securely fastened.
- Test the Visor Movement
Move the visor up and down to confirm it operates smoothly and stays in position when closed. It should not wobble or feel loose.
- Check for Proper Fit
Examine the visor's seating around the helmet's perimeter to ensure it is flush with the helmet surface, providing optimal protection against elements.
For a secure and proper fit, pay close attention to the alignment and locking of the visor. If any issues arise, recheck the alignment and consult the helmet's manual for any brand-specific instructions. Regularly inspect your visor for signs of wear or damage, as this can affect its performance and safety.
Troubleshooting Common Visor Installation Issues

Riders often face challenges during visor installation, such as difficulty with the visor locking mechanism and misalignment. These problems can arise from improper seating of the visor, leading to a less secure fit. A visor that doesn't lock properly can compromise safety by shifting during rides or failing to protect against elements.
Misalignment also causes gaps, allowing wind and debris to enter. Precision in the installation process ensures such issues are mitigated, but when problems do occur, they require prompt attention to maintain the helmet's integrity and the rider’s safety.
-
Recheck Alignment: Ensure that the visor is correctly positioned with the helmet's mounting slots. Misalignment is a common cause of installation issues.
-
Secure All Fasteners: Double-check that all screws or clips are tightly fastened to prevent the visor from loosening during use.
-
Inspect the Locking Mechanism: Confirm that the visor engages fully with the locking mechanism. Disengaged locks can lead to visor movement while riding.
-
Examine for Obstructions: Clear any debris or obstructions from the helmet's mounting points, which can prevent proper seating of the visor.
-
Apply Gentle Pressure: When locking the visor, apply even and gentle pressure to ensure it clicks into place without forcing it, which can damage components.
Consulting the helmet's manual is crucial for addressing brand-specific issues. Manuals often detail unique locking mechanisms or alignment strategies tailored to the helmet model, providing solutions to common installation pitfalls. This reference ensures that each component functions as intended, maintaining both safety and comfort for the rider.
Maintaining and Caring for Your Motorcycle Helmet Visor

Consistent care of a motorcycle helmet visor is crucial for maintaining clarity and ensuring longevity. Regular maintenance not only enhances visibility but also extends the lifespan of the visor, thereby protecting the rider more effectively.
-
Use a Microfiber Cloth: Clean the visor with a microfiber cloth to avoid scratches. This soft material helps remove dust and grime without damaging the surface.
-
Opt for Specialized Cleaning Solutions: Apply solutions specifically designed for helmet visors. These products clean effectively without leaving streaks or residue.
-
Avoid Abrasive Materials: Steer clear of rough cloths or scouring pads that can scratch the visor, compromising both its appearance and functionality.
- Store Properly: When not in use, store the helmet in a case or soft bag to protect it from accidental scratches and exposure to elements.
Protective coatings are valuable in enhancing a visor's scratch resistance and durability. Applying these coatings helps shield the visor from minor abrasions and environmental factors, such as UV rays and moisture.
Cleaning solutions designed for visors are formulated to lift dirt without harming the protective coatings, maintaining the visor's integrity. By adhering to these care practices, riders can ensure their visors remain clear and effective, contributing to a safer and more enjoyable riding experience.
Final Words
Picking the right visor enhances both safety and comfort during rides. Understanding the different types, from clear to fog-resistant, helps riders choose what suits their needs best. Equipped with the right tools and knowledge, installing a visor becomes a straightforward task.
Troubleshooting common issues ensures a secure and functional visor setup. Consistent care prolongs a visor's life and clarity. Mastering how to put a visor on a motorcycle helmet enriches the overall riding experience, fostering confidence on every journey.
FAQ
How to put a visor on a Harley Davidson motorcycle helmet?
To attach a visor to a Harley Davidson helmet, align the visor with the helmet's mounting points
and press until it clicks into place. Always refer to the manufacturer's instructions for specific guidance.
How to remove a visor from a motorcycle helmet?
For visor removal, locate the release mechanism on the sides of your helmet,
usually near the pivot point. Press or slide accordingly to detach the visor.
How to change a helmet visor on EVO and GLX helmets?
Changing visors on EVO and GLX helmets involves finding and engaging the release switch or latch,
removing the old visor, and snapping the new visor firmly into position. Consult the instruction manual for specifics.
How to handle Bell and HJC helmet visor replacements?
Bell and HJC visors can be replaced by accessing the side release tabs or knobs,
detaching the old visor, and securing the new one by reversing the process. Follow brand guides for precision.
How to remove scratches from a helmet visor?
To remove scratches, apply a visor polish or plastic polish in circular motions using a microfiber cloth,
then buff until clear. Severe scratches might require professional restoration.
How to remove an LS2 helmet visor?
For LS2 helmets, locate the visor lock or lever on each side,
release it to detach the visor, then lift it gently away from the helmet.
Do all motorcycle visors fit all helmets?
No, motorcycle visors are model-specific. Always check compatibility with your helmet model to ensure a proper fit and secure attachment.
Do I need a visor on my motorcycle helmet?
While not mandatory, visors provide eye protection from debris, weather, and UV rays, enhancing safety and comfort during rides.
How do you put glasses on a motorcycle helmet?
To wear glasses with a helmet, first, put on the helmet,
then carefully slide the glasses' arms through the visor opening, under the liner, resting them comfortably on your ears.

Mark Anderson is a trusted expert with over 25 years of riding experience. At 56, his deep knowledge of long-distance touring and participation in major motorcycle rallies makes him a reliable source for gear recommendations on ProtectiveGearz. Mark’s decades of firsthand experience ensure his advice is authoritative and valuable to riders seeking expert guidance.


