Are you struggling to remove your motorcycle helmet visor without causing damage or frustration? You're not alone. Many riders find this process tricky, yet it's simpler than you might think once you know the right steps.
This guide breaks down how to remove a motorcycle helmet visor, emphasizing ease and practicality. By understanding the proper techniques, you'll not only safeguard your gear but also enhance your riding experience.
Follow along as we provide a clear, step-by-step visor removal guide that caters to various helmet brands, ensuring a smooth and scratch-free process.
Step-by-Step Guide to Removing a Motorcycle Helmet Visor

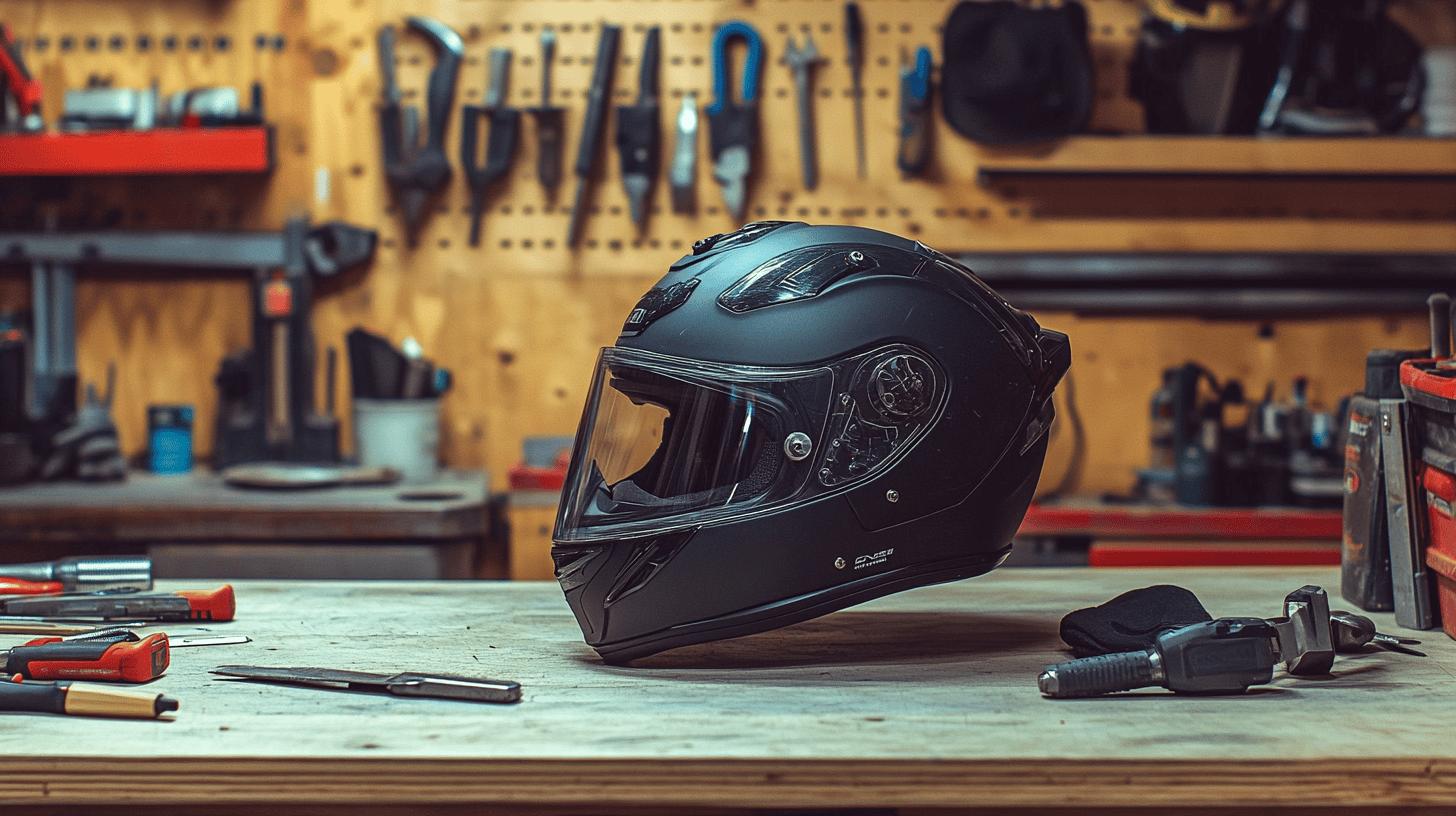
Preparing your workspace is crucial before attempting to remove a motorcycle helmet visor. Ensure you have a clean, soft surface to work on, such as a towel or a cloth pad, to prevent scratches or damage to the helmet.
Steps to Remove a Helmet Visor
- Consult the Manual
Refer to the helmet's manual for any specific instructions or diagrams that pertain to your helmet model. This ensures you understand any unique mechanisms present.
- Locate the Release Mechanism
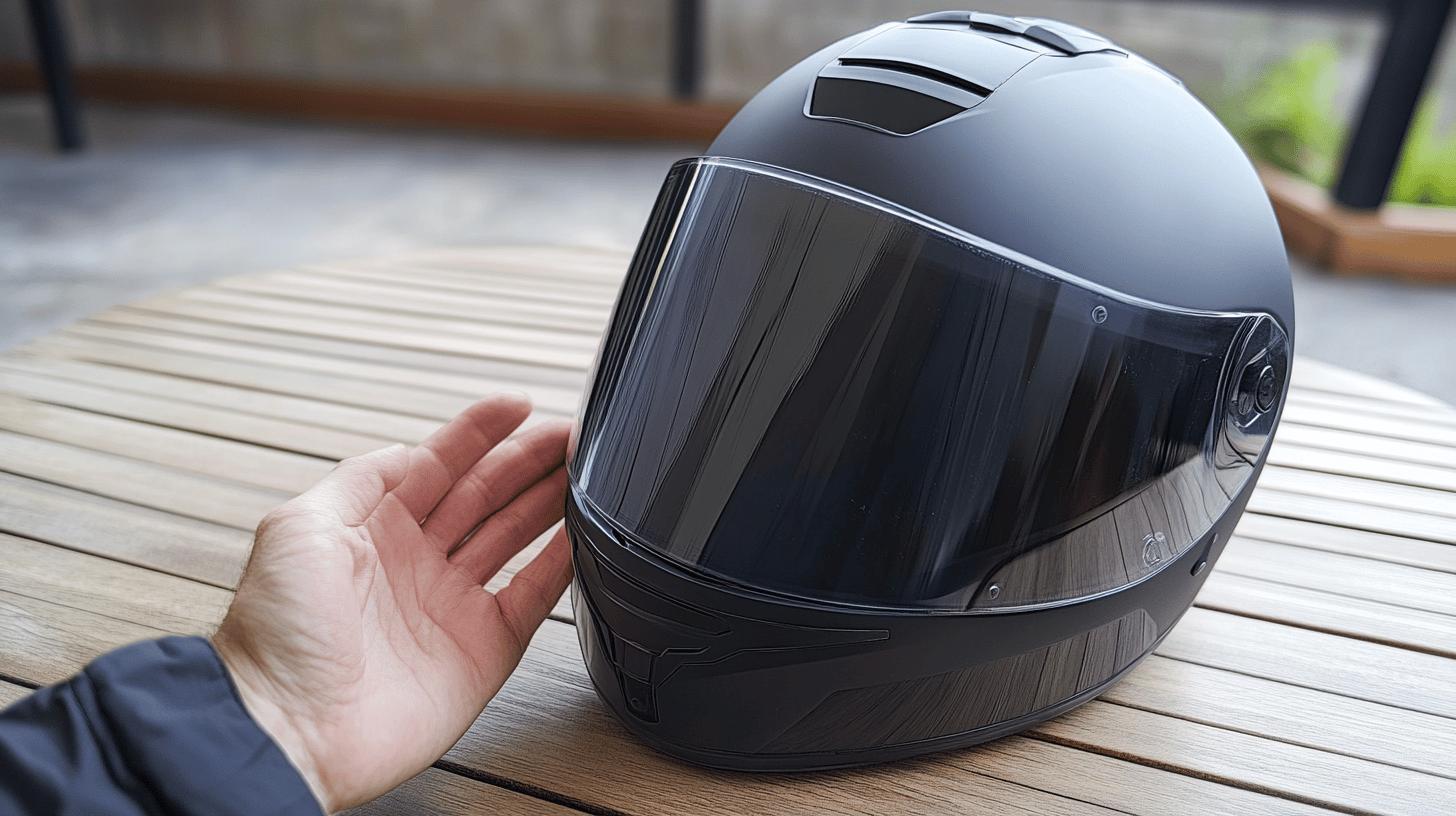
Identify the release button or tab, typically located near the ear area. This is the primary mechanism that secures the visor to the helmet.
- Position the Helmet
Place the helmet on the soft surface with the visor facing you. This positioning will give you better access and control during removal.
- Activate the Release Mechanism
Gently press or slide the release button or tab while holding the visor. Be cautious to avoid applying excessive force which might damage the mechanism.
- Remove the Visor
Once the release mechanism is activated, carefully lift or slide the visor off the helmet. Ensure both sides are detached before completely removing it.
- Inspect the Visor and Helmet
Check both the visor and the helmet's attachment points for any wear or damage. This is an opportunity to clean any dirt or debris.
- Store the Visor Safely
Place the visor in a secure location to prevent scratches or other damage until you're ready to reattach or replace it.
Reassembly involves reversing the removal process. Position the visor correctly before snapping it back into place. Ensure it moves smoothly and is securely attached to avoid any issues while riding. Adjust the visor for optimal fit, ensuring it provides clear visibility and adequate protection.
Tools and Safety Tips for Removing a Helmet Visor

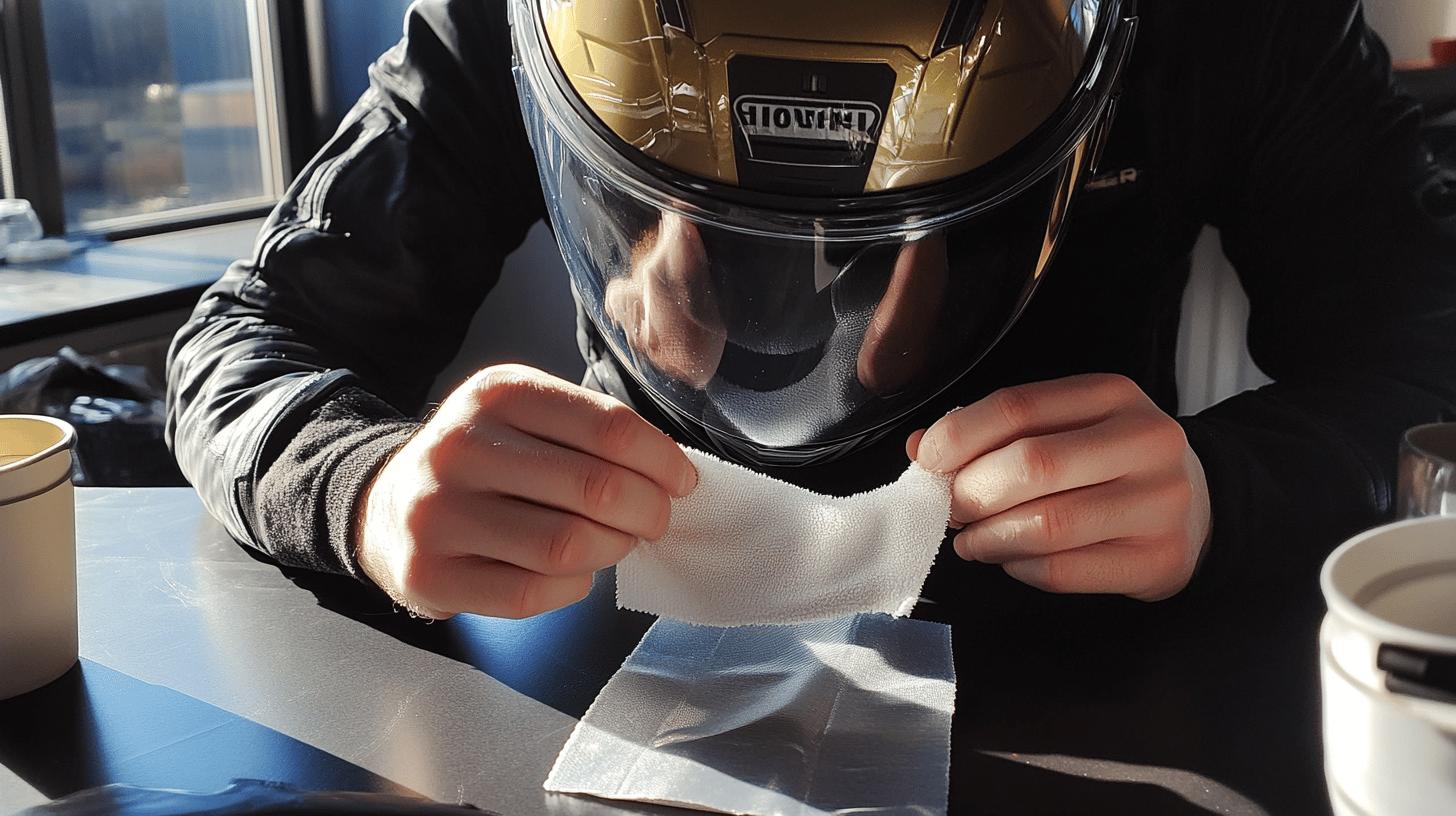
When preparing to remove a motorcycle helmet visor, having the right tools can make the process smooth and damage-free. Essential tools include gentle cleaning products and materials designed to handle the helmet's delicate components without causing harm.
Recommended tools and products for visor removal include:
-
Microfiber cloths for cleaning and wiping surfaces
-
Mild cleaning solution, such as baby shampoo or dish soap mixed with water
-
Soft sponge or brush for scrubbing without scratching
-
Non-abrasive visor cleaning products
-
A towel or cloth pad to provide a soft workspace
Using these tools helps maintain the visor's integrity during removal.
Safety tips are crucial to protect both the visor and the helmet. Handle the visor gently to avoid cracking or breaking the material.
Avoid harsh chemicals and abrasive tools, which can degrade the visor's coatings and materials. Always consult your helmet's manual for specific instructions, as some helmets have unique release mechanisms. Taking these precautions ensures the visor and helmet remain in excellent condition for future use.
Troubleshooting Common Issues with Visor Removal

When removing a motorcycle helmet visor, riders often encounter challenges that can lead to frustration or damage if not properly addressed. A common issue involves concealed release mechanisms, which can be difficult to locate without guidance. Forceful removal or improper handling may also lead to damage, emphasizing the importance of consulting the helmet's manual for specific instructions.
Common Mistakes and Solutions
Several mistakes during visor removal can impede the process or harm the helmet. Understanding these can help prevent issues:
- Not Consulting the Manual
Failing to refer to the helmet's manual can result in mishandling unique release mechanisms, leading to unnecessary force or damage.
- Using Excessive Force
Applying too much pressure can crack or break the visor. Gentle handling and proper understanding of the release mechanism are crucial.
- Ignoring Safety Precautions
Not using a soft workspace can cause scratches. Always prepare your workspace with a towel or cloth pad to protect both the helmet and visor.
| Issue | Solution |
|---|---|
| Concealed release mechanism | Consult the manual for detailed instructions and diagrams. |
| Excessive force application | Handle the visor gently and locate the correct release tab. |
| Unprotected work surface | Use a towel or cloth pad to prevent scratches or damage. |
Addressing these common mistakes can make visor removal a smoother experience and help maintain the helmet's integrity.
Visor Maintenance and Care After Removal

When caring for a helmet visor post removal, cleaning techniques play a crucial role in preserving the visor's clarity and longevity. Use a mild cleaning solution such as baby shampoo or a small amount of dish soap mixed with warm water.
Avoid harsh chemicals that could degrade the visor's protective coatings. Gently clean the surface using a soft sponge or microfiber cloth, which prevents scratching while effectively removing dirt and grime. After cleaning, rinse thoroughly with clean water and dry with a lint-free cloth to prevent streaks.
Proper storage is equally important for helmet visor maintenance. Store the visor in a cool, dry place away from direct sunlight to prevent warping or discoloration. Use a soft pouch or a clean cloth to wrap the visor, protecting it from scratches and dust.
Ensure the storage area is free of heavy objects that could inadvertently damage the visor. By following these simple care practices, you maintain the visor's integrity and extend its useful life.
Visor Replacement and Installation Tips

When selecting a replacement visor for your motorcycle helmet, prioritize features that enhance safety and performance. Consider visors with anti-fog and anti-scratch coatings to maintain clear vision in varying conditions.
Tinted visors are advantageous for different lighting scenarios, providing comfort and reducing glare. Ensure compatibility with your helmet model by consulting the manufacturer's specifications or your helmet's manual.
Steps for Installing a Replacement Visor
- Prepare the Helmet
Place the helmet on a soft, stable surface to prevent scratches. Ensure the helmet is clean and free from debris at the attachment points.
- Align the New Visor
Position the new visor in alignment with the helmet's mounting points. Check that the sides of the visor match the helmet's locking mechanism.
- Engage the Release Mechanism
Press or slide the release mechanism to secure one side of the visor first. Ensure it clicks into place without applying excessive force.
- Secure the Other Side
Repeat the process for the opposite side of the visor. Verify that both sides are firmly attached and that the visor moves smoothly.
- Test the Fit and Movement
Open and close the visor several times to confirm smooth operation. Check for any signs of
misalignment or loose fittings, adjusting if necessary.
Proper fit and functionality are crucial for visor performance. Adjust the visor as needed to ensure it provides a snug fit against the helmet seal, minimizing wind noise and preventing water ingress. Verify that the visor does not obstruct your field of vision and that it offers adequate protection. Regularly check the visor's condition to maintain optimal safety and comfort during rides.
Specialized Visor Types and Their Removal Process

Motorcycle helmets come equipped with a variety of visor mechanisms, each designed to cater to specific needs and preferences. Visors can differ significantly between brands and models, featuring unique attachment and release systems. Understanding these mechanisms is essential for efficient visor removal.
Some helmets, for example, employ a simple button or tab release, while others might use a more intricate locking system. It is crucial to recognize the type of visor mechanism your helmet has to avoid unnecessary force or damage during removal.
Brand-Specific Removal Instructions
For different brands, the visor removal process can vary, often reflecting the manufacturer's design philosophy:
- Bell Helmets
Bell helmets typically use a quick-release lever system located near the side of the helmet. To remove the visor, gently lift the lever while supporting the visor, ensuring a smooth disengagement from the locking mechanism.
- Shoei Helmets
Shoei helmets often feature a spring-loaded mechanism. Begin by opening the visor fully, then locate the release tabs on either side. Press the tabs simultaneously to detach the visor, taking care to support it as it disengages.
- HJC Helmets
HJC helmets generally incorporate a simple push-button release. To remove the visor, press the button located near the ear area and gently slide the visor out of its track, ensuring not to exert excessive force.
Handling visors from different brands necessitates attention to detail and adherence to manufacturer instructions for a seamless removal experience.
When it comes to Pinlock visors, care is paramount to prevent damage. A Pinlock visor is typically inserted within the main visor to prevent fogging. To remove a Pinlock visor, first detach the main visor from the helmet.
Gently flex the main visor to release the Pinlock from its mounting pins. Exercise caution to avoid bending or stressing the Pinlock insert, as this can compromise its effectiveness. Proper handling ensures both the main and Pinlock visors remain in optimal condition, ready for reinstallation or replacement.
Final Words
Navigating the intricacies of visor removal starts with preparation and safety. Equipped with the right tools and a step-by-step visor removal guide, riders can handle their helmet visors confidently.
Addressing common issues ensures a smoother process, while visor maintenance keeps the gear functional. Exploring specialized visor types enhances understanding of brand-specific mechanisms.
Achieving a secure fit during installation guarantees comfort and safety. Mastering how to remove motorcycle helmet visors empowers riders for a better riding experience.
FAQ
How to remove motorcycle helmet visor Yamaha?
To remove a Yamaha motorcycle helmet visor, locate the visor release mechanism near the ear area. Press or lift this mechanism to disengage the visor, then gently pull it away from the helmet.
How to remove motorcycle helmet visor Harley Davidson?
For Harley Davidson helmets, find the release tab or button near the helmet’s sides. Depress or slide the tab, allowing you to lift the visor slightly and remove it smoothly.
How to change motorcycle helmet visor?
To change a motorcycle helmet visor, carefully engage the release mechanism, usually located at the sides near the ears. Remove the old visor and align the new one with the attachment points before securing it back in place.
How to remove LS2 helmet visor?
Remove an LS2 helmet visor by pressing the quick-release button or tab on each side. Gently detach the visor by pulling it upwards and away from the helmet.
How to remove HJC helmet visor?
To remove an HJC helmet visor, locate and press the release button or tab on both sides of the visor. Once released, lift the visor away from the helmet carefully.
How to take motorbike helmet visor off?
Take off a motorbike helmet visor by identifying the release mechanism, typically a button or tab near the ear area. Engage this mechanism, then lift and remove the visor gently.
How do you change a shield on a motorcycle helmet?
To change a shield on a motorcycle helmet, disengage the side-release mechanisms, gently lift the old shield off, align, and attach the new shield securely to complete the replacement.
How to get bugs off helmet visor?
Remove bugs by using a microfiber cloth and a specific visor cleanser. Gently wipe the visor with the cloth in circular motions to avoid scratches or damaging the surface.
How to remove helmet visor scratches?
To remove helmet visor scratches, use a plastic polish designed for clear surfaces. Apply a small amount on a cloth and rub in circular motions, then buff the area with a clean section of the cloth.
GLX Helmet Visor change, GLX M14 helmet visor removal?
To change a GLX or GLX M14 helmet visor, press the release mechanisms on each side. Gently detach the visor from the hinge before attaching a new visor by aligning it with the mechanism and securing it.
Specialized visor types and their removal process?
For specialized visors, refer to the brand-specific removal procedures, typically outlined in the manual. Handle Pinlock visors with care to prevent damage, as they often require specific handling techniques.

Brad Mitchell is a seasoned motorcycle enthusiast with over 16 years of riding experience. He’s spent countless hours on the open road, particularly favoring scenic routes aboard his trusted Harley-Davidson. Brad’s laid-back approach to life and riding gives him a unique perspective on motorcycle gear and safety, which he shares through his in-depth reviews and expert advice on ProtectiveGearz.


