Wondering how to restore the crystal-clear view from your motorcycle helmet visor without replacing it? Scratches not only hinder visibility but also compromise safety. Addressing them effectively can save you from needless expense and enhance your riding experience.
Fortunately, several techniques allow even amateur motorcyclists to tackle these annoyances at home. From household items like toothpaste to specialized scratch removers, this guide covers practical, DIY methods to improve your visor's condition.
Dive into the following steps to discover how to achieve a scratch-free visor effortlessly.
Understanding Helmet Visor Scratches: Causes and Types

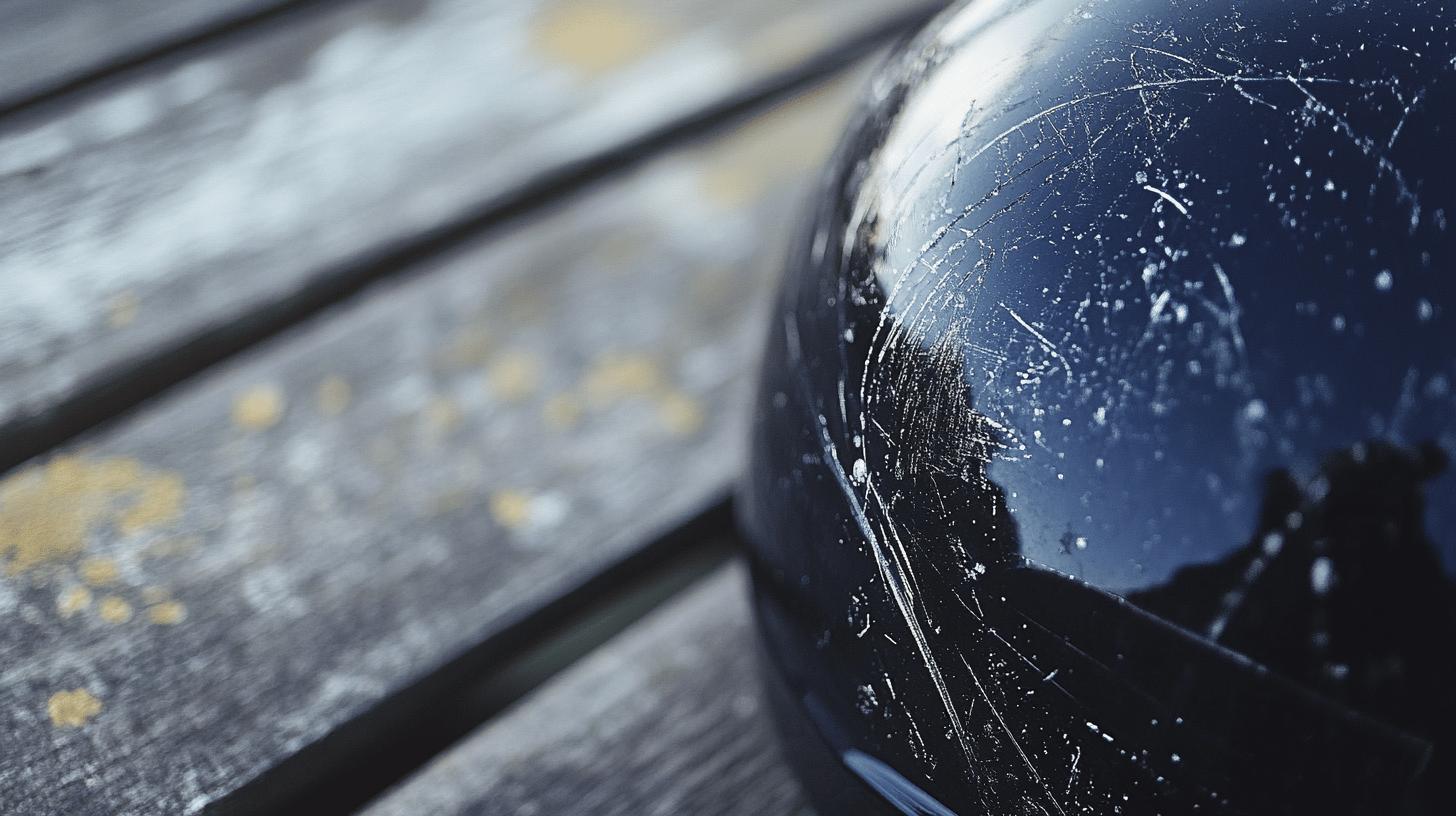
Motorcycle helmet visors can easily become scratched due to various reasons. Common causes include flying debris like tiny rocks or dirt kicked up by other vehicles, improper cleaning techniques using abrasive materials, and careless storage without protective coverings. Each of these factors can lead to different types of scratches that affect both the functionality and appearance of the visor.
-
Surface Scuffs: Minor scratches that typically result from light contact with debris or improper cleaning. They often appear as superficial marks.
-
Deep Scratches: These penetrate more profoundly into the visor surface, usually caused by larger debris impacts or harsh cleaning methods.
-
Swirl Marks: Often caused by circular wiping motions during cleaning, these are fine scratches that create a swirling pattern on the visor.
Identifying the type of scratch on a helmet visor is crucial for selecting the most effective removal method. Surface scuffs might be addressed with simple buffing techniques, while deep scratches could require sanding or polishing. Understanding these variations ensures that the chosen approach will restore the visor's clarity and maintain safety standards.
DIY Methods to Remove Scratches from Your Helmet Visor

Removing scratches from a motorcycle helmet visor can often be accomplished with simple DIY methods using household items. These techniques not only save money but also restore clarity to the visor, ensuring safer rides. Below are step-by-step guides for using common materials like toothpaste, baking soda, and plastic polish to tackle various scratch depths.
Toothpaste Method
-
Clean the Visor: Start by cleaning the visor with warm water and a few drops of dish detergent to remove any surface dirt or debris.
-
Apply Toothpaste: Use a non-gel, white toothpaste. Apply a small amount directly onto the scratched area.
-
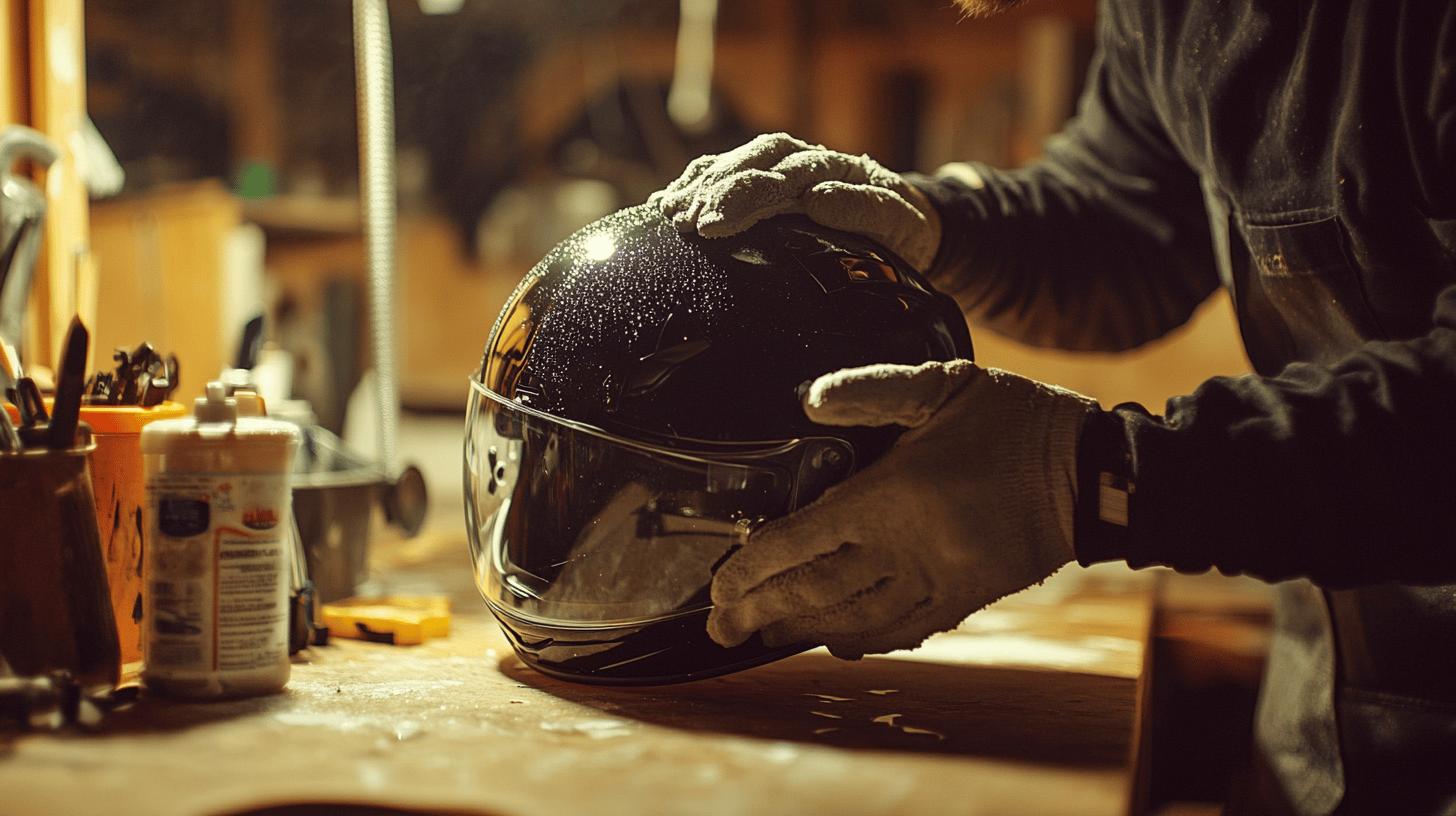
Buff the Scratch: With a soft cloth, gently rub the toothpaste in circular motions over the scratch for about 1-2 minutes.
- Rinse and Dry: Rinse the visor with water to remove the toothpaste, then dry with a microfiber cloth.
Baking Soda Paste Method
-
Prepare the Paste: Mix two parts baking soda with one part water to create a thick paste.
-
Apply the Paste: Spread the paste over the scratches using a soft cloth.
-
Buff the Area: Gently rub the paste in circular motions over the scratched area.
- Rinse Off: Wash away the paste with water and dry the visor with a microfiber cloth.
Plastic Polish Method
-
Select the Polish: Choose a plastic polish specifically designed for visors or automotive plastics.
-
Apply the Polish: Apply a small amount of polish to a soft cloth.
-
Buff the Scratch: Rub the polish over the scratched area in circular motions, applying gentle pressure.
- Polish the Surface: Continue buffing until the scratches diminish. Wipe away any residue with a clean cloth.
Safety Tips
-
Test a Small Area First: Before applying any method, test a small, inconspicuous area of the visor to ensure compatibility.
-
Use Soft Cloths: Always use microfiber or other soft cloths to prevent adding new scratches.
-
Avoid Harsh Chemicals: Steer clear of glass cleaners or rubbing alcohol, as they can damage the visor material.
Using these DIY methods can effectively remove scratches from your helmet visor, maintaining both its aesthetic and functional quality.
Essential Tools and Materials for Scratch Removal

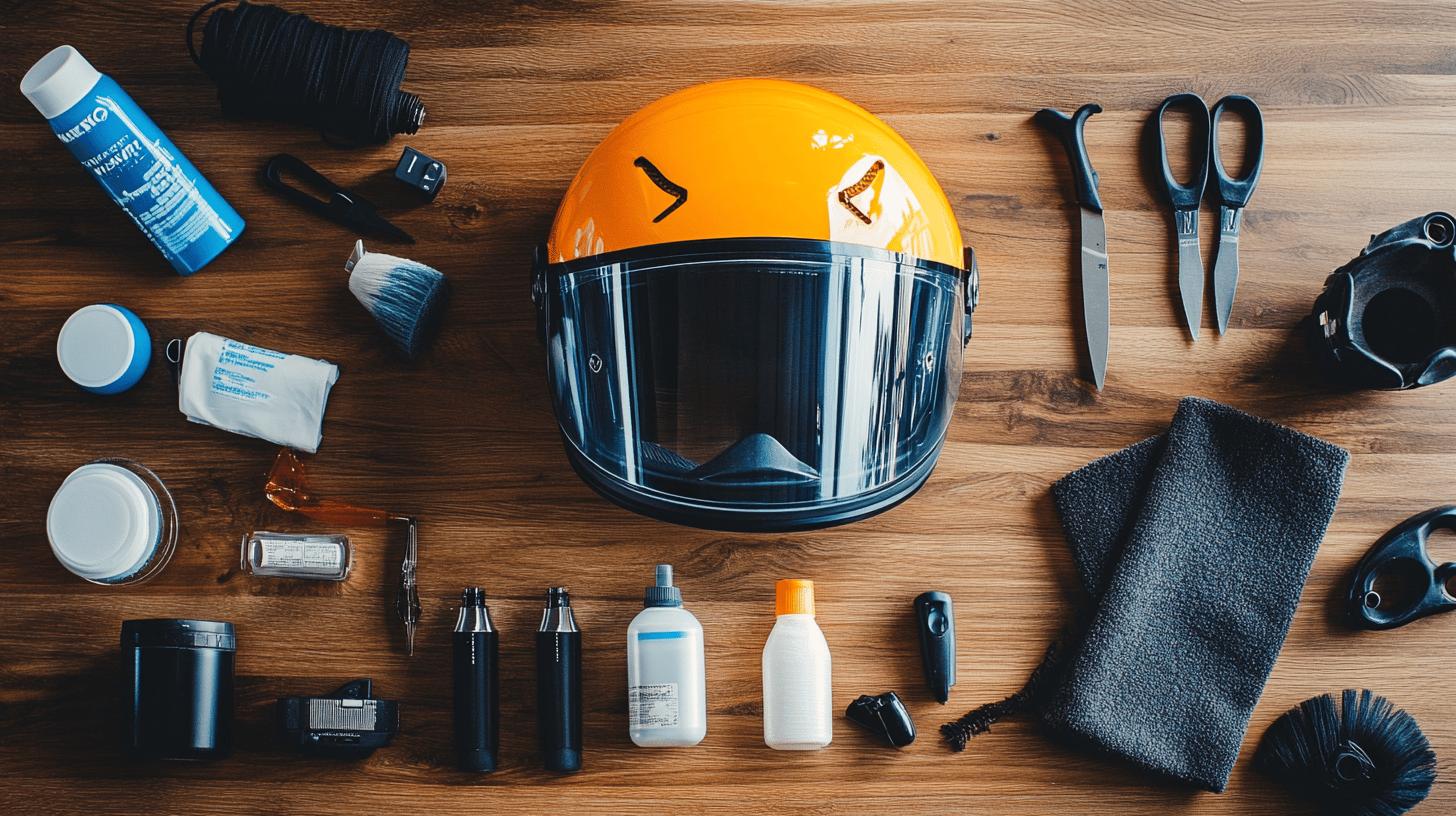
Having the appropriate tools and materials is crucial for effectively removing scratches from a motorcycle helmet visor. The right equipment not only enhances the scratch removal process but also ensures that the visor's integrity remains intact. Selecting quality materials reduces the risk of additional damage and improves the outcome of the scratch removal efforts.
-
Non-Gel Toothpaste: An accessible household item, it can buff out minor surface scuffs due to its mild abrasive qualities.
-
Baking Soda: Mixed with water to form a paste, baking soda is suitable for slightly deeper scratches, providing a gentle abrasive action.
-
Microfiber Cloths: Essential for all cleaning and buffing processes, they prevent further scratches during application.
-
2000-Grit Sandpaper: Used for more severe scratches, it requires careful application and is often followed by polishing for a smooth finish.
-
Plastic Polish: Designed for automotive visors, this helps restore clarity and shine, especially after sanding.
-
CareMotul® MC CARE™ E8 Scratch Remover: A specialized product for tackling stubborn scratches, offering professional-grade results.
The choice of tool or material depends on the severity of the scratches. For surface scuffs, non-gel toothpaste or baking soda is usually sufficient. If the visor has deeper scratches, 2000-grit sandpaper followed by plastic polish can be effective. For the toughest cases, specialized products like CareMotul® MC CARE™ E8 Scratch Remover are recommended to achieve optimal results.
Step-by-Step Guide to Scratch Removal Techniques

Scratches on a motorcycle helmet visor can significantly impact visibility and safety. There are several effective techniques to remove these scratches, each suited to different levels of damage.
It's important to use the right method to restore clarity without causing further harm to the visor surface. Below are detailed instructions for three common scratch removal techniques: wet sanding, toothpaste buffing, and power buffer polishing.
Wet Sanding Technique
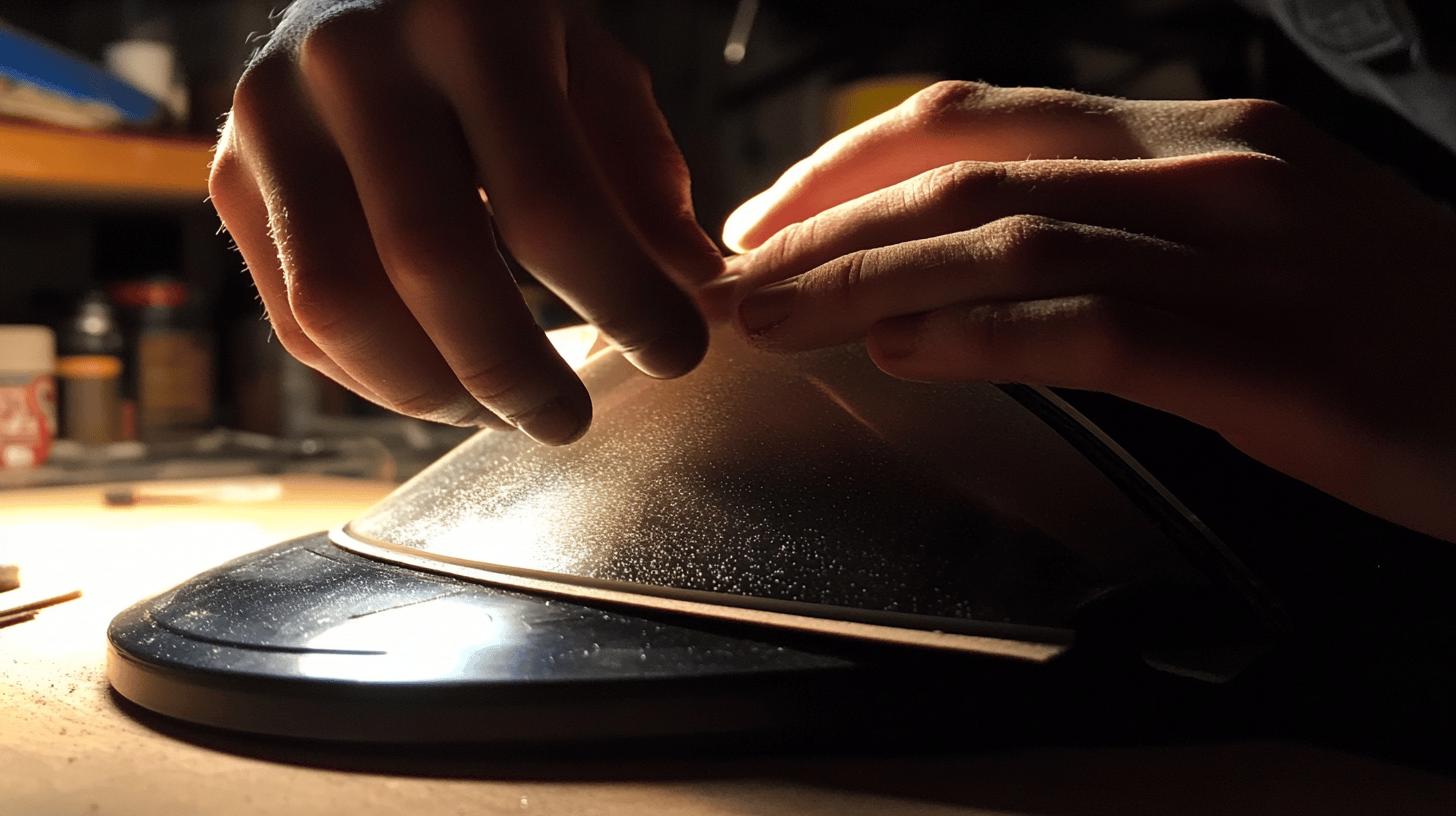
Wet sanding is ideal for deep scratches that penetrate the visor surface. This method requires careful handling to avoid additional damage.
-
Gather Materials: Obtain 2000-grit sandpaper and a bowl of water.
-
Prepare the Sandpaper: Soak the sandpaper in water for at least 10 minutes to ensure it's adequately damp.
-
Wet the Visor Surface: Splash water onto the scratched area to lubricate the surface.
-
Sand the Scratch: Gently rub the soaked sandpaper over the scratch in a back-and-forth motion. Keep the surface wet to minimize friction.
-
Check Progress: Periodically stop to clean the area and check if the scratch is diminishing.
-
Clean and Dry: Once the scratch is less noticeable, rinse the visor with clean water and dry it with a microfiber cloth.
Toothpaste Buffing
This method is suitable for minor scratches and surface scuffs. Non-gel toothpaste acts as a gentle abrasive to polish the visor.
-
Clean the Visor: Wash the visor with warm water and mild detergent to remove any dirt.
-
Apply Toothpaste: Dab a small amount of non-gel, white toothpaste onto a soft cloth.
-
Buff the Scratch: Rub the toothpaste onto the scratch using circular motions, applying light pressure.
-
Rinse Off: Wash the visor with water to remove any toothpaste residue.
-
Dry the Surface: Use a microfiber cloth to carefully dry the visor.
Power Buffer Technique
For stubborn scratches that are not easily removed by hand, a power buffer can provide a more intensive solution.
-
Select a Polishing Compound: Choose a plastic polish suitable for helmet visors.
-
Apply the Compound: Place a small amount of polish onto the buffer pad.
-
Buff the Scratch: Turn on the power buffer and gently move it over the scratched area. Use slow, steady movements to avoid overheating.
-
Inspect the Visor: Stop intermittently to assess the scratch removal progress.
-
Final Polish: Once satisfied, wipe the visor with a clean, soft cloth to remove any remaining polish residue.
Implementing these techniques correctly can effectively restore the visor's clarity and maintain its safety function. It's crucial to avoid using harsh chemicals, like glass cleaner or rubbing alcohol, which could damage the visor material.
Preventing Scratches on Your Helmet Visor

Preventive care is crucial in maintaining a scratch-free helmet visor, as it ensures both clear vision and extended visor lifespan. Regular cleaning using soft materials like microfiber cloths prevents abrasive particles from scratching the surface. Proper storage is equally important; placing the helmet in a padded case minimizes exposure to potential scrapes from objects in the surrounding environment.
- Clean the visor gently with a microfiber cloth.
- Store the helmet in a padded case when not in use.
- Use a dedicated helmet visor cleaner.
- Avoid placing the helmet on rough surfaces.
Using a visor protector provides an additional layer of defense against scratches. These protectors are designed to absorb minor impacts and abrasions, keeping the visor clear and free from superficial damage. By implementing these preventive measures, riders can maintain optimal visibility and prolong the life of their helmet visors.
Choosing the Best Products for Visor Scratch Removal

Selecting the right products for removing scratches from a motorcycle helmet visor can significantly impact the effectiveness of the repair process. Various specialized products are designed to tackle different scratch severities and visor materials, ensuring that users can restore their visors to optimal clarity and functionality.
-
McGuires PlastX: This plastic polish works well for minor to moderate scratches, offering a gentle abrasive action that helps restore clarity to the visor.
-
CareMotul® MC CARE™ E8 Scratch Remover: Ideal for stubborn and deeper scratches, this product provides a more intensive scratch removal solution, suitable for both polycarbonate and acrylic visors.
-
Visor Cleaner Spray: For routine maintenance and light surface scuffs, a visor cleaner spray can keep the visor clean and reduce the appearance of fine scratches over time.
When choosing a product, consider the severity of the scratches and the material of your visor. For minor scratches, a gentle polish like McGuires PlastX may suffice. Deeper scratches might require the more robust action of CareMotul® MC CARE™ E8 Scratch Remover. Always ensure compatibility with your visor material to avoid additional damage and achieve the best results.
Final Words
Addressing scratches on a motorcycle helmet visor can greatly enhance safety and visibility.
This guide provides insights into various types of scratches, methods to remove them,
and essential tools needed for effective scratch repair.
Investing in preventive care and choosing the right products keeps visors clear and damage-free.
Understanding how to get scratches out of a motorcycle helmet visor ensures a safer and more enjoyable ride.
FAQ
How to fix scratches on a motorcycle helmet?
A: Scratches on a motorcycle helmet can be addressed using various methods based on scratch depth. Minor scratches can often be buffed out with non-gel toothpaste or plastic polish, while deeper scratches may require wet sanding or a power buffer.
How to get scratches out of a plastic face shield?
A: Removing scratches from a plastic face shield involves similar techniques to those used on helmet visors. Use a mixture of baking soda and water for light scratches and plastic polish or a power buffer for deeper marks.
What is the best way to clean a motorcycle helmet visor?
A: Cleaning a motorcycle helmet visor is best done using a microfiber cloth and a specialized visor cleaner. Avoid harsh chemicals to prevent damage. Regular cleaning minimizes scratch chances and maintains visibility.
How to take scratches out of a motorcycle visor?
A: To remove scratches from a motorcycle visor, start with gentle methods like toothpaste or baking soda for minor scratches. Use more intensive techniques, such as wet sanding or a power buffer, for deeper scratches.
How to restore helmet visor clarity?
A: Restoration of a helmet visor involves cleaning and polishing. For scratches, use suitable removal techniques based on scratch depth. Applying plastic polish can further enhance clarity and maintain the visor's optical quality.

Mark Anderson is a trusted expert with over 25 years of riding experience. At 56, his deep knowledge of long-distance touring and participation in major motorcycle rallies makes him a reliable source for gear recommendations on ProtectiveGearz. Mark’s decades of firsthand experience ensure his advice is authoritative and valuable to riders seeking expert guidance.


