Is your helmet liner feeling worn out, impacting both comfort and safety? Replacing a motorcycle helmet liner might seem daunting at first, but it's a straightforward process that can restore your helmet's fit and hygiene.
Understanding the steps to safely remove and replace your liner is crucial—not only to maintain comfort but also to ensure your helmet's protective capabilities remain intact.
This guide provides detailed instructions and key points to consider, simplifying the replacement process and helping motorcyclists make informed decisions for optimal riding experiences.
Understanding the Helmet Liner Replacement Process

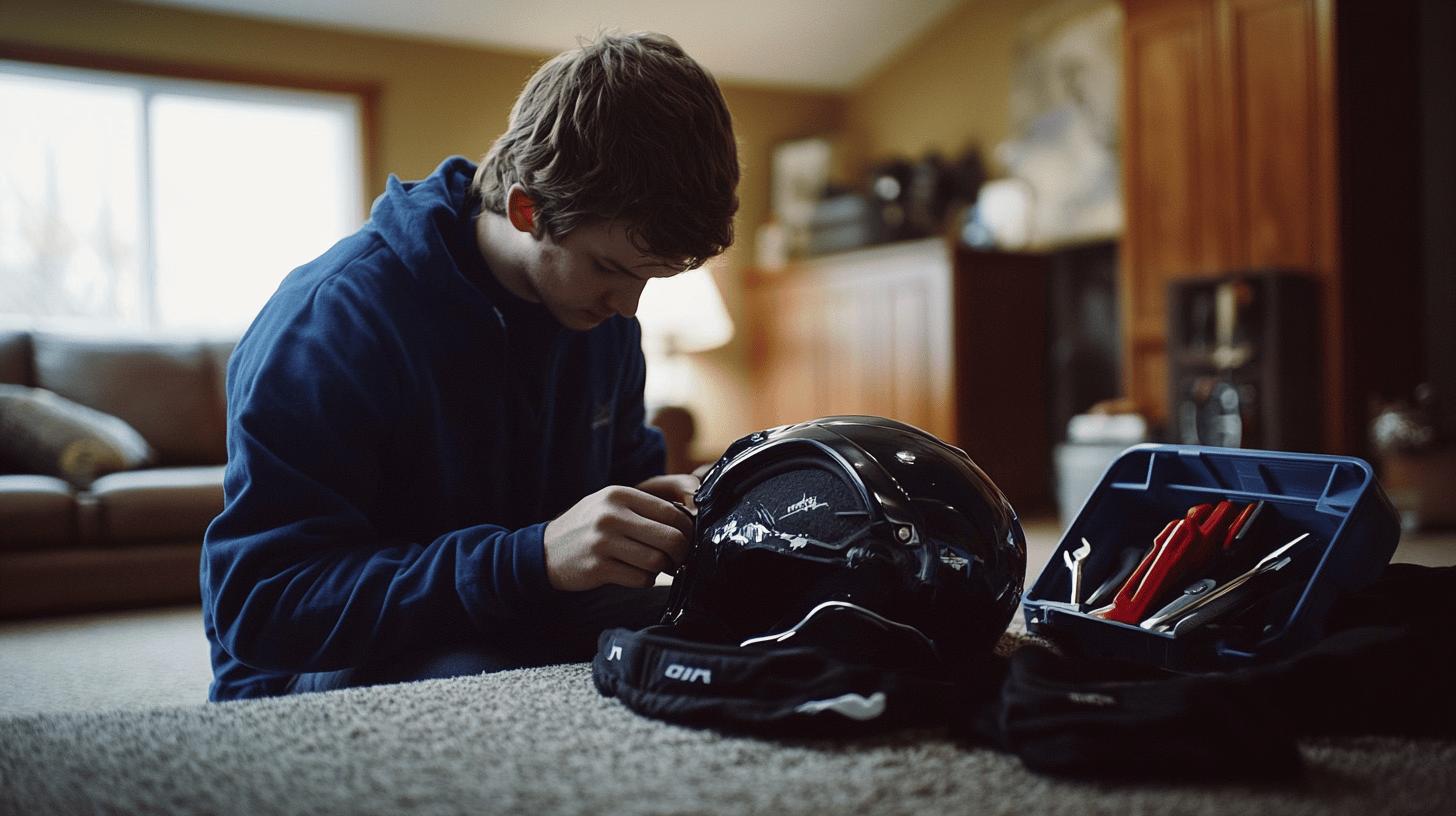
Identifying the specific brand and model of your motorcycle helmet is the critical first step in the liner removal process. Different helmet models often have unique attachment methods for their liners, which can include snaps, Velcro, or other proprietary systems. Knowing these details ensures that the replacement liner will fit correctly and maintain the helmet's safety standards.
Incorrect liner installation can compromise the structural integrity of the helmet padding, which is vital for rider safety. Therefore, a thorough examination of how the liner is secured to the helmet shell is essential before beginning any helmet disassembly.
Maintaining a clean helmet interior is equally important when replacing the liner. Over time, dirt and oils can accumulate inside the helmet, potentially affecting the adhesion of new liners. Proper cleaning not only enhances hygiene but also ensures that the replacement liner sits flush against the helmet shell. This alignment is necessary for both comfort and safety, as any misalignment can lead to discomfort or reduced impact absorption.
-
Identify the brand and model of your helmet to select a compatible replacement liner.
-
Carefully observe and note how the current liner is attached to the helmet, checking for snaps or Velcro.
-
Detach the old liner gently to prevent any damage to the helmet shell.
- Clean the helmet interior thoroughly with mild soap and water, ensuring it is dry before installing the new liner.
Step-by-Step Guide to Installing a New Helmet Liner

Choosing the correct helmet liner is crucial for both safety and comfort. A liner that is not compatible with your helmet model can compromise the fit and protection offered by the helmet. Most helmet manufacturers provide specific replacement liners designed to fit particular models, ensuring they maintain the helmet's safety standards. Before purchasing, confirm the liner's compatibility with your helmet to avoid potential safety risks.
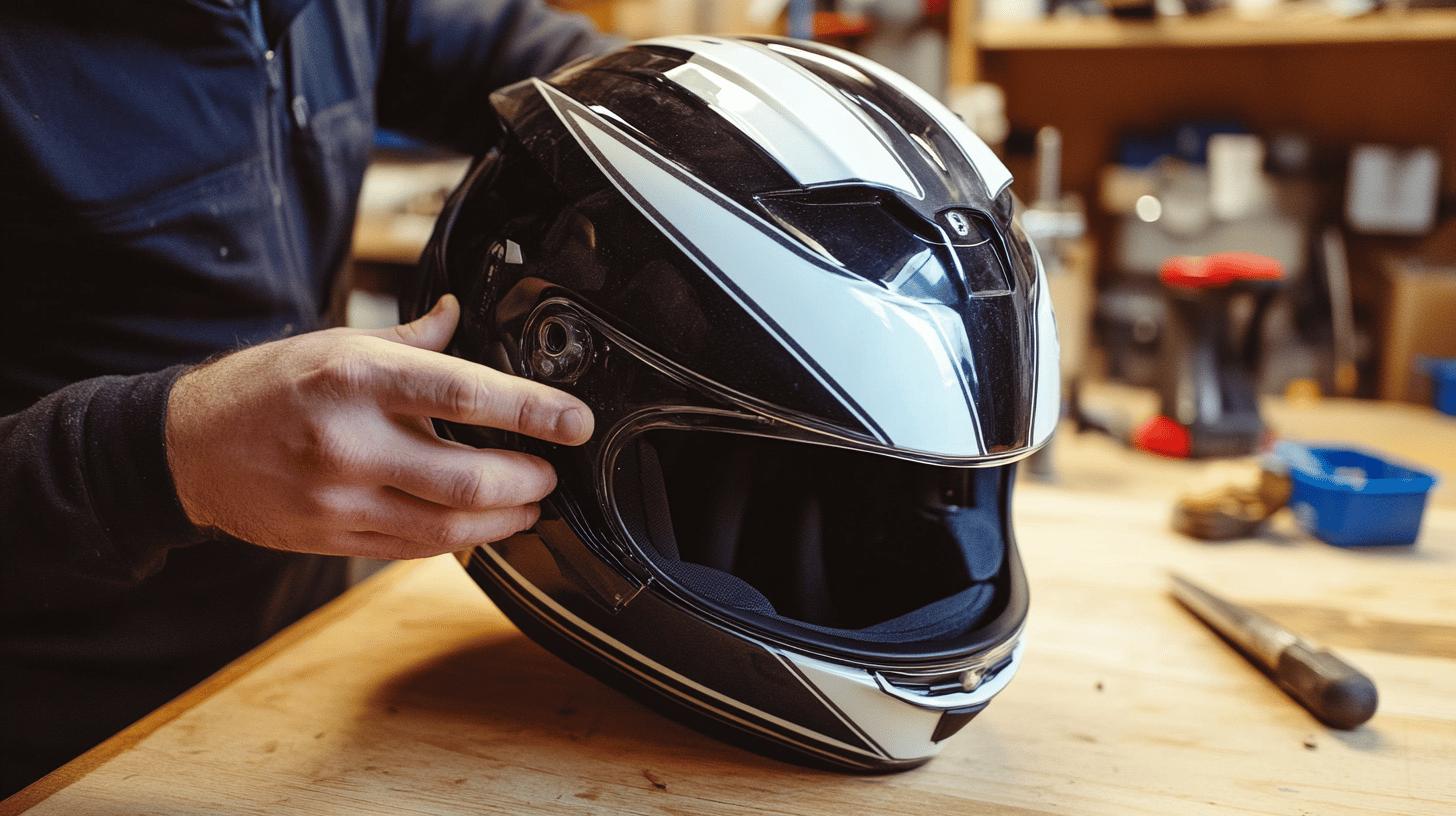
Proper alignment and secure attachment of the helmet liner are key to a successful installation. Most liners use snaps or Velcro to attach to the helmet's interior. Begin by aligning the liner with the helmet's contours, ensuring that any fasteners are positioned correctly. Press firmly to secure the liner, checking that all snaps or Velcro are fully engaged. This ensures the liner remains stable during use and provides the necessary cushioning and impact absorption.
For those new to the DIY helmet liner change, video tutorials can provide valuable visual guidance. These resources often demonstrate the nuances of liner installation, such as precise alignment techniques and troubleshooting common issues. Watching a tutorial can enhance understanding and confidence, especially for those unfamiliar with helmet disassembly and reassembly.
-
Verify the new liner is compatible with your helmet model by checking the manufacturer's specifications.
-
Align the new liner with the interior of the helmet, matching the contours carefully.
-
Secure the liner using the helmet's attachment system, whether snaps or Velcro.
-
Apply pressure to ensure all fasteners are properly engaged, preventing any movement.
-
Consider watching a video tutorial to visualize the installation process and reinforce understanding.
Choosing the Right Helmet Liner for Comfort and Safety

Selecting a new helmet liner involves several considerations to ensure comfort and safety. The material of the liner plays a significant role in determining its effectiveness. Options often include foam, fabric, and mesh, each offering different levels of cushioning and breathability.
Liners with advanced features such as moisture-wicking technology or odor resistance can enhance comfort, especially during extended rides. These features help manage sweat and odor, contributing to a more pleasant riding experience.
Thickness is another important factor, as it affects both the fit and the amount of impact absorption provided by the liner. Choosing a liner with the right balance of thickness and breathability is essential for maintaining comfort without compromising safety.
Compatibility with your helmet model is crucial when selecting a liner. An incompatible liner can lead to a poor fit, reducing the helmet's protective capabilities. Always verify the liner's compatibility with your specific helmet model by consulting the manufacturer's guidelines.
This ensures the liner fits properly and the helmet retains its structural integrity. Reputable suppliers typically offer quality liners that are designed to fit specific helmet models, maintaining the helmet's safety standards. Purchasing from such suppliers can provide assurance that the liner will perform effectively in conjunction with the helmet.
-
Material: Choose liners made from quality materials such as foam, fabric, or mesh.
-
Thickness: Consider the right thickness for comfort and impact absorption.
-
Breathability: Opt for liners with breathability features to manage moisture.
-
Compatibility: Verify the liner matches your helmet model for a proper fit.
-
Supplier: Purchase from reputable suppliers to ensure quality and safety compliance.
Maintenance Tips for Extending the Life of Your Helmet Liner

Regular inspections and cleaning of the helmet liner are crucial for maintaining both hygiene and the liner's longevity. By examining the liner frequently, riders can detect early signs of wear, such as thinning material or frayed edges, which may indicate the need for replacement.
Cleaning should be performed routinely to remove dirt, sweat, and oils that accumulate over time, potentially degrading the liner. This not only helps in preventing unpleasant odors but also ensures the liner remains effective in providing the necessary cushioning. A well-maintained liner contributes significantly to the overall comfort and safety of the helmet, making regular upkeep an essential practice for every rider.
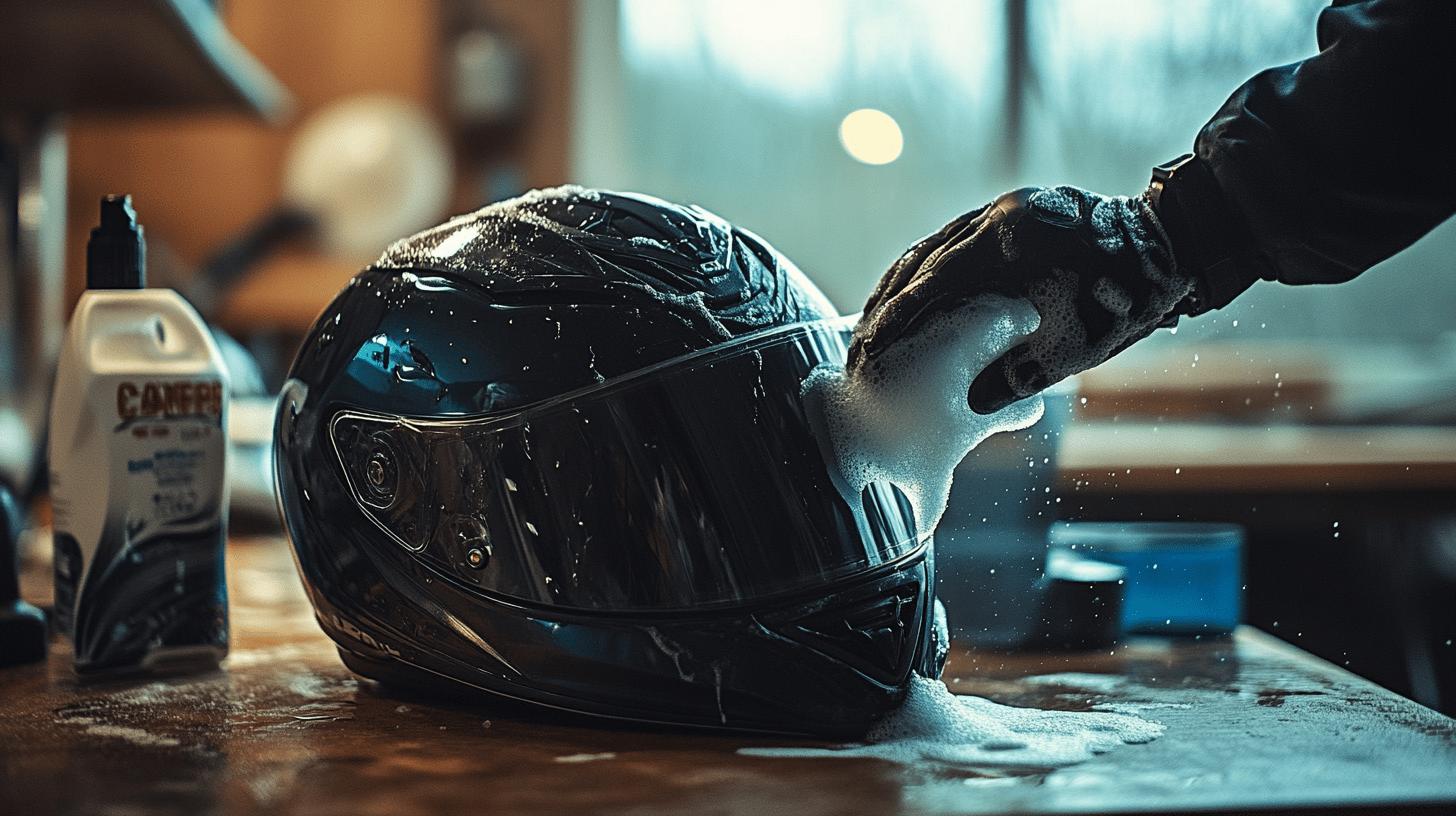
Proper cleaning techniques are fundamental to maintaining the integrity of the helmet liner. Always use mild soap and lukewarm water to clean the liner, as harsh chemicals can weaken the materials and reduce the liner's effectiveness. After washing, allow the liner to air dry completely before reinstalling it into the helmet.
This prevents the growth of mold and mildew, which can occur if moisture is trapped between the liner and the helmet shell. Avoid using heat sources like hair dryers, as excessive heat can warp or damage the liner. By following these cleaning and drying methods, riders can extend the lifespan of their helmet liners significantly.
-
Inspect regularly: Check for signs of wear or damage to address issues early.
-
Use mild soap: Clean with gentle soap and water to avoid material degradation.
-
Air dry: Ensure the liner is fully dry before reinstallation to prevent mold growth.
- Replace when necessary: Change the liner if it becomes misshapen, worn, or odorous.
Evaluating Helmet Liner Materials and Features

Helmet liners are primarily constructed from materials such as foam, fabric, and mesh. Foam liners are favored for their cushioning and impact absorption capabilities, providing essential protection during a fall. Fabrics, often used in combination with foam, add a layer of comfort and can enhance the liner's breathability.
Mesh materials are particularly valued for their airflow properties, keeping riders cool and comfortable during long rides. The choice of material directly influences the liner's comfort, breathability, and durability, making it essential to select a liner that meets both safety and personal comfort requirements.
Advanced features in helmet liners can significantly enhance riding comfort and hygiene. Liners with moisture-wicking technology efficiently manage sweat, keeping the rider dry and reducing the risk of irritation. Antimicrobial properties help in preventing odor and bacterial growth, maintaining the liner's freshness over time.
These features not only improve the riding experience but also extend the life of the liner by keeping it clean and effective in its protective role. When evaluating helmet liners, considering these advanced features can lead to a more comfortable and hygienic riding experience.
| Material Type | Features |
|---|---|
| Foam | Cushioning, impact absorption |
| Fabric | Comfort, breathability |
| Mesh | Airflow, cooling |
Final Words
Mastering the replacement of a motorcycle helmet liner involves understanding liner removal and installation processes, choosing suitable materials, and maintaining them appropriately.
Key steps include identifying helmet models, ensuring compatibility, and understanding material options. Proper maintenance extends the liner’s lifespan. Following these steps ensures a secure helmet fit, enhancing both comfort and safety.
With these insights on how to replace motorcycle helmet liner, riders can maintain helmet integrity, ensuring continued protection and comfort on their journeys.
FAQ
How do you change a motorcycle helmet shield?
To change a motorcycle helmet shield, locate the release mechanisms on each side of the helmet. Press or slide them to unlock the shield, then remove it. Align the new shield with the pivots and lock it in place.
Can we change helmet inner padding?
Yes, helmet inner padding can be changed. Ensure compatibility with your helmet model. Replacement involves removing the old padding, usually secured by snaps or Velcro, and installing the new one by aligning and securing it.
How to remove padding from a motorcycle helmet?
To remove padding from a motorcycle helmet, locate and detach any snaps or Velcro securing the liner. Gently pull the padding away from the shell, ensuring not to damage the fastening mechanisms.
Can you tumble dry helmet liners?
No, you should not tumble dry helmet liners. Air drying is recommended to prevent material damage and preserve the structural integrity of the liner.

Brad Mitchell is a seasoned motorcycle enthusiast with over 16 years of riding experience. He’s spent countless hours on the open road, particularly favoring scenic routes aboard his trusted Harley-Davidson. Brad’s laid-back approach to life and riding gives him a unique perspective on motorcycle gear and safety, which he shares through his in-depth reviews and expert advice on ProtectiveGearz.


