Can you imagine cruising down the highway with crucial information displayed directly in your line of sight? Motorcycle helmet HUDs, or head-up displays, are transforming the riding experience by integrating technology that keeps riders informed without distracting them from the road.
This article will guide you through creating your own HUD, focusing on the essential components like microcontrollers, display technology, and optics design.
By understanding these elements, you'll be equipped to enhance your motorcycle adventures with cutting-edge HUD electronics, providing both safety and convenience. Dive in to learn how you can build a personalized, functional HUD system.
Understanding Motorcycle Helmet HUD Components
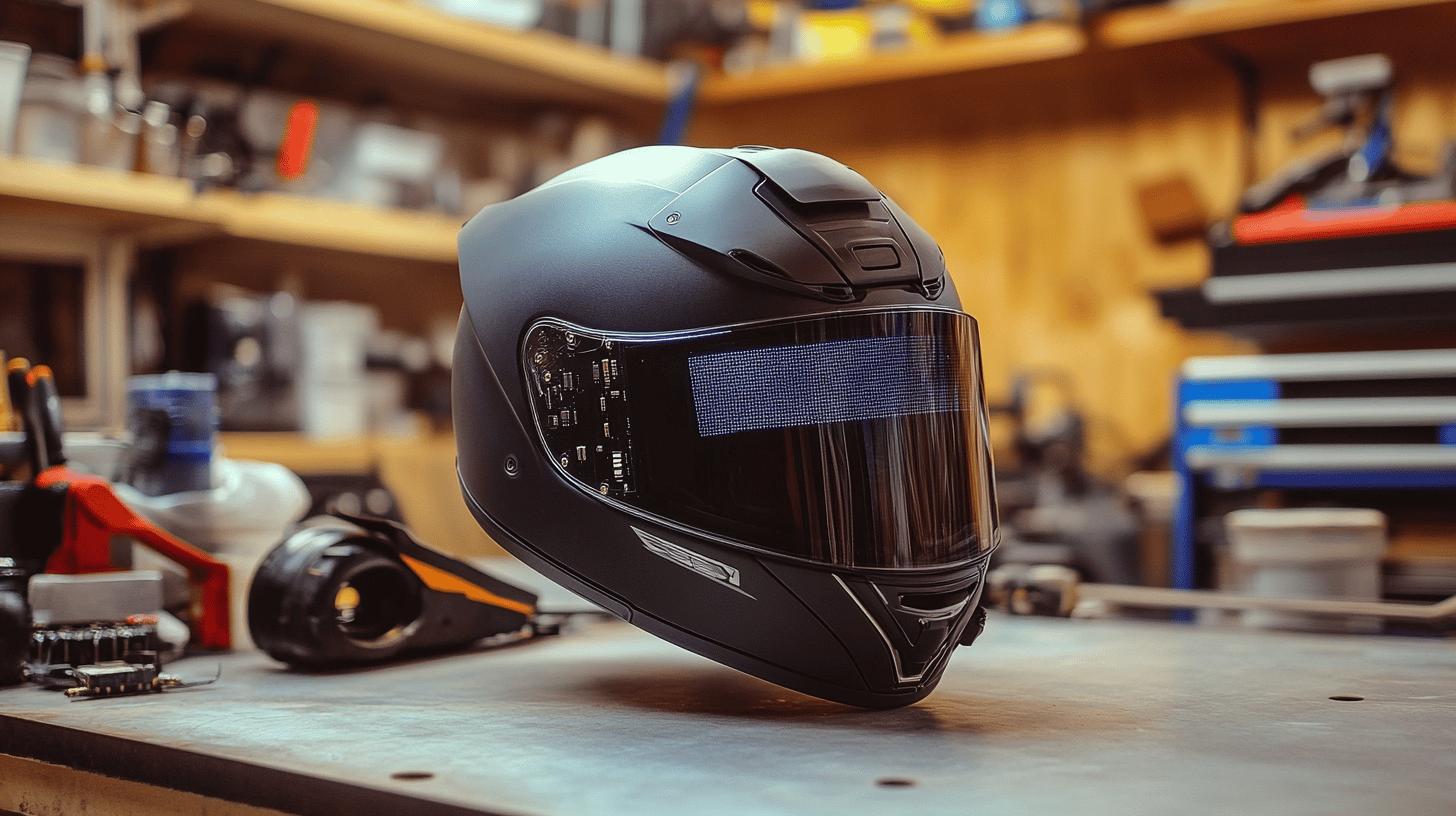
A Heads-Up Display (HUD) system for a motorcycle helmet involves several key components. Central to the setup is a microcontroller, which serves as the brain of the system. The ESP32-based development board is a popular choice due to its robust Bluetooth capabilities and processing power. The display screen, often an OLED, is responsible for presenting vital information directly within the rider's line of sight.
A reliable power source is essential to maintain consistent operation, while communication modules facilitate data exchange between the HUD and external devices, such as smartphones. Together, these components form the backbone of helmet display technology, enabling functionalities like navigation and real-time data updates.
-
Microcontroller: Manages the HUD's operations and processes data.
-
Display Screen: Shows information such as navigation and alerts in the rider's field of view.
-
Power Source: Provides energy to all electronic components, ensuring continuous functionality.
-
Communication Modules: Use Bluetooth or Wi-Fi to connect with smartphones and other devices for data transmission.
-
Mounting Hardware: Secures the HUD components within the helmet, maintaining stability during rides.
The design of the optics is crucial for a successful HUD implementation. It must project a virtual image that appears to float 2-5 meters in front of the rider. This distance aligns with the typical focus range while riding, minimizing eye strain and ensuring that information is quickly and easily accessible without diverting attention from the road. Proper optics design enhances both safety and usability, making it an indispensable part of helmet display technology.
Gathering Materials for a DIY HUD Helmet
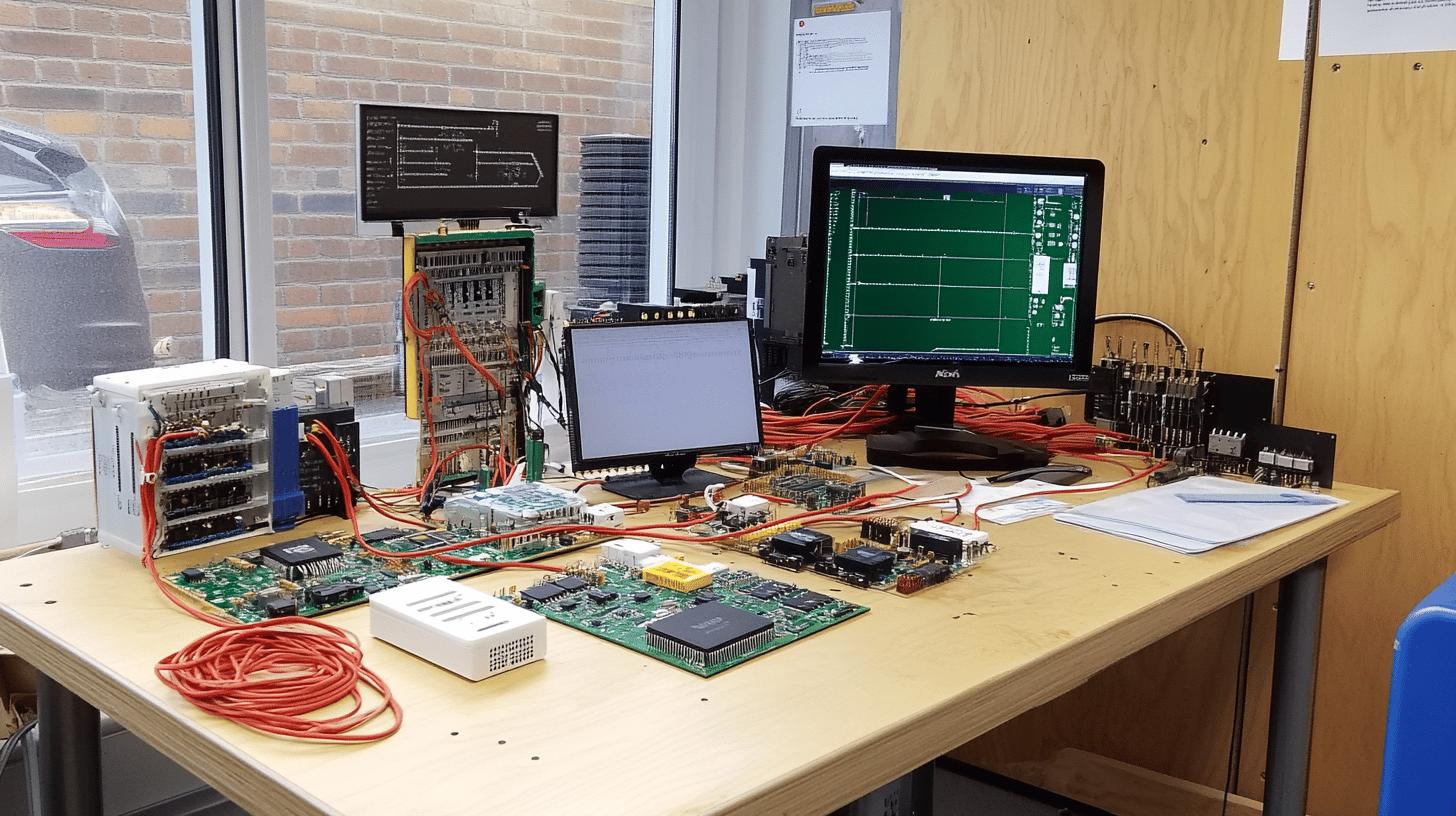
Creating a DIY HUD helmet begins with gathering the necessary materials, which are readily available online or at local electronics stores. Opting for budget-friendly solutions like the ESP32 microcontroller and generic OLED screens can significantly reduce costs while still providing the essential functionalities required for a heads-up display system.
These components form the core of a hud electronics for helmets, allowing for real-time data presentation directly within the rider's line of sight.
-
ESP32 Microcontroller: Acts as the central processing unit, handling data and communication tasks.
-
OLED Display: Provides a clear and compact screen for displaying information.
-
Power Supply: Ensures all electronic components receive the energy needed for consistent performance.
-
Bluetooth Module: Facilitates wireless communication with smartphones and other devices.
-
Mounting Hardware: Includes brackets and adhesives for securing components inside the helmet.
-
Wiring and Connectors: Necessary for establishing electrical connections between components.
-
Protective Casing: Shields electronic parts from damage and environmental exposure.
-
Tools: Basic tools such as a soldering iron, screwdriver, and multimeter for assembly and testing.
To keep the project cost-effective, prioritize sourcing materials from reputable suppliers that offer competitive pricing and discounts for bulk purchases. Consider purchasing kits that bundle multiple components together, which can further lower expenses. Utilizing forums and community groups dedicated to electronics can also provide insights into finding deals and recommendations on where to acquire high-quality yet affordable parts for your DIY HUD helmet project.
Step-by-Step Guide to Building a HUD for Your Helmet
-
Gather Your Materials
Start by collecting all necessary components, including an ESP32 microcontroller, OLED display, power supply, Bluetooth module, and mounting hardware. Ensure you have all the tools required for assembly, such as a soldering iron and multimeter. These components form the core of your HUD system and are essential for a successful build. -
Design the Layout
Plan how the components will fit inside the helmet. Consider the placement of the display screen to ensure it is within the rider's line of sight without obstructing vision. Use mounting hardware to secure components, keeping them stable during rides. A well-thought-out layout prevents interference with helmet safety features. -
Assemble the Components
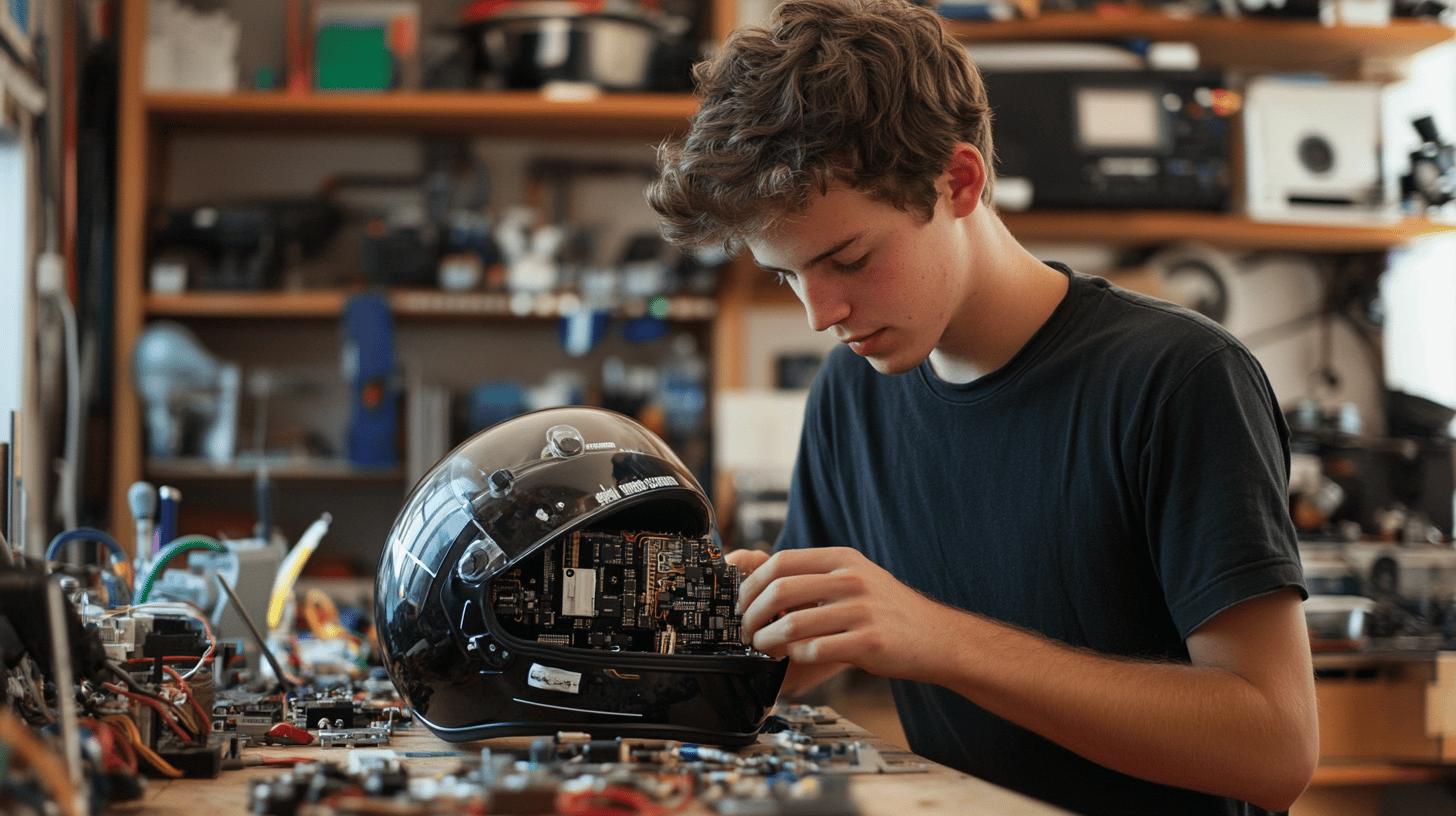
Attach the microcontroller, display, and power supply within the helmet using brackets and adhesives. Connect the components with wiring and connectors, ensuring all connections are secure. Proper assembly is vital to prevent disconnections or malfunctions while riding.
-
Program the Microcontroller
Upload the necessary firmware to the microcontroller. This involves coding the ESP32 to manage data processing and communication. Custom protocols can be developed to facilitate data exchange between the HUD and a smartphone, allowing for real-time updates. -
Install the HUD in the Helmet
Carefully place the assembled HUD system into the helmet, making sure the display is correctly aligned. The installation should maintain the helmet’s structural integrity and comfort. Secure all components to prevent movement during use. -
Connect to a Smartphone
Pair the HUD system with a smartphone via Bluetooth. This connection enables navigation and other data to be displayed on the HUD. Use available apps or develop custom applications to manage the HUD's functions and enhance user experience.
- Test the System
Conduct thorough testing to ensure all components function correctly. Check the clarity of the display, the stability of the connections, and the responsiveness of the HUD system. Testing under various conditions ensures reliable performance and safety during rides.
Testing is a critical phase in the HUD installation process. It verifies that all systems operate as intended and identifies any potential issues before hitting the road. Regular testing not only enhances performance but also ensures that the HUD contributes positively to the rider’s safety and experience.
Integrating Software and Connectivity for Your HUD
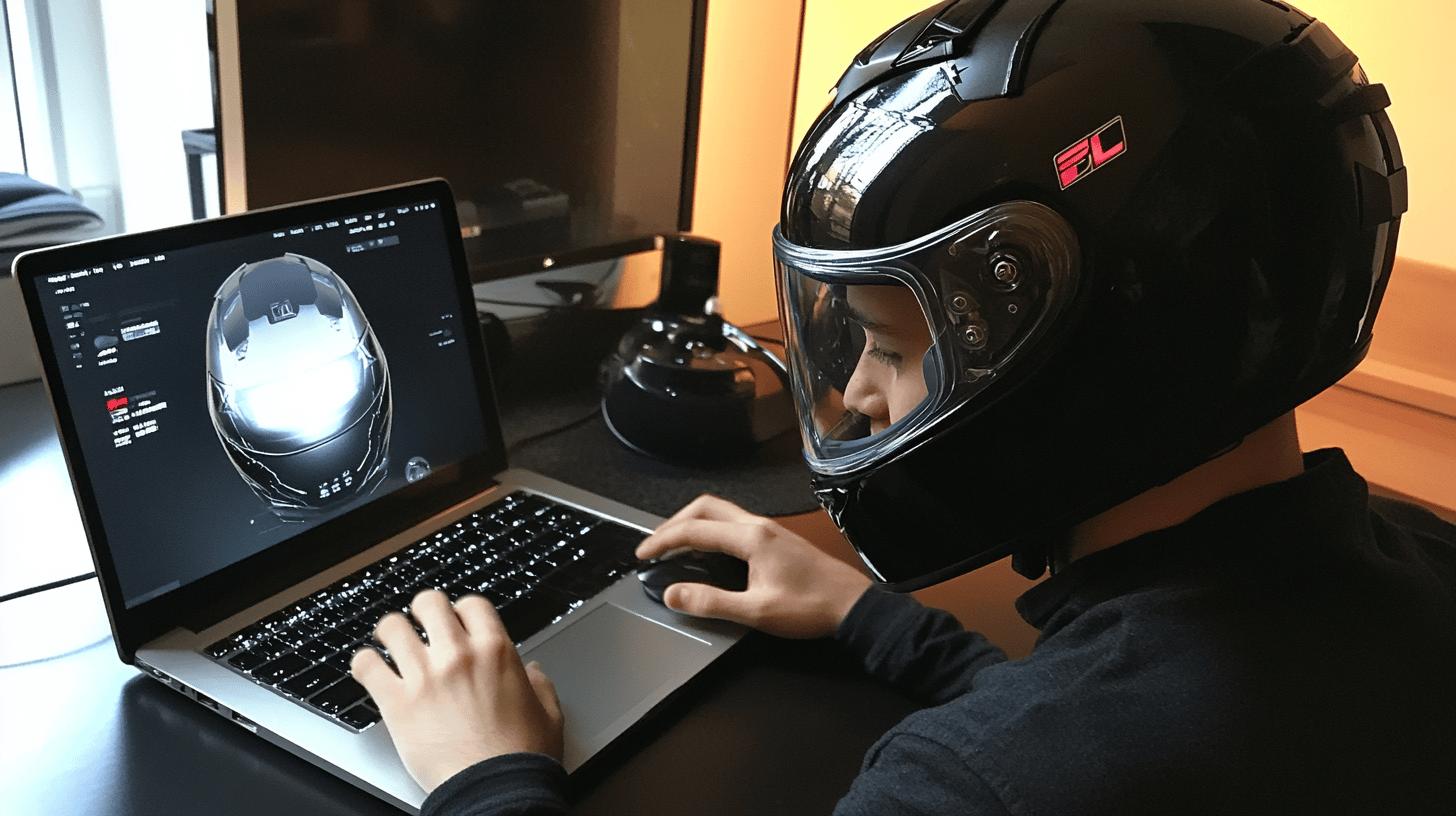
Software integration for a HUD system requires establishing reliable wireless connectivity and utilizing navigation SDKs. Bluetooth communication is crucial for connecting the HUD to a smartphone, allowing for seamless data transmission and control. Navigation SDKs, such as Mapbox, can be incorporated to provide accurate routing and navigation data directly to the display.
Developing custom applications enhances Bluetooth functionality and supports features like real-time navigation updates. These apps can also tailor the user interface to better meet the rider's needs, ensuring that essential information is accessible and easy to read while on the move.
-
Bluetooth Communication: Essential for pairing the HUD with smartphones, enabling data transfer and control.
-
Navigation SDKs (e.g., Mapbox): Provide routing and navigation capabilities, ensuring accurate and timely information.
-
Custom Apps: Enhance Bluetooth features and support navigation, offering a personalized user experience.
-
Firmware for Microcontrollers: Manages data processing and communication tasks within the HUD system.
-
Data Visualization Tools: Aid in presenting data clearly and effectively on the HUD display.
Integrating cloud services, like ThingSpeak, can further enhance the functionality of the HUD system by offering data management and visualization capabilities. Cloud platforms allow for the storage and analysis of ride data, which can be accessed remotely.
This integration supports real-time updates and data-driven insights, facilitating a more informed riding experience. By leveraging cloud services, users can optimize their HUD systems for better performance and personalization, contributing to overall rider safety and efficiency.
Customizing and Optimizing Your HUD Design
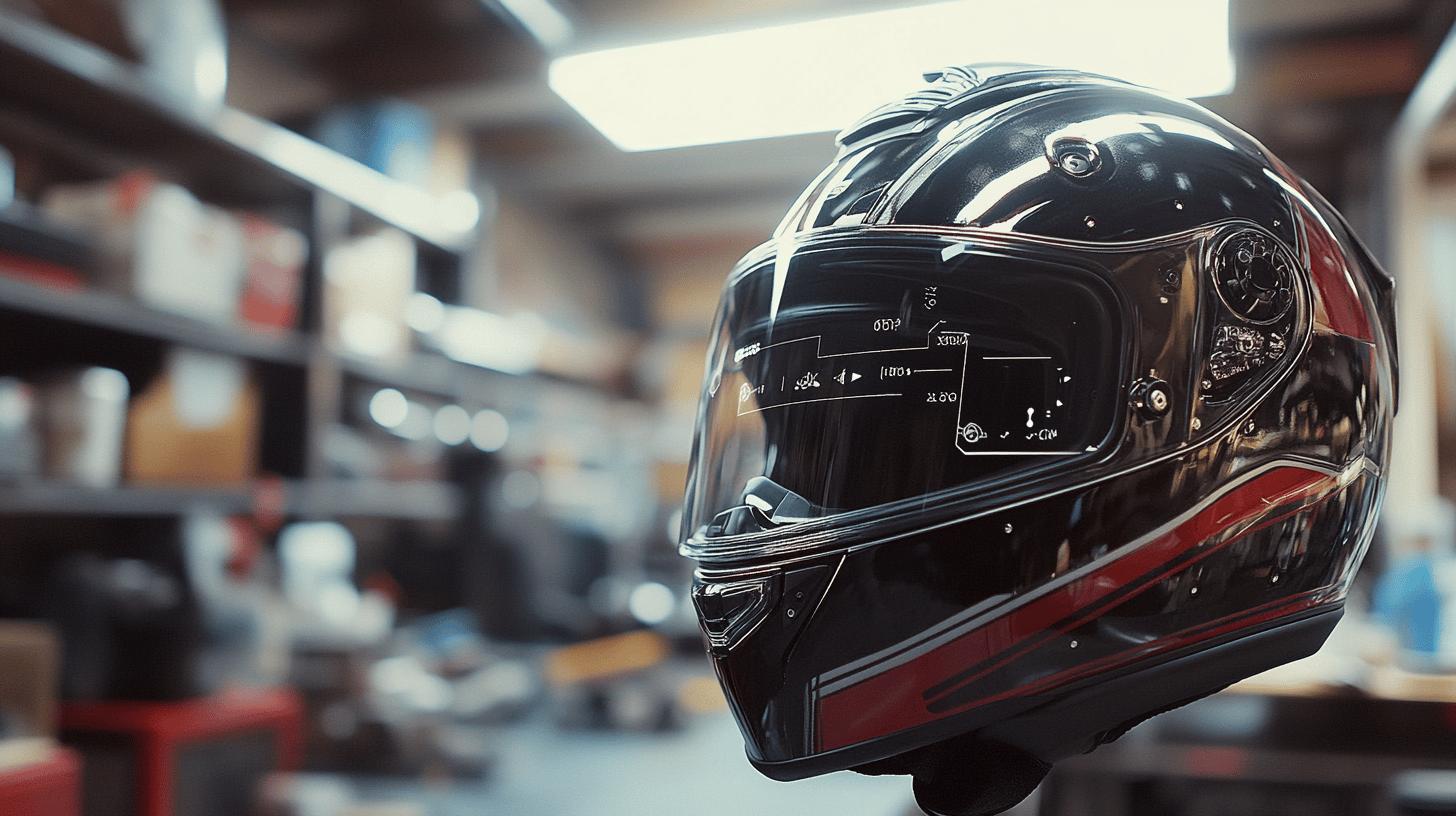
Customization of a HUD helmet is essential for enhancing the rider's experience. By adjusting the display interface, you can tailor the layout to present information in a way that aligns with personal preferences and riding habits.
Fine-tuning the resolution and brightness controls ensures the display remains clear and legible, adapting to varying environmental conditions. Customizing the HUD for motorbikes allows users to prioritize the most critical data, such as speed and navigation, directly within their line of sight, ultimately contributing to a safer and more efficient ride.
Optimizing display settings is crucial for maintaining visibility under different lighting conditions. Testing the HUD's performance in daylight, dusk, and nighttime scenarios can reveal potential issues with glare or dimness. Adjusting brightness levels and contrast ratios can significantly enhance the readability of the display.
Additionally, incorporating ambient light sensors can automate these adjustments, ensuring optimal visibility without manual intervention. These strategies ensure that the HUD serves its purpose effectively, providing essential information without distracting the rider.
Advanced features and personalization options elevate the HUD experience further. Integrating voice control can offer hands-free operation, allowing riders to access specific functions without taking their eyes off the road. Personalization extends beyond functionality to include UI design, enabling users to choose themes and layouts that resonate with their style.
Such enhancements not only improve user satisfaction but also contribute to a more intuitive and responsive riding experience, highlighting the potential of HUD helmet design ideas to transform motorcycling.
Safety Considerations and Testing for HUD Helmets

Safety is paramount when incorporating a Heads-Up Display (HUD) into motorcycle helmets. One of the primary safety considerations is ensuring that the HUD does not obstruct the rider's vision. The display must be positioned so that it provides critical information without distracting the rider from the road ahead.
Meeting regulatory compliance is essential, as helmets must adhere to standards set by organizations like the Department of Transportation (DOT) or the Economic Commission for Europe (ECE).
These regulations often include specifications on impact resistance and field of vision, which must not be compromised by the addition of a HUD system. Ensuring the HUD components are securely mounted and do not alter the helmet's structural integrity is crucial for maintaining rider safety.
-
Visibility: The HUD should offer clear information without causing glare or blocking the rider's view.
-
Stability: Components must remain securely attached under various riding conditions, including high-speed travel.
-
Functionality: All features should operate reliably and be easily accessible during rides.
- Weather Resistance: The system should withstand exposure to different weather elements, such as rain and dust.
Gathering feedback from experienced riders is invaluable for refining HUD helmets. Field tests should be conducted in real-world conditions to evaluate the system's performance across different scenarios. Riders can provide insights on visibility, ease of use, and comfort, highlighting areas needing improvement.
Based on this feedback, necessary adjustments can be made to enhance both safety and functionality. Continuous iterations and testing ensure that the HUD helmet not only meets safety standards but also enriches the riding experience by providing reliable and accessible information.
Troubleshooting and Enhancing Your HUD System
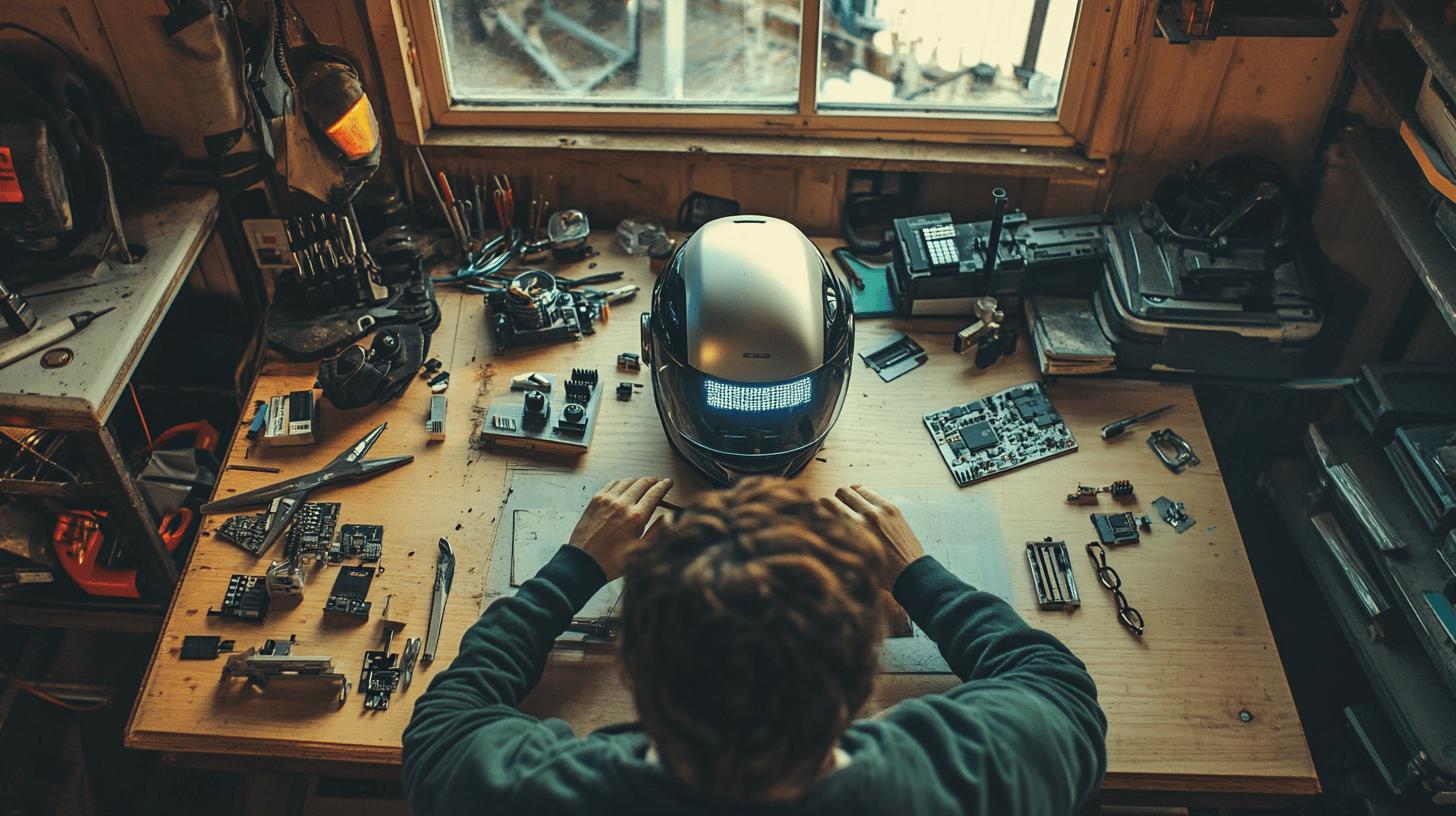
Common issues with HUD helmets often revolve around connectivity problems, display errors, and software bugs. To address connectivity problems, ensure that Bluetooth and other communication modules are securely connected and properly configured. For display errors, check the wiring and connections between the display screen and microcontroller, as loose connections can lead to flickering or incomplete images.
Software bugs can be mitigated by regularly updating the firmware and refining the code, ensuring that all functionalities operate smoothly. By systematically addressing these issues, you can maintain a reliable and efficient HUD system.
-
Add Sensors: Incorporating sensors such as GPS or accelerometers can provide additional data for enhanced navigation and safety features.
-
Upgrade Components: Replacing the microcontroller or display with more advanced versions can improve performance and expand capabilities.
-
Enhance Connectivity: Using more robust Bluetooth or Wi-Fi modules can establish stronger and more reliable communication links.
-
Improve Power Supply: Opting for a more efficient power source can extend battery life and ensure consistent operation.
-
Refine Software: Developing custom applications or updating existing software can optimize the user interface and functionality.
Future upgrades and innovations in HUD systems may include integrating augmented reality (AR) features, offering a more immersive riding experience. As technology advances, the potential for incorporating voice control and gesture recognition grows, allowing for even more intuitive interaction.
Exploring these possibilities can not only enhance the functionality of your HUD helmet but also keep it aligned with the latest technological trends, providing a cutting-edge experience for users.
Final Words
Assembling a motorcycle helmet HUD involves understanding components, sourcing materials cost-effectively, and following a step-by-step guide. Software integration and design customization enhance functionality, while safety trials and troubleshooting ensure reliability.
Learning how to make a HUD for a motorcycle helmet not only improves riding safety but also enriches the riding experience. With these insights, enthusiasts are equipped to explore innovative solutions for optimized riding adventures.
FAQ
What makes a motorcycle helmet DOT approved?
A motorcycle helmet is DOT approved if it meets the safety standards set by the Department of Transportation. These standards require helmets to pass impact absorption, penetration resistance, and retention system tests.
How do you make anti-fog for motorcycle helmets?
The anti-fog feature for motorcycle helmets can be created by applying a thin layer of anti-fog spray or using a Pinlock insert. These methods help reduce moisture condensation on the visor.
How can I make my helmet more visible?
A helmet's visibility can be enhanced by applying reflective stickers or tape, choosing bright colors, or installing LED lights. These adjustments increase visibility to other motorists, improving safety.
How do you size your head for a motorcycle helmet?
Sizing your head for a motorcycle helmet involves measuring the circumference at the largest part of your head, typically above the eyebrows and around the back. Use this measurement to find the corresponding helmet size on a manufacturer's chart.

Brad Mitchell is a seasoned motorcycle enthusiast with over 16 years of riding experience. He’s spent countless hours on the open road, particularly favoring scenic routes aboard his trusted Harley-Davidson. Brad’s laid-back approach to life and riding gives him a unique perspective on motorcycle gear and safety, which he shares through his in-depth reviews and expert advice on ProtectiveGearz.


