Is it feasible to craft your own motorcycle helmet? For many enthusiasts, this question sparks curiosity and caution. While the appeal of a personalized helmet is undeniable, safety cannot be compromised in the pursuit of customization.
This article delves into the intricate process of helmet crafting, uncovering essential steps and safety guidelines. From selecting the right materials and tools to understanding stringent safety standards, each detail matters in crafting a reliable helmet.
Explore the journey of helmet creation to enhance your understanding and potentially unlock a new layer of your riding experience.
Essential Tools and Materials for Making a Motorcycle Helmet

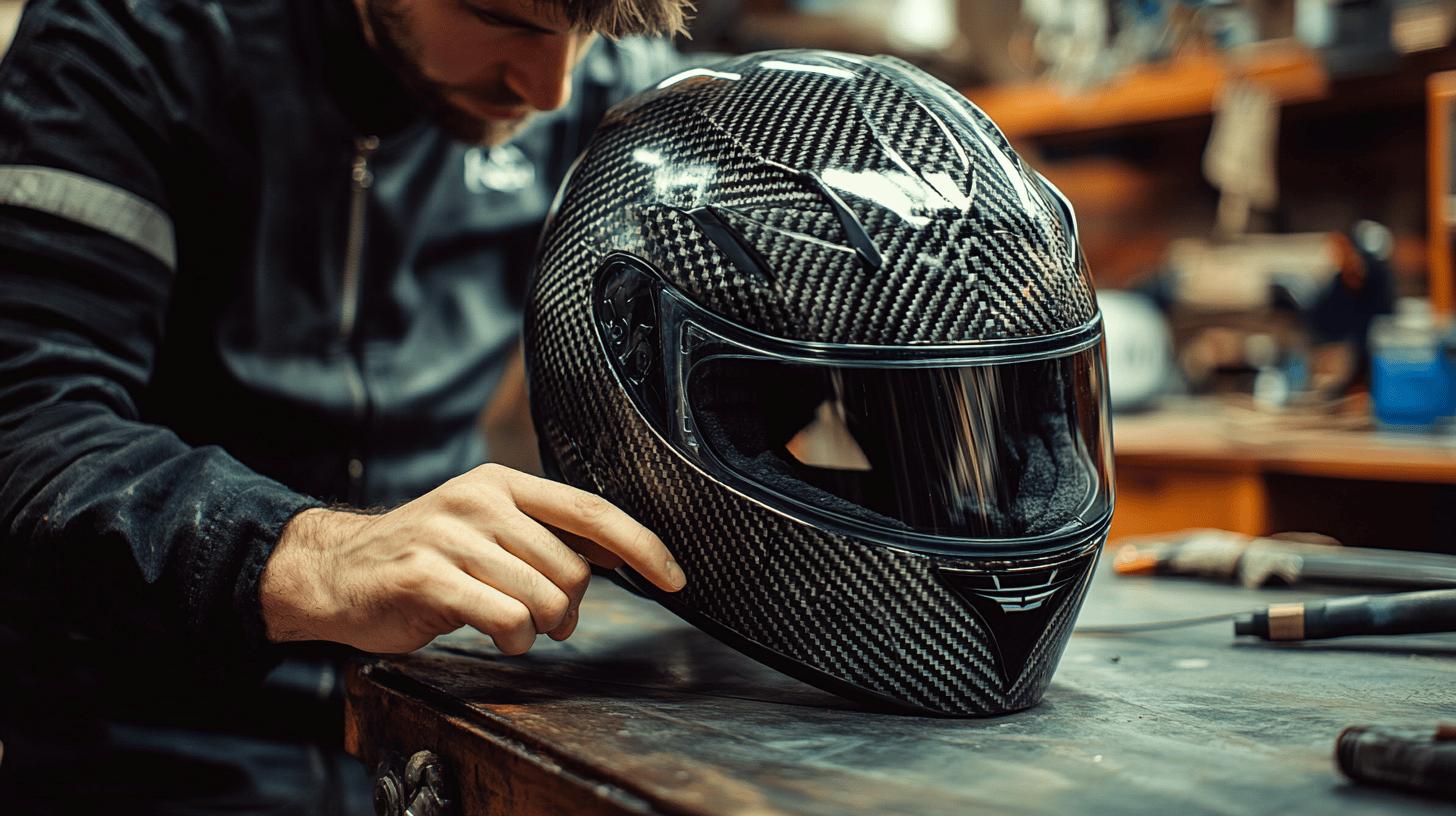
Choosing the appropriate materials is crucial for creating a motorcycle helmet that provides optimal safety and durability. The outer shell materials, such as fiberglass or carbon fiber, offer resistance to impact and abrasion, which are critical for protecting the rider's head in an accident.
EPS foam, used for the inner lining, is essential for absorbing shock and cushioning the impact. A well-constructed visor not only shields the rider's face from debris but also maintains clear visibility. Each material must be selected for its protective qualities, ensuring that the helmet meets safety standards while remaining comfortable for the wearer.
- Fiberglass or carbon fiber for the outer shell
- EPS foam for inner lining
- Visor for face protection
- Mold for shaping the helmet
- Cutting tools for precision shaping
- Sandpaper for smoothing surfaces
- Safety gear like gloves and masks
These materials and tools collectively contribute to the helmet's ability to safeguard the rider. The outer shell's strength and the inner lining's cushioning play a significant role in reducing the risk of injury during accidents.
The precision offered by cutting tools and sandpaper ensures a well-fitted and aerodynamic helmet, while safety gear protects the maker during the crafting process. By prioritizing quality materials and tools, the resulting helmet can offer reliable protection and durability.
Step-by-Step Guide to Making a Motorcycle Helmet

Crafting a motorcycle helmet from scratch requires meticulous attention to detail to ensure safety and functionality. Each step in the process involves precision techniques crucial for achieving a helmet that not only fits well but offers reliable protection. Understanding the importance of each stage is vital for anyone looking to engage in helmet assembling techniques.
-
Create the Helmet Mold
Begin by shaping the base of your helmet using a mold. This mold can be crafted from clay or a pre-existing model, serving as the foundation for the helmet's structure. It is essential to ensure the mold is smooth and accurately shaped, as it directly influences the final product's aerodynamic qualities and fit. -
Layer Fiberglass or Carbon Fiber with Resin
Layer your chosen material—fiberglass or carbon fiber—over the mold, applying a layer of resin between each sheet. This combination enhances the strength and durability of the helmet. Allow sufficient time for the resin to cure, forming a solid and robust outer shell capable of withstanding impacts. -
Sand the Shell
Once cured, remove the shell from the mold and sand it to achieve a smooth finish. This step not only refines the helmet's appearance but is also crucial for safety, as it eliminates rough edges that could compromise the helmet's structural integrity.
-
Fit EPS Foam for Inner Lining
Cut and fit EPS foam inside the shell. The foam acts as a shock absorber, crucial for reducing impact forces. It must be carefully measured and placed to ensure comfort and optimal protection for the wearer. -
Attach the Visor and Finalize with Paint
Secure the visor to the helmet, ensuring it is firmly attached and moves smoothly. After assembly, paint the helmet using durable, non-toxic paints. This not only personalizes the helmet but also adds an additional layer of protection against environmental factors.
Precision in crafting a motorcycle helmet is imperative. Each step demands attention to detail, from ensuring the mold's accuracy to the even application of resin layers. Quality checks are essential throughout the process, as they confirm the helmet's ability to protect effectively. By adhering to these meticulous steps, the resulting helmet can provide the necessary safety and durability required for motorcycle riding.
Understanding Helmet Safety Standards and Testing

Safety certifications are critical in ensuring that motorcycle helmets provide the necessary protection to riders. These certifications are set by various regulatory bodies and can vary significantly by region.
Compliance with safety standards, such as DOT (Department of Transportation) in the United States or ECE (Economic Commission for Europe) in Europe, verifies that helmets have undergone rigorous testing to meet minimum safety criteria. These standards are not just formalities; they are designed to ensure that helmets can effectively reduce the risk of head injuries during accidents.
-
Impact Testing: Assesses the helmet's ability to absorb and dissipate energy upon impact, crucial for protecting the rider's skull.
-
Penetration Testing: Evaluates the helmet's resistance to sharp objects, ensuring that the outer shell can prevent penetration during collisions.
-
Retention System Testing: Ensures that the helmet's chin strap and fastenings can withstand forces encountered during a crash, preventing the helmet from coming off.
-
Peripheral Vision Test: Confirms that the helmet design allows sufficient peripheral vision, critical for rider awareness and safety.
-
Shell Deformation Test: Measures the helmet's ability to maintain structural integrity under significant force, preventing the shell from collapsing inwards.
For DIY helmet makers, understanding these safety tests is crucial. Crafting a helmet that meets these stringent standards requires not only high-quality materials but also a meticulous construction process.
While creating a helmet at home can be an engaging project, achieving compliance with established safety regulations can be challenging without professional tools and expertise. DIY creators must prioritize safety and consider professional testing to ensure that their helmets provide the necessary protection.
Customizing and Enhancing Your Motorcycle Helmet

Personalizing a motorcycle helmet post-construction is not just about aesthetics; it also impacts functionality. Customization allows riders to express individuality through unique designs while potentially enhancing comfort and usability.
For instance, adding vents can improve airflow, reducing heat buildup during long rides. Custom padding can adjust the fit, ensuring comfort over extended periods. When using durable, non-toxic paints, personalization can enhance visibility without compromising the helmet's structural integrity.
-
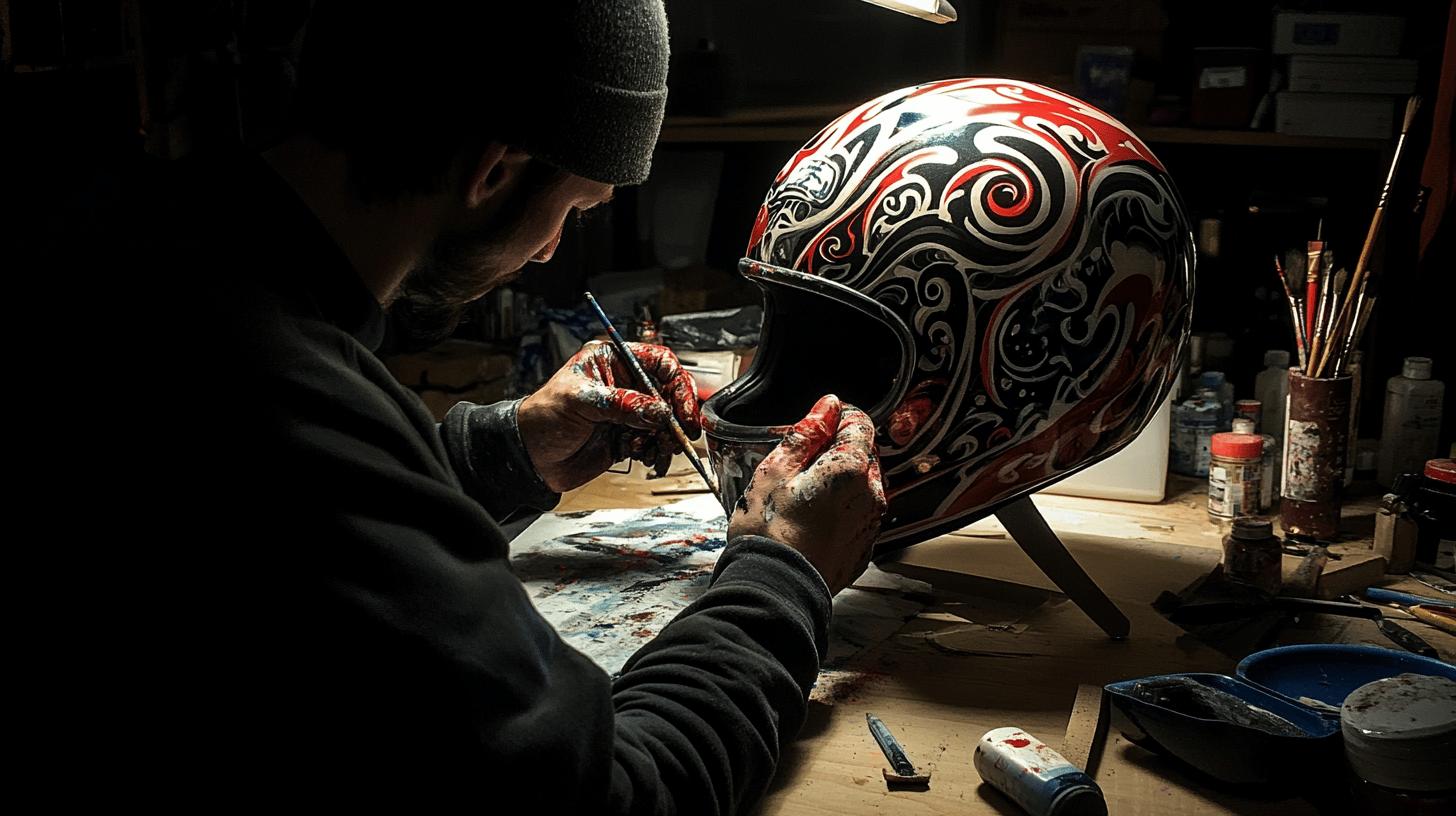
Painting and Graphics: Use durable, non-toxic paints to add unique designs or vibrant colors for improved visibility.
-
Ventilation Enhancements: Install additional vents to increase airflow, enhancing rider comfort in warm conditions.
-
Custom Padding: Adjust internal padding for a personalized fit, increasing comfort and reducing fatigue.
-
Visor Upgrades: Replace standard visors with tinted or anti-fog options for improved vision in various weather conditions.
-
Reflective Decals: Apply reflective stickers or decals to enhance night-time visibility and safety.
Customization can influence helmet performance. While aesthetic modifications like painting are straightforward, structural changes such as adding vents or custom padding require careful consideration to maintain safety standards. Incorrectly modifying a helmet can compromise its protective capabilities.
Therefore, it's vital to ensure any enhancements do not interfere with the helmet's ability to absorb impacts or fit securely. Properly executed, customization can enhance both the functionality and personal appeal of a motorcycle helmet.
Cost Considerations in Helmet Making

Creating a motorcycle helmet involves several cost factors, primarily influenced by the materials and tools chosen for the project. Fiberglass and carbon fiber are the most common materials for constructing a helmet's outer shell, offering superior strength and durability.
However, these materials come at a higher price, reflecting their quality and protective capabilities. Tools necessary for precision shaping and finishing, such as molds, cutting instruments, and sandpaper, also contribute to the overall expense.
Additionally, acquiring safety gear for the crafting process, like gloves and masks, can add to the initial investment. While these costs can be significant, they are essential to ensuring that the helmet meets safety standards and provides adequate protection.
To reduce expenses without compromising safety, consider budget-friendly alternatives. For instance, using cheaper materials like polycarbonate can lower costs while still offering reasonable protection. Although cardboard might be an economical option for cosplay helmets, it is not suitable for road use due to its lack of impact resistance.
Opting for pre-made molds or sharing tools with others in the crafting community can also decrease costs. Prioritizing essential safety features ensures that any cost-cutting measures do not undermine the helmet's protective capabilities.
Final Words
Mastering how to make a motorcycle helmet encompasses understanding essential tools, the crafting process, and adhering to safety standards. Key materials like fiberglass and carbon fiber are crucial, combined with precise craftsmanship and safety testing.
Customizing your helmet post-construction adds personal flair, enhancing both appearance and functionality. Cost considerations play a role, and balancing quality with budget is essential.
Ultimately, crafting a helmet involves skill, creativity, and adherence to safety, providing a rewarding experience. Aspiring helmet makers can create safe and personalized protective gear with the right resources and dedication.
FAQ
How do you make a motorcycle helmet from scratch?
A: Creating a motorcycle helmet involves crafting a mold, layering fiberglass or carbon fiber with resin, curing, sanding, fitting EPS foam, attaching a visor, and painting. Each step ensures safety and comfort.
How is a motorcycle helmet made?
A: Motorcycle helmets are made by forming a durable outer shell using materials like fiberglass or carbon fiber, adding a shock-absorbing EPS foam lining, and attaching a visor, all conforming to safety standards.
What materials are required to make a carbon fiber helmet?
A: Making a carbon fiber helmet requires carbon fiber sheets, resin, EPS foam, a mold for shaping, cutting tools, sandpaper, and safety gear. These materials ensure a strong, lightweight helmet structure.
Are LED motorcycle helmets legal?
A: Legality of LED motorcycle helmets varies by region and is determined by local traffic laws and helmet safety certifications. It's essential to check with local authorities before use on public roads.
What makes a motorcycle helmet street legal?
A: A street-legal motorcycle helmet meets safety certifications, which typically require impact resistance, a secure chin strap, and proper field of vision. Certifications like DOT or ECE are common indicators.
What ingredients are used in making a helmet?
A: Ingredients in a helmet include an outer shell of fiberglass or carbon fiber, an EPS foam liner for impact absorption, a polycarbonate visor, and additional materials like adhesives and paint for finishing.

Brad Mitchell is a seasoned motorcycle enthusiast with over 16 years of riding experience. He’s spent countless hours on the open road, particularly favoring scenic routes aboard his trusted Harley-Davidson. Brad’s laid-back approach to life and riding gives him a unique perspective on motorcycle gear and safety, which he shares through his in-depth reviews and expert advice on ProtectiveGearz.


